
Tutorial
MiniMax H3 Image API Guide: 5 High-Value Image Generation Use Cases
Practical implementation notes for developers, from text-to-image to multi-reference editing
Nesta página
Why MiniMax H3 Image Fits Developer Workflows
Most image integrations fail not because the model is weak, but because the API surface is unpredictable. MiniMax H3 Image is a good fit for production work for the opposite reason: it exposes exactly two routes, and both share the same control vocabulary.
- Text-to-image (
minimax-h3-image-text-to-image) takes a single requiredpromptand returns an image. - Image-to-image (
minimax-h3-image-image-to-image) takes apromptplus a requiredimage_urlsarray and returns an edited or combined image.
Everything else is shared between the two routes: resolution (1K / 2K / 4K, default 2K), output_format (jpeg / png, default jpeg), seed (an integer for reproducible output), and aspect_ratio (a single enum spanning auto, 1:1, 5:4, 4:5, 4:3, 3:4, 3:2, 2:3, 16:9, 9:16, and 21:9). The only meaningful defaults differ in one place — text-to-image defaults aspect_ratio to 1:1, while image-to-image defaults it to auto so the model can infer framing from your references.
That symmetry is the practical argument. Once you have written a request builder for one route, you have written it for both: swap the endpoint, add or drop image_urls, and the rest of your validation, retry, and storage logic is unchanged. Prompts are capped at 1–5000 characters on both routes, and prompts are automatically expanded for better detail, so you can write short, direct instructions rather than stuffing every visual descriptor into one string.
Before picking a use case, know which route you are on. If your input is a description, you want text-to-image. If your input is one or more existing images that need to change, you want image-to-image — even when the change is small, because re-generating from scratch will not preserve the source.
The Billing and Resolution Decisions That Drive Cost
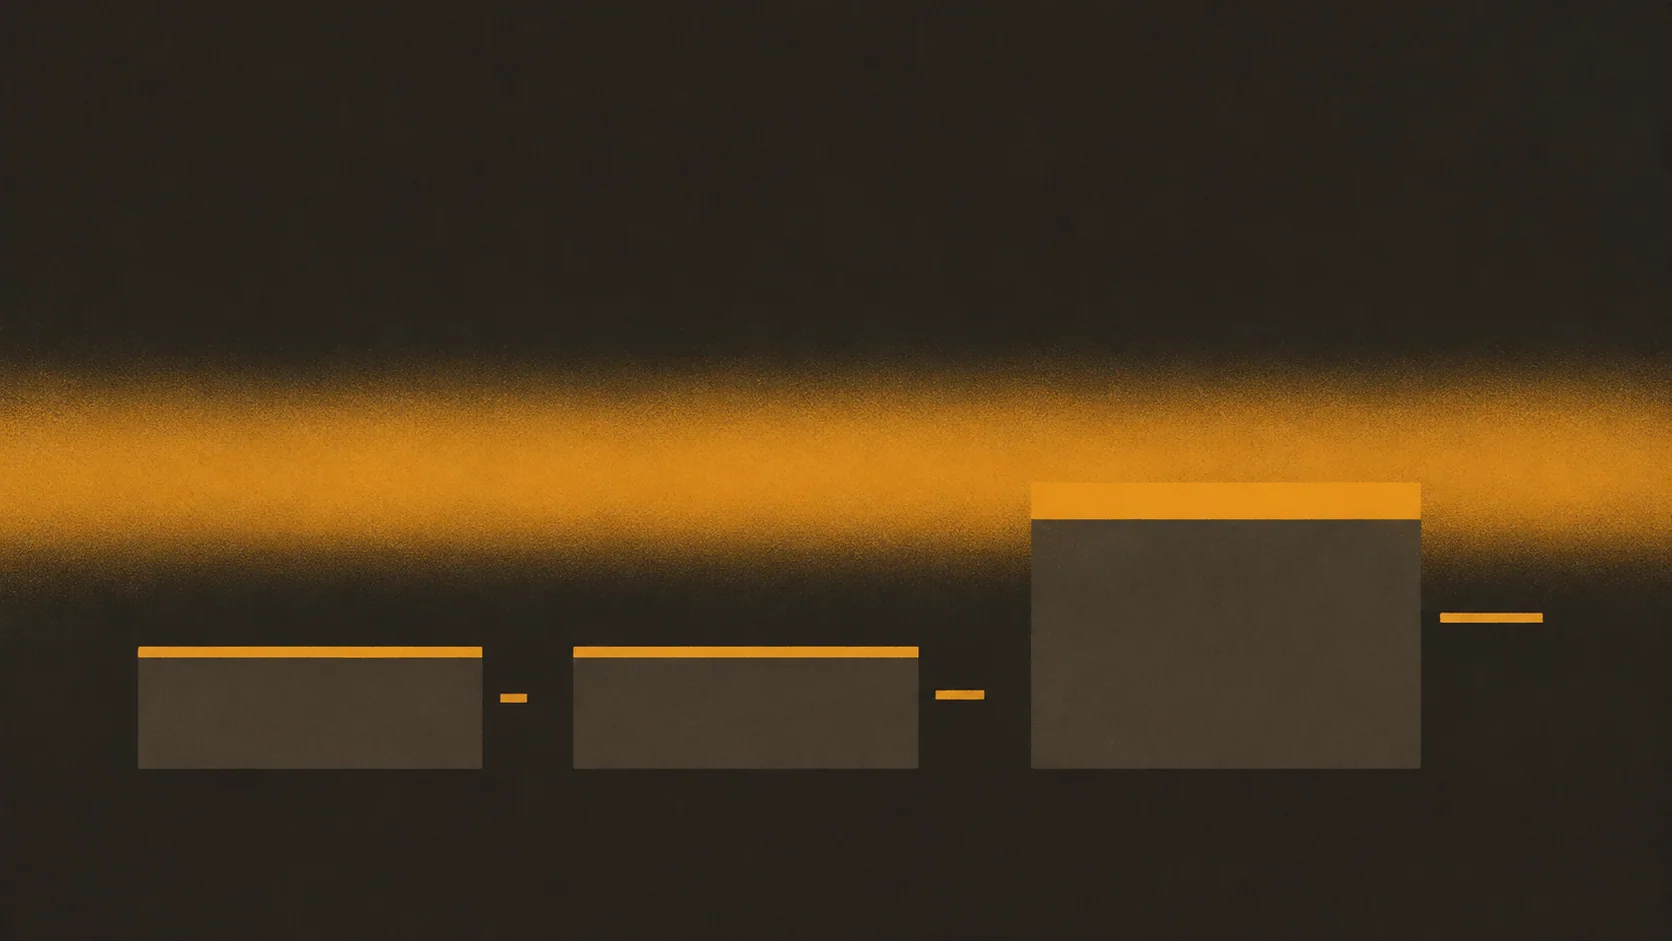
Billing is per image, and the resolution tier is the lever that actually moves your cost. The important detail: 1K and 2K are billed at the same per-image rate, while 4K is billed at a higher rate. In other words, choosing 2K instead of 1K gets you roughly four times the pixel count (about 1 MP versus about 4 MP) at no additional cost per image.
That makes 2K the sane default for almost everything — and it already is the API default, so you have to opt out of it deliberately. Use 1K when you want fast, small previews or thumbnails and file size matters more than detail. Reserve 4K (about 16 MP) for output that will be printed, cropped heavily, or displayed on large-format surfaces, and budget it as a distinct, higher tier rather than letting it slip into a bulk job.
output_format is a second cost surface, not in billing but in storage and bandwidth. jpeg is the default and the right choice for delivery. png produces much larger files — roughly 12 MB at 2K and 30 MB at 4K — so only use it where lossless output or transparency handling genuinely matters, and make sure your storage and CDN budget can absorb the difference.
Image-to-image adds a second multiplier: each reference image in image_urls is billed per image. A call with four references is not one billed image plus free inputs — it scales with reference count as well as with the output tier. This is the most common place where a prototype's cost estimate diverges from production: teams test with one reference, ship a flow that passes six, and are surprised by the bill. Model your worst-case reference count, not your test-case count.
A short decision list:
- Default
resolutionto2K; it is the best quality-per-cost point. - Use
1Kfor previews,4Konly for print and large formats. - Default
output_formattojpeg; treatpngas an exception. - Add $0.0036 per reference image on image-to-image, on top of the resolution-tier price — do not multiply the tier price by the reference count.
Official per-image rates are $0.0129 at 1K and 2K, and $0.0393 at 4K. Image-to-image adds $0.0036 per reference image. Confirm the live panels if you need to re-check, and budget against these official figures.
Use Case 1: On-Demand Text-to-Image for Product and Marketing Visuals
The most direct use is generating campaign and product visuals from a brief, at whatever aspect ratio the destination surface needs. This is where the text-to-image route earns its keep: one required field, and aspect_ratio set explicitly per placement instead of cropping after the fact.
Map placements to ratios rather than guessing: 1:1 for feed and marketplace tiles, 4:5 for portrait social, 16:9 for web banners and video thumbnails, 9:16 for stories and vertical formats, 21:9 for wide hero sections. Leaving aspect_ratio at its 1:1 default and cropping later throws away the composition the model chose — and on wide or tall crops, it throws away a lot.
Write prompts as if the model will expand them, because it will. Prompts are automatically expanded, so a concise, well-structured instruction outperforms a padded one. Lead with subject, then setting, then lighting and material, then constraints like background or negative space. Keep the whole thing inside the 1–5000 character limit; you will rarely need more than a fraction of it.
A minimal request shape:
{
  "prompt": "Matte ceramic mug on a light oak surface, soft window light from the left, shallow depth of field, generous negative space on the right for copy",
  "aspect_ratio": "16:9",
  "resolution": "2K",
  "output_format": "jpeg"
}
For batch generation, drive the loop from your placement list, not from your prompt list — one prompt, several aspect ratios, several outputs. Keep the generated asset keyed to both its placement and its prompt version so downstream teams can trace which brief produced which creative.
Use Case 2: Controlled Variations with Seeds and Aspect Ratios
Creative review rarely ends at one image. It ends at "we like this direction — give us twelve versions of it." That workflow is only manageable if you can hold some variables fixed, and the seed parameter is what makes it possible.
seed accepts an integer from 0 to 2147483647. Pass a fixed value and the output is reproducible; omit it and you get a random seed. The practical pattern is to treat a seed as a version identifier:
- Generate a spread of candidates with no seed set. Keep the ones approved by reviewers.
- Record the seed for each approved image alongside its prompt, aspect ratio, and resolution.
- To regenerate or re-derive an approved asset later, replay the exact same request with the same seed.
This is what makes A/B testing prompts honest. If you change two words of a prompt and resample randomly, you cannot tell whether the difference came from your edit or from the seed. Fix the seed to isolate the prompt change. Fix the prompt and vary the seed to explore how much natural variation the direction has — useful for judging whether a concept is robust or was a lucky sample.
Because aspect_ratio and resolution are also plain parameters, a "reproducible asset" is really a stored tuple: prompt, aspect_ratio, resolution, output_format, and seed. Persist all five. A seed alone will not reproduce anything if the framing or resolution changed underneath it.
One caveat worth stating plainly: reproducibility is a property of identical requests against the same route. Treat seeds as a strong tool for iteration and audit trails, not as a byte-level archival guarantee, and keep the generated file itself if the exact pixels matter.
Use Case 3: Reference-Guided Editing for Brand-Consistent Assets
Brand assets are the strongest argument for the image-to-image route. Instead of describing your product, your packaging, or your visual system in text and hoping the model lands close, you hand it the actual asset.
The route requires prompt and image_urls. The prompt convention is the part people miss: refer to input images in order as Picture 1, Picture 2, and so on. That numbering is how you address specific references in a multi-image request, and it makes prompts read like edit instructions rather than descriptions:
{
  "prompt": "Picture 1: recolor the packaging to deep green, keep the label typography and logo position unchanged, preserve the studio lighting",
  "image_urls": ["https://example.com/asset-packaging.png"],
  "aspect_ratio": "1:1",
  "resolution": "2K",
  "output_format": "jpeg"
}
Input constraints are worth validating on your side before the call: JPG, PNG, or WEBP, each side between 128 and 8192 px, and up to 20 MB per image. Getting these wrong is a wasted request, so check dimensions and format at upload time.
aspect_ratio defaults to auto on this route, which lets the model choose framing based on the prompt and the references. That is usually correct for editing — you want the output to follow the source composition, not a fixed frame. Set it explicitly only when the destination requires a specific shape and you are willing to let the model re-frame to meet it.
Two operational notes. First, one reference is billed as one image, so a simple recolor or background swap is priced like a text-to-image generation at the same tier — cheap enough to run per SKU. Second, keep your reference assets stable and versioned. If the source image behind a URL changes, your edit request silently means something different.
Use Case 4: Multi-Image Composition and Combining
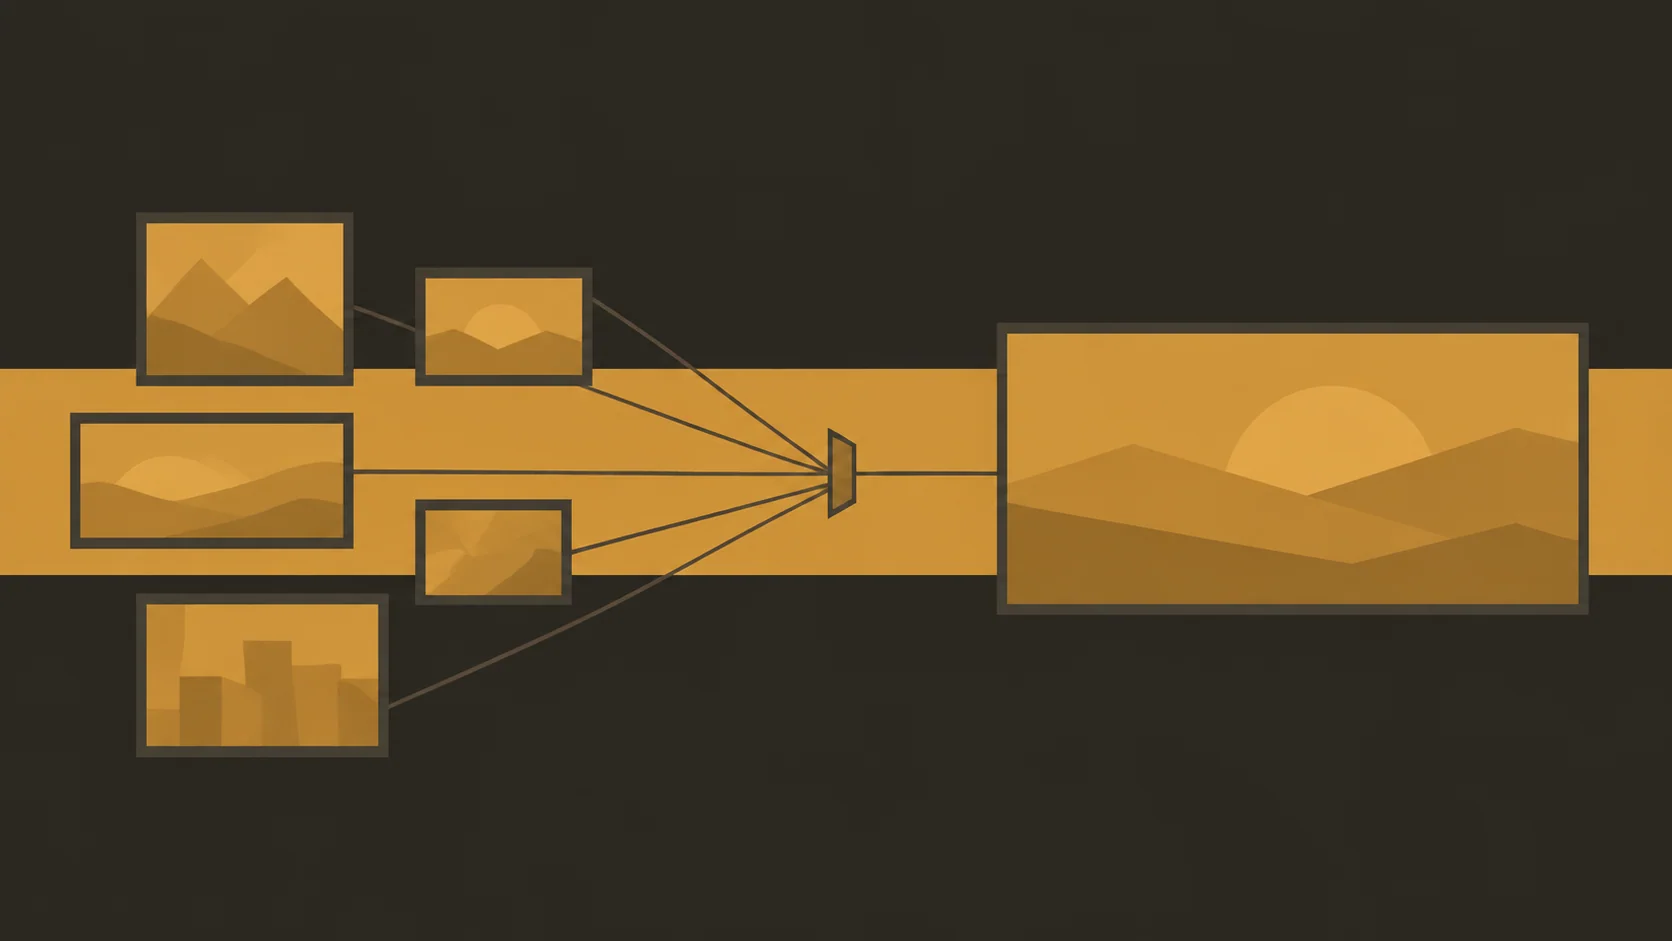
The image-to-image route accepts between 1 and 16 reference images in image_urls. Past one reference, the route stops being an editor and becomes a compositor: you are asking the model to merge, place, or reconcile several sources into one output.
Typical compositions: putting a generated product shot into a photographed room, combining separate product angles into a single group scene, or assembling a layout from several brand assets. Each of these is expressed in the prompt using the same ordered convention — Picture 1 for the first URL, Picture 2 for the second, and so on. Be explicit about the role of each reference rather than hoping the model infers it:
{
  "prompt": "Picture 1 is the product; place it on the table in Picture 2. Match Picture 2's perspective and lighting, keep the product's label legible, and preserve the room's shadow direction.",
  "image_urls": [
    "https://example.com/product.png",
    "https://example.com/room.jpg"
  ],
  "aspect_ratio": "auto",
  "resolution": "2K",
  "output_format": "jpeg"
}
The same input constraints apply to every reference: JPG, PNG, or WEBP, each side 128–8192 px, up to 20 MB. Sixteen small thumbnails and sixteen full-resolution photos are very different payloads, so validate each entry individually and downscale anything far beyond what the output tier can resolve.
Budget accordingly. Because each reference image is billed per image, a 16-reference compose is a materially larger call than a single-reference edit — and the output tier stacks on top. For composition workflows, decide early whether you need all references in one call or whether a two-step pipeline (compose, then refine) gets the same result for less. In practice, 2–4 well-chosen references usually beat a large pile of marginal ones, both on cost and on how controllable the prompt stays.
Keep aspect_ratio at auto here unless a placement demands otherwise; with multiple sources, letting the model reconcile framing is generally better than forcing a ratio that fights the inputs.
Use Case 5: High-Resolution Asset Generation for Print and Large Formats
4K is the one tier where the per-image price steps up, and it is worth being disciplined about when you use it. At about 16 MP, it is the right answer for three situations: print output, images that will be cropped hard in layout, and large-format display surfaces where the asset is viewed close up.
It is the wrong default for everything else. Web delivery rarely benefits from a 16 MP source that will be downscaled by the browser — and at png, a 4K output runs around 30 MB, which is a real cost in storage, transfer, and downstream processing. Two habits keep this manageable:
- Generate at the tier you will ship. If the final asset is a 2K web image, generate at
2K. Upscaling rarely recovers detail the model did not put there, and it costs you the higher tier for nothing. - Separate print jobs from web jobs. Run them as distinct batches with distinct
resolutionvalues rather than generating everything at4Kand shrinking. This keeps the higher tier confined to the assets that need it and makes the cost attributable.
Format choice matters more at this tier than at any other. If your print pipeline needs lossless output, png is justified — but at roughly 30 MB per 4K image, plan the storage and transfer path before you enable it broadly. Otherwise jpeg at 4K is the better trade for large-format display, where the compression is unlikely to be visible at viewing distance.
For high-resolution work tied to approved creative, reuse the seed pattern from the variations use case: capture the seed, prompt, aspect_ratio, and resolution of the approved 2K asset, then re-run at 4K with the same inputs to produce the print master from the same direction rather than starting over.
Integration Checklist Before You Ship
A short list of the things that most often break in production, all of which you can validate client-side.
- Validate
promptlength. Both routes requirepromptwith a minimum of 1 and a maximum of 5000 characters. Reject empty and oversized strings before the request, and truncate at sentence boundaries rather than mid-word. - Validate
image_urlson the image-to-image route. It is required, accepts 1–16 entries, and each must be JPG, PNG, or WEBP with every side between 128 and 8192 px and a file size up to 20 MB. Check all of these at upload time, per image. - Whitelist enum values.
aspect_ratiomust be one ofauto,1:1,5:4,4:5,4:3,3:4,3:2,2:3,16:9,9:16,21:9;resolutionone of1K,2K,4K;output_formatone ofjpeg,png. Remember1:1is the default ratio on text-to-image andautoon image-to-image. - Set
output_formatdeliberately. Default tojpegfor delivery and reservepngfor cases that can absorb roughly 12 MB at 2K and 30 MB at 4K. - Handle
seedas optional. Omit it for exploration, pin it to regenerate approved assets, and store it — plus prompt, ratio, resolution, and format — as the reproducible tuple. - Persist the seed and the file. Reproducibility depends on identical requests; keep the generated asset as the source of truth for anything that ships.
- Price by tier and reference count. Image-to-image scales with the number of references as well as the output tier, so estimate from worst-case inputs and confirm rates on the current pricing panel.
Both routes are documented with their full parameter schemas: the text-to-image route for generation and the image-to-image route for editing and composition. Pick the route first, then let 2K and jpeg be your defaults until a use case proves it needs otherwise.
Artigos relacionados
Ver todos os artigos →-
Tutorial
gpt-6.2-sol in Practice: 5 High-Value Uses of a Text Model in Business
-

Tutorial
gpt-6.2-astra Practical Guide: Integration and Implementation Key Points for 5 High-Value Text Scenarios
A Developer's Checklist from Scenario Selection to Engineering Implementation
-
Tutorial
Tripo H3.1 Practical Application Scenarios: 5 High-Value Use Cases and Implementation Essentials
From text-to-3D to multiview reconstruction: choosing the right mode and parameters by business scenario