
Guide
Muse-Image-1.0 Image-to-Image Prompt Recipes for Developers
Copy-paste edit prompts, subject-preserving phrasing, and negative prompts for common failures

How image-to-image prompts differ from text-to-image prompts
Text-to-image prompts describe an entire scene: subject, lighting, style, framing, background. The model starts from noise and builds everything. Image-to-image is different: you already have a source image, and the prompt is a delta against it. You are not describing what the image should contain from scratch — you are describing what should change and what should stay.
This distinction matters because a full scene description in an edit prompt invites the model to re-render the whole frame. If you describe the subject in detail, the model may redraw the subject instead of preserving it. If you describe the background, it may rebuild the background. The result often looks like a plausible but different image — same idea, different instance.
The mental model to hold: a text-to-image prompt is a specification; an image-to-image prompt is a diff. The source image is the base document, and your prompt is a patch. Patches should be small, explicit, and scoped. When a patch is too broad, the model applies it everywhere, and you lose the parts of the source you wanted.
Practically, this means edit prompts should lean on references to the existing image ("the subject", "the existing background", "the current framing") rather than re-describing them. Say what moves, not what exists. The next sections turn this into a reusable skeleton and concrete recipes.
One more consequence: because the source image carries so much information, the same prompt can behave differently on different inputs. A recipe that works on a product shot may fail on a portrait. That is why recipes here are written as adaptable patterns, not magic strings.
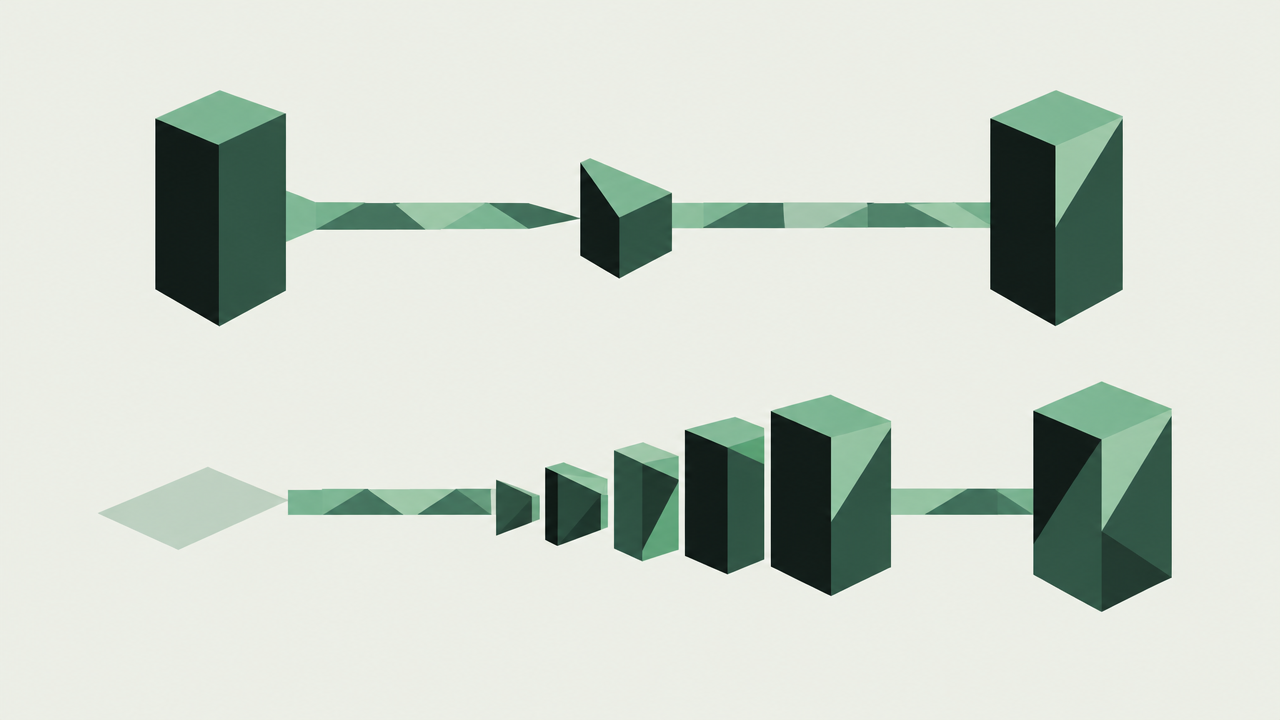
Recipe format: one change, one preserve, one constraint
Every edit prompt in this guide follows the same three-part skeleton. It is deliberately boring, and that is the point — a fixed structure makes prompts comparable, reviewable, and templatable.
The skeleton
- Change — one explicit instruction describing the modification. Start with a verb: change, replace, add, remove, shift, recolor.
- Preserve — an explicit list of what must stay fixed: subject identity, pose, framing, background, lighting, texture.
- Constraint — the boundary conditions: style consistency, aspect ratio, no new objects, no text unless requested.
A minimal prompt looks like this:
Change: replace the background with a plain light-grey studio backdrop.
Preserve: the subject's face, hair, clothing, pose, and framing.
Constraint: keep the original lighting direction and shadow softness; no added props; no text.
Why three parts, not one sentence
The three-part split does two things. First, the change and preserve lines are separate signals; models tend to honor explicit "keep" instructions better when they are not entangled with the edit sentence. Second, the split makes debugging possible. If the output is wrong, you can tell whether the change was misapplied (change line too vague) or the source was over-edited (preserve line missing or too short).
Keeping it one change per prompt
Resist combining edits. "Replace the background and add a hat and make it evening lighting" is three recipes in a coat. Run them as sequential edits instead: each step has a clean delta, and you can inspect intermediate results. Sequential edits also let you keep the preserve line tight at each stage.
The constraint line is your quality gate. Put the things you will reject the output for — wrong aspect ratio, added text, shifted color temperature — into the constraint. It is easier to remove an over-constrained prompt than to chase an under-specified one.
Copy-paste edit recipes
Each recipe below follows the change / preserve / constraint skeleton. Adapt the bracketed parts to your subject. Treat the before-and-after framing as a checklist: what should visibly differ, and what should be identical.
1. Background replacement
Before: subject on a busy street. After: same subject, clean backdrop.
Change: replace the background with a seamless [color] studio backdrop.
Preserve: the subject's face, hair, clothing, pose, and body framing; keep the current crop.
Constraint: match the original lighting direction on the subject; no new shadows on the backdrop; no text or logos.
2. Product color swap
Before: product in one colorway. After: same product, different color.
Change: recolor the [product part] to [target color], keeping the material finish.
Preserve: the product's shape, seams, labels, reflections, and the existing composition.
Constraint: do not recolor the background or the reflections on surrounding surfaces; no text changes.
3. Lighting and time-of-day shift
Before: midday flat light. After: warm evening light.
Change: shift the lighting to warm low-angle evening light.
Preserve: the subject's identity, pose, clothing, and the scene layout.
Constraint: keep shadows consistent with a single low light source; do not add or remove objects; no text.
4. Object removal
Before: scene with a distracting element. After: same scene, element gone.
Change: remove the [object] from [location] and fill the area with the surrounding surface.
Preserve: everything else in the frame exactly as is, including framing and lighting.
Constraint: no blur or smudge artifacts where the object was; do not add replacement objects; no text.
5. Style transfer on a subject
Before: photo of a subject. After: illustrative treatment of the same subject.
Change: render the image in a [style] illustration style.
Preserve: the subject's facial features, pose, clothing details, and the composition.
Constraint: keep the subject recognizable; no added elements; no text or signature marks.
6. Crop and reframe
Before: wide shot. After: tighter framing, same subject.
Change: reframe to a closer [portrait/square] crop centered on the subject.
Preserve: the subject's appearance, expression, lighting, and background context within the new crop.
Constraint: do not invent detail outside the original frame; no text.
Run one recipe per pass, inspect, then chain the next. If a recipe misfires, the fix is usually in the preserve or constraint line, not in adding more adjectives to the change.
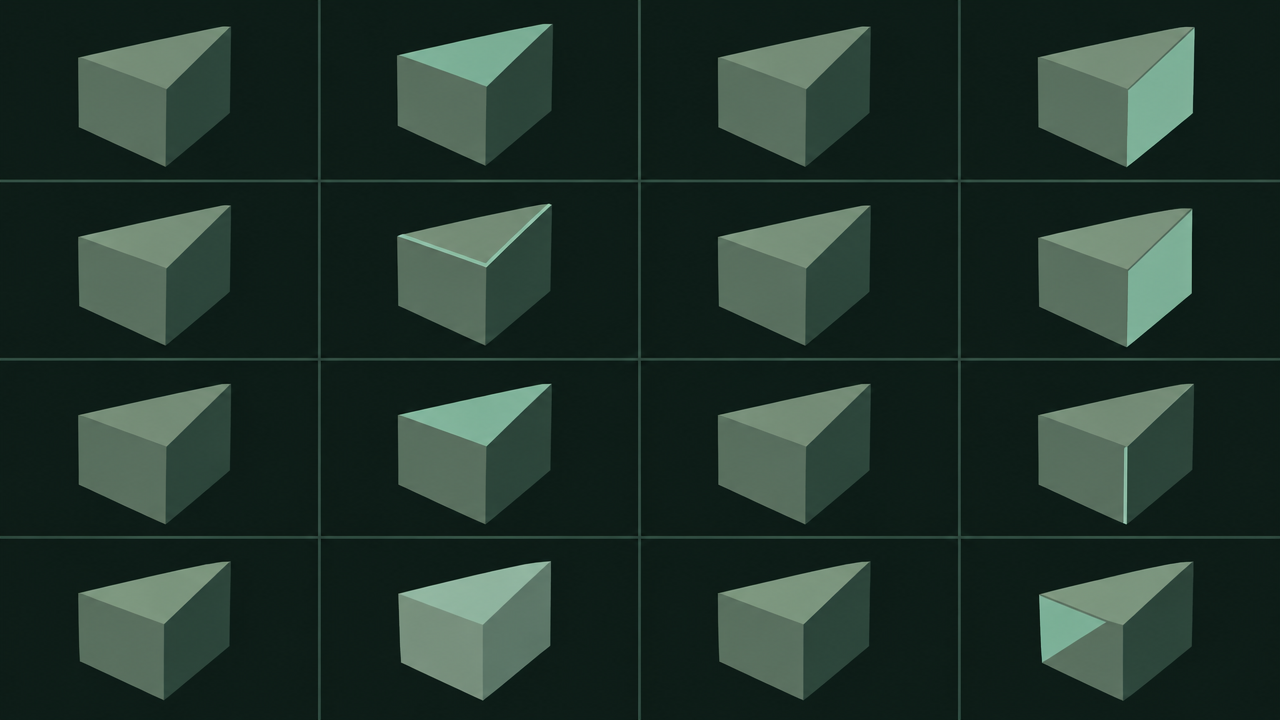
Phrasing that keeps subject details intact
Identity drift is the most common complaint about image-to-image. The model does the requested edit but quietly redraws the face, changes the fabric, or shifts the pose. Phrasing is your main lever here, and it works better than repetition.
Name what must stay fixed
Abstract preservation instructions ("keep it the same") are weak. Specific ones are strong. Compare:
- Weak: "keep the subject unchanged."
- Strong: "preserve the subject's face, hairline, eye color, clothing folds, and hand position."
The strong version works because it enumerates checkable attributes. The model has concrete anchors to hold onto instead of a vague "don't change things".
Refer to the image, don't re-describe it
Re-describing the subject is the most common self-inflicted error. If you write "a woman with brown hair in a blue shirt", the model may generate a woman with brown hair in a blue shirt — not the one in your source. Prefer deictic references: "the subject", "the existing background", "the current framing". Re-description is only useful when you want to change the attribute.
Scope the edit spatially
When possible, bound the edit area in words: "the background only", "the lower third of the frame", "the product label". Spatial scoping reduces collateral edits. If your pipeline supports masks, combine spatial language with the mask — words and masks reinforce each other.
Use comparatives, not absolutes
"Warmer", "slightly tighter", "less saturated" preserve more of the original than "warm orange", "extreme close-up", "highly saturated". Absolutes pull the model toward a canonical version of the description; comparatives keep it anchored to the source.
Keep the preserve list short but load-bearing
Three to six attributes is usually enough. A preserve list of twenty items dilutes attention; a list of zero invites drift. Pick the attributes you would reject the output for, and leave the rest.
A practical habit: write the preserve line first, then the change line. Deciding what matters most before deciding what moves tends to produce tighter prompts.

Negative prompts for common failure cases
Most bad generations cluster into a handful of repeatable failure classes. A small, reusable negative prompt set covers them without over-constraining the edit. Add negatives to the constraint line or as a separate negative field, depending on how your pipeline passes them.
Failure: identity drift on faces
Symptoms: face shape, eyes, or age shift; expression changes unexpectedly.
Negative: altered facial features, changed eye color, different person, age change, expression change
Failure: over-editing the background
Symptoms: background objects move, walls change color, shadows relocate after a subject-only edit.
Negative: changed background, moved objects, altered wall color, new shadows, shifted horizon
Failure: texture and material loss
Symptoms: fabric looks plastic, skin looks airbrushed, metal loses reflections.
Negative: plastic texture, airbrushed skin, lost fabric weave, flattened reflections, oversmoothing
Failure: unwanted additions
Symptoms: props appear, text or watermarks show up, extra limbs or objects.
Negative: added props, extra objects, text, watermark, logo, signature, extra limbs
Failure: style bleed
Symptoms: a local edit repaints the whole image in a new style, or a style edit leaks into the subject's identity.
Negative: global restyle, changed lighting on subject, painterly bleed, uniform filter
Failure: artifact seams
Symptoms: blur or smudge where an object was removed; hard edges at the edit boundary.
Negative: blur artifacts, smudge, visible seam, halo, patch mismatch
How to use these without breaking the edit
Start with one negative line matched to the failure you actually observed. Adding all six at once tends to flatten the output and can fight the change you asked for. Keep negatives short and specific; long lists of "bad quality" terms rarely help a targeted edit. If a negative line fixes one case and breaks another, scope it to that recipe rather than the global template.
Turning recipes into parameterized templates
Copy-paste prompts are a starting point. What scales in a product is a template with named slots, a version tag, and an owner. The goal is that any engineer can call the same recipe and get comparable behavior.
Extract the slots
Look at a recipe and replace the parts that change per request with placeholders:
Change: replace the background with a seamless {backdrop_color} studio backdrop.
Preserve: the subject's {identity_attributes}; keep the current crop.
Constraint: match the original lighting direction on the subject; no new shadows on the backdrop; no text or logos.
Negative: {failure_negatives}
Typical slots: subject class, edit target, target value, preserve attribute list, constraint flags, negative set. Keep slot names stable across recipes so the same caller code can switch recipes.
Version and register recipes
Treat a prompt like a schema. Give each template an id and a version (background_replace@2), and record what changed and why. When output quality shifts after a model or recipe change, you need to know which version produced a given asset. Store the rendered prompt alongside the output, not just the template reference.
Compose, don't concatenate
Build prompts from blocks — change block, preserve block, constraint block, negative block — rather than string-concatenating free text. Blocks make it possible to lint for missing preserve lines and to swap negative sets per failure class. Keep a small library of preserve blocks (portrait, product, scene) and negative blocks (identity, texture, additions).
Guardrails in the template layer
Validate slots before sending: reject unknown colors, empty preserve lists, and edits that combine multiple changes. Enforce one change per call at the API boundary. These checks are cheap and catch most bad prompts before they reach the model.
Share with examples
Each template should ship with two or three example source images and expected outcomes, so a new team member can sanity-check a change without asking around. The template plus examples is the unit of reuse.
Evaluating recipes on your own images
A recipe that looks good on one sample tells you almost nothing. Before a prompt ships into a product, it should earn its place on a fixed evaluation set that reflects your real inputs.
Build a small, fixed test set
Ten to thirty source images is usually enough to start. Cover the variation you actually see: subject types, lighting conditions, backgrounds, aspect ratios, and edge cases. Freeze the set and reuse it across prompt versions so comparisons are meaningful. Add new images when you find a failure class the set misses, but version the set too.
Define pass criteria per recipe
For each recipe, write down what a pass looks like. For a background replacement: subject identity retained, no halo, lighting direction consistent, background free of artifacts. For a color swap: target color correct, labels intact, reflections plausible. Criteria should be checkable by a human reviewer in seconds, not a paragraph of vibes.
Compare variants, not absolutes
Run prompt variants side by side on the same set and compare pass rates. A change line tweak, a shortened preserve list, an added negative — each is a candidate variant. Keep a simple record: variant id, pass count, notable failures. This turns prompt tuning from anecdote into a small experiment log.
Separate recipe failures from input failures
Some failures are about the source image: low resolution, heavy occlusion, ambiguous subject. Note these separately. A recipe is not broken because it cannot fix a bad input, but your pipeline may need an input-quality gate.
Watch for regressions across recipes
Shared blocks — preserve lists, negative sets — can improve one recipe and quietly hurt another. Re-run the full set when you change a shared block, not just the recipe you were tuning. This is the main reason to keep templates modular.
Ship with monitoring
Once a recipe is live, sample outputs in production and route obvious failures back into the evaluation set. The loop — observe, add to set, test variants, promote — is what keeps prompt quality from decaying as inputs and models change.
Start with the three-part skeleton, build a small evaluation set, and let the recipes here serve as starting points you version and adapt rather than final answers.
Related articles
View all articles →-

Guide
Getting Started with seedream-5.0-pro/image-to-image: Capabilities, Pricing, and Integration Essentials
Capability boundaries, billing model, and engineering integration practices for ByteDance's image editing model
-
Guide
seedream-5.0-pro Text-to-Image Getting Started Guide: Capability Boundaries, API Integration, and Cost Control
A hands-on developer perspective: from key parameters to a cost estimate of $0.05 per image
-
Guide
Hailuo 2.3 Fast Image-to-Video Getting Started Guide: Capability Boundaries, Pricing, and Integration Practices
MiniMax image-to-video model selection and integration key points for developers