使用ガイド
Grok Imagine のアウトペインティングでプロンプトはどう書く?5つの実例と1つの公式
正方形から16:9と9:16、2:1のバナー、縦向きの室内、さらには失敗例も加えて、被写体を保ったまま拡張する方法を解説します。
Grok Imagine でアウトペインティング(outpainting)するには、元画像を grok-imagine/image-to-image に渡し、aspect_ratio を希望するより横長または縦長の画角に設定し、プロンプトで3つのことを明確に書きます:何をそのまま保つか、新しい空間に何を埋めるか、新しいものを追加しないこと。1Kで1枚$0.033です。以下は成功したアウトペインティング4例と失敗1例で、いずれも1回だけ生成したものです。
まずはっきりさせておきます:Grok Imagine は新しい画角に合わせて画像全体を描き直すので、端だけピクセルを補う正確なアウトペインティングではありません。被写体の位置や細部が変わる可能性があるため、使う前に確認してください。
1. 正方形の商品画像を16:9に拡張
元画像、1:1:
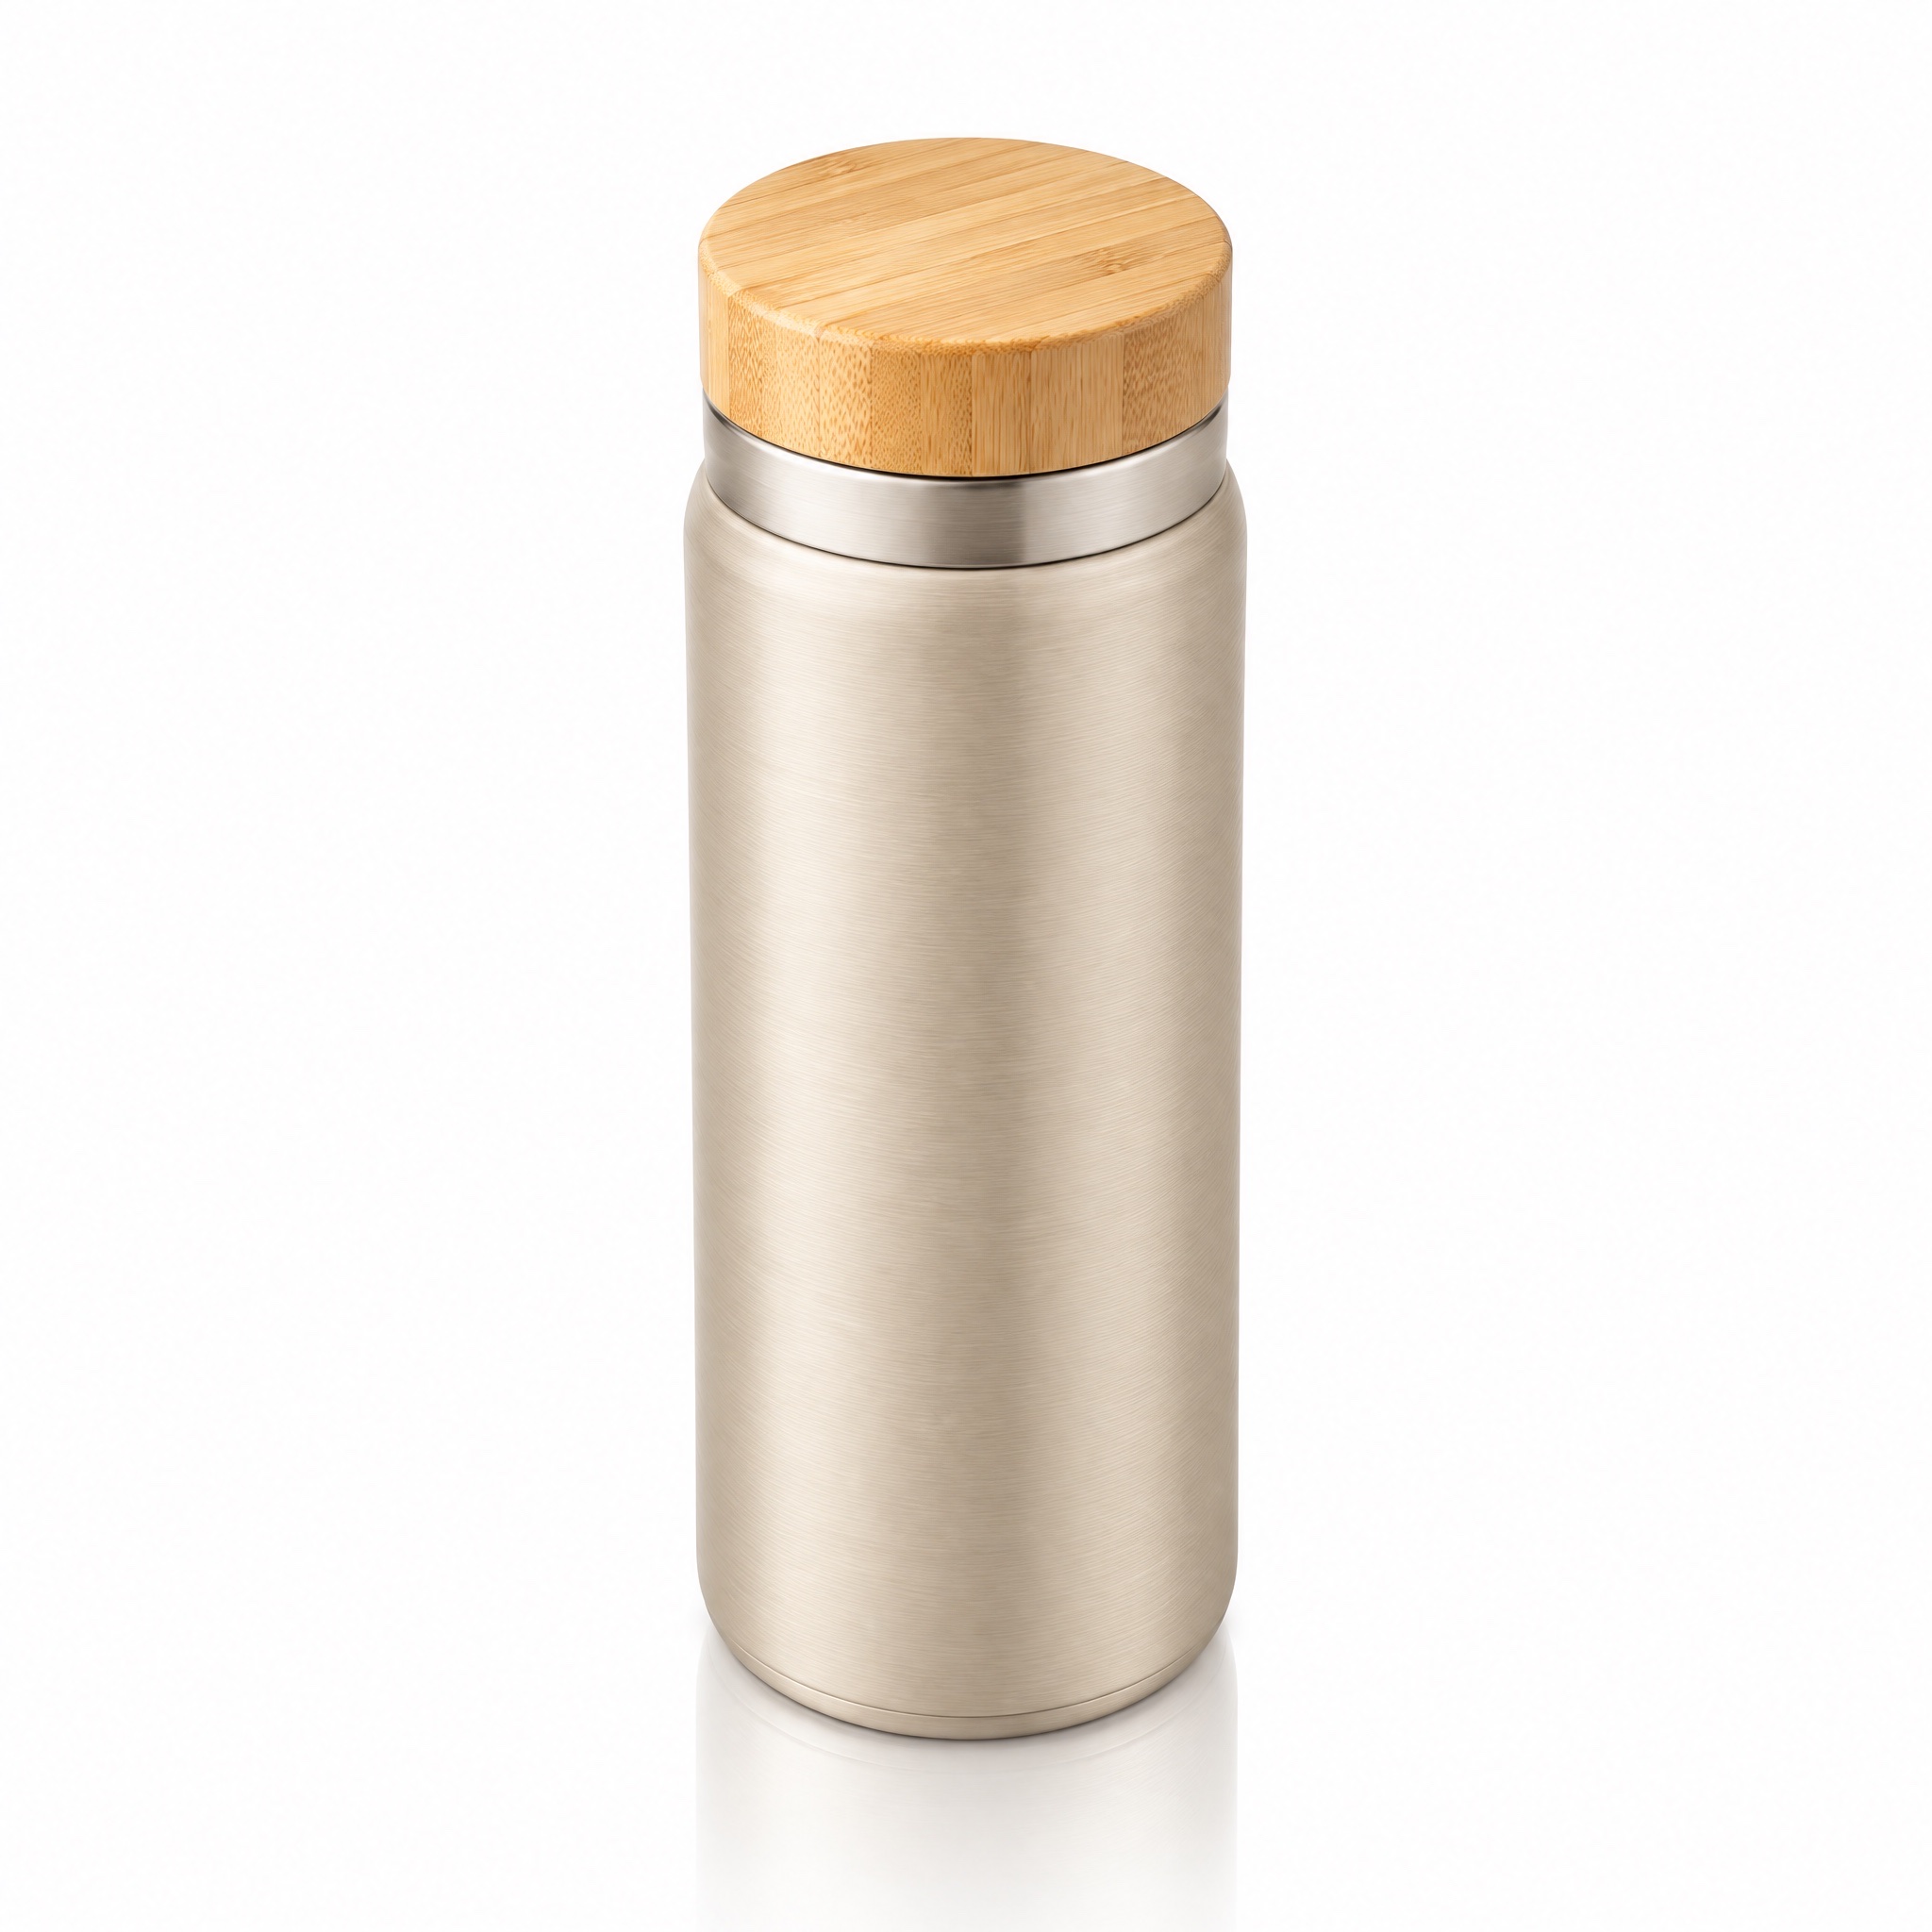
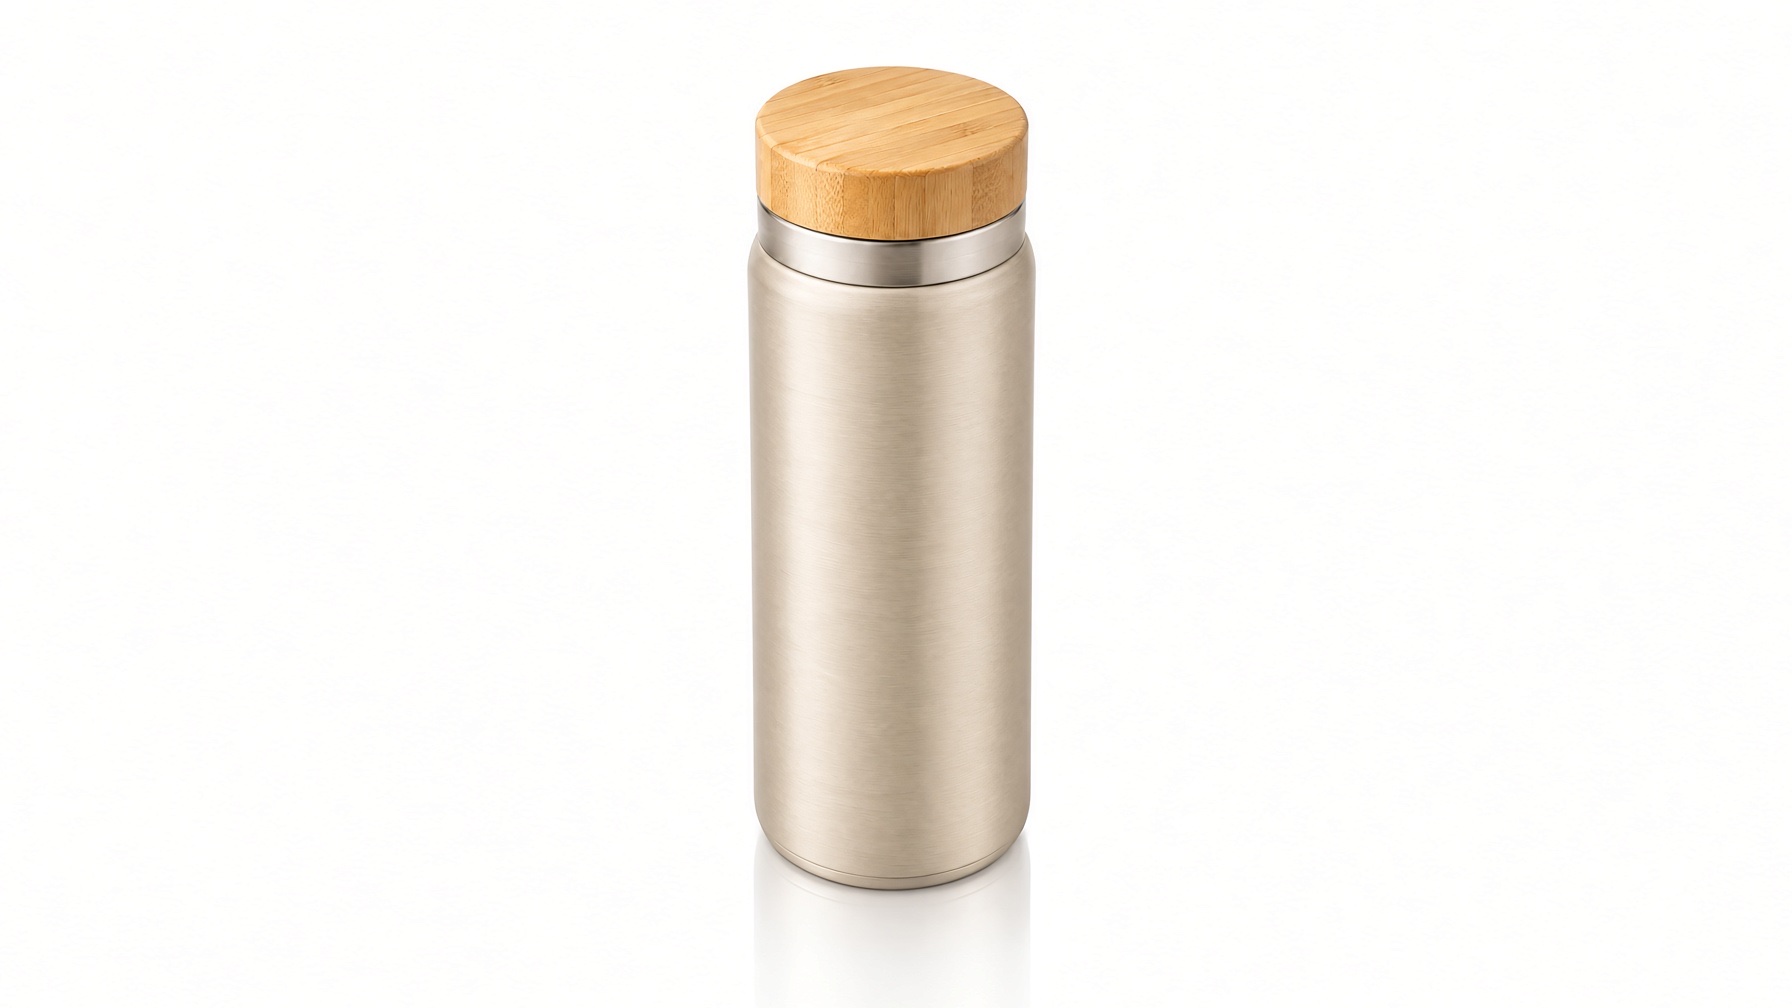
Extend this product photo to a wider 16:9 frame. Keep the thermos bottle exactly as it is, same size, shape, color and position in the center. Fill the new space on the left and right with the same seamless pure white studio background and the same soft top-left lighting. No new objects, no text.
このプロンプトで生成 →(画像をアップロードし、画角は16:9、1Kを選択)
grok-imagine/image-to-image、aspect_ratio: "16:9"、1K、出力1792×1008、$0.033。
コップの形状、竹製の蓋、質感は保たれ、白背景もきれいに広がりました。ただし中央にはとどまらず、左側三分の一の位置にずれています。位置が重要な場合は確認するか、後から中央に戻すようにトリミングしてください。
2. 同じ画像で、プロンプトが簡単すぎた場合
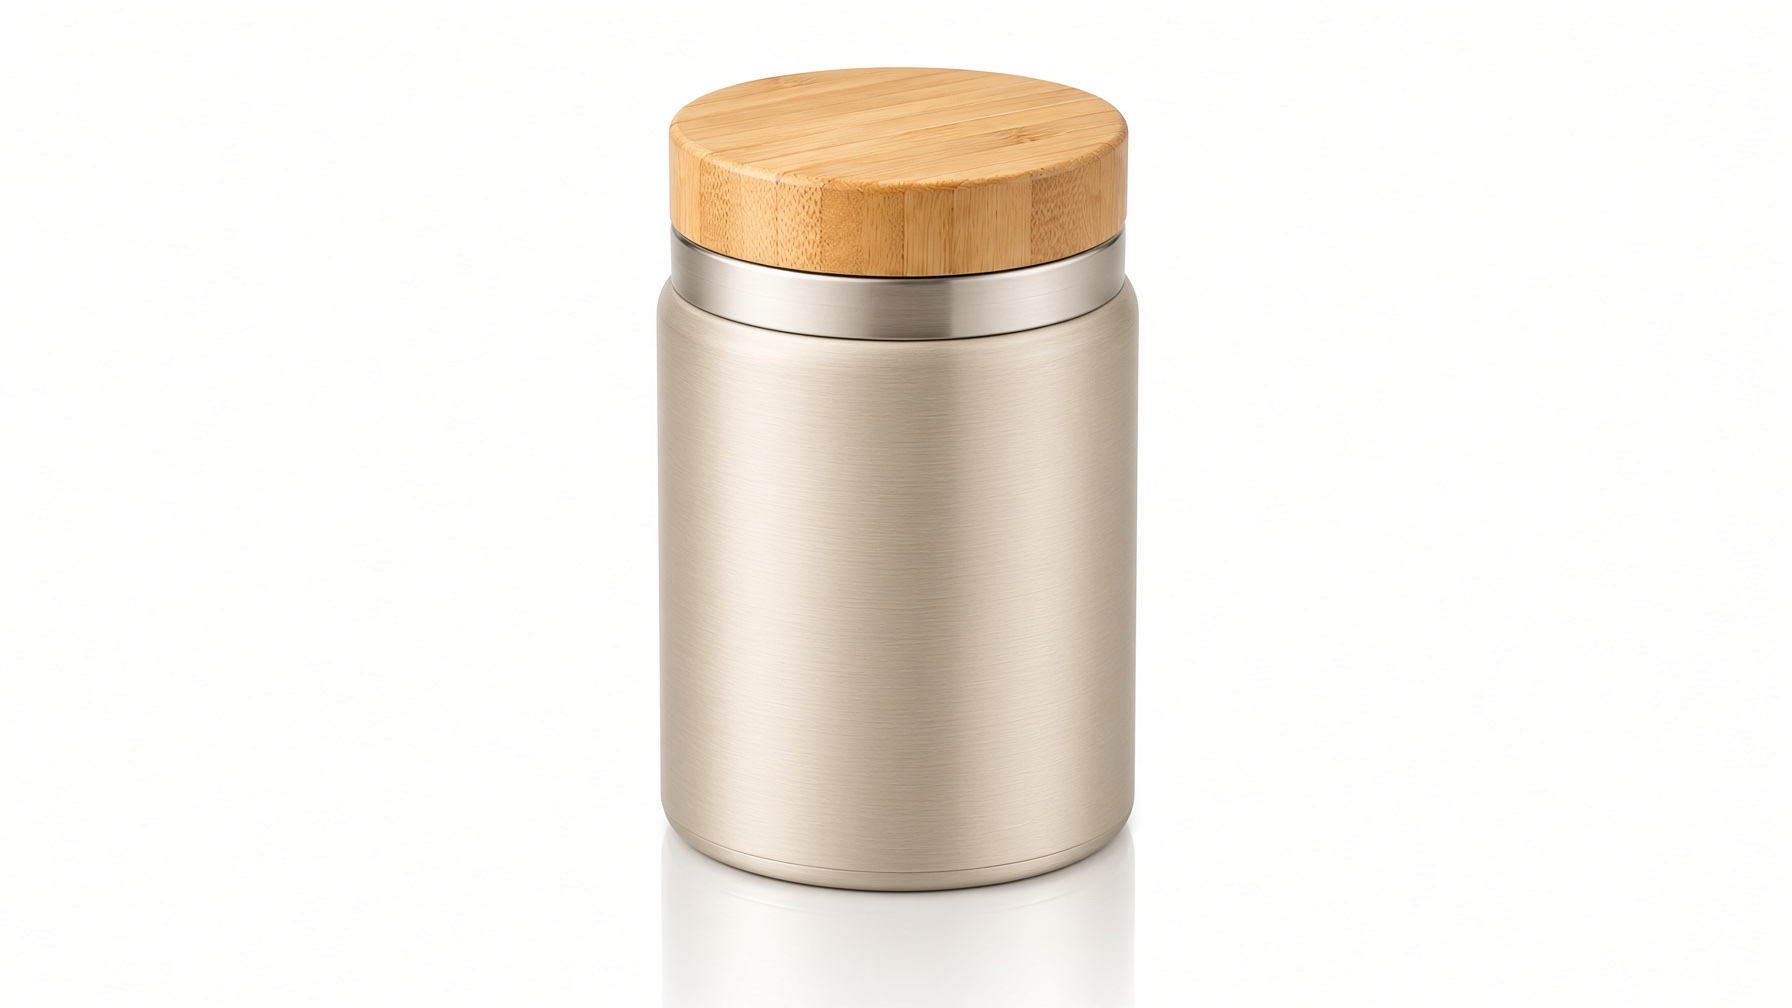
Make it wider.
grok-imagine/image-to-image、aspect_ratio: "16:9"、1K、$0.033。
「Make it wider」は文字通りの意味に解釈されました:画面は16:9になりましたが、コップ自体も横に広がり低くなってしまいました。これはアウトペインティングで最もよくある落とし穴です。「extend the frame / background」(画面や背景を拡張する)と書き、被写体は元のサイズと形状を保つことを明記してください。
3. 正方形を9:16の縦長に拡張し、上部にタイトル用の余白を確保
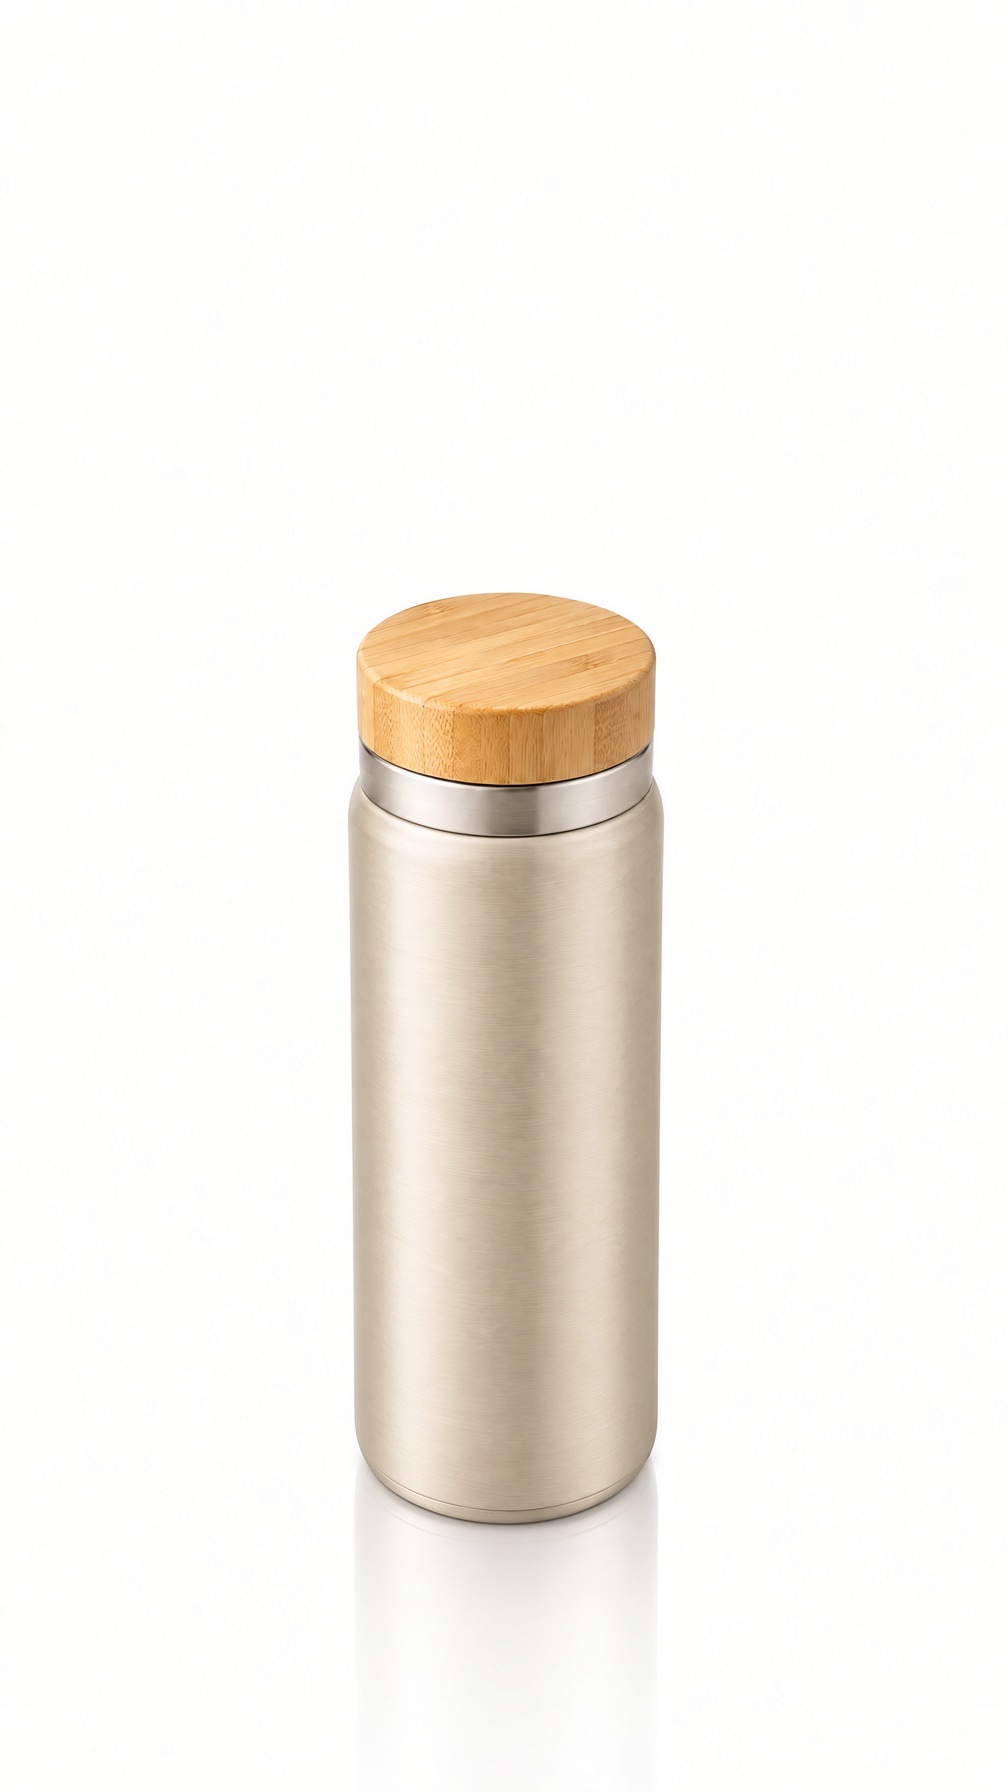
Extend this product photo to a tall 9:16 frame. Keep the thermos bottle exactly as it is in the middle. Continue the seamless pure white studio background above and below it with the same soft lighting, leaving empty space at the top for a headline. No new objects, no text.
このプロンプトで生成 →(画像をアップロードし、画角は9:16、1Kを選択)
grok-imagine/image-to-image、aspect_ratio: "9:16"、1K、出力1008×1792、$0.033。
「上部にタイトルを置くスペースを空ける」と一行書くだけで、すぐに使える縦長カバーが一度で得られます:商品は下にあり、上は文字を置くために空いています。
4. ライフスタイル画像を4:3から2:1のバナーに拡張
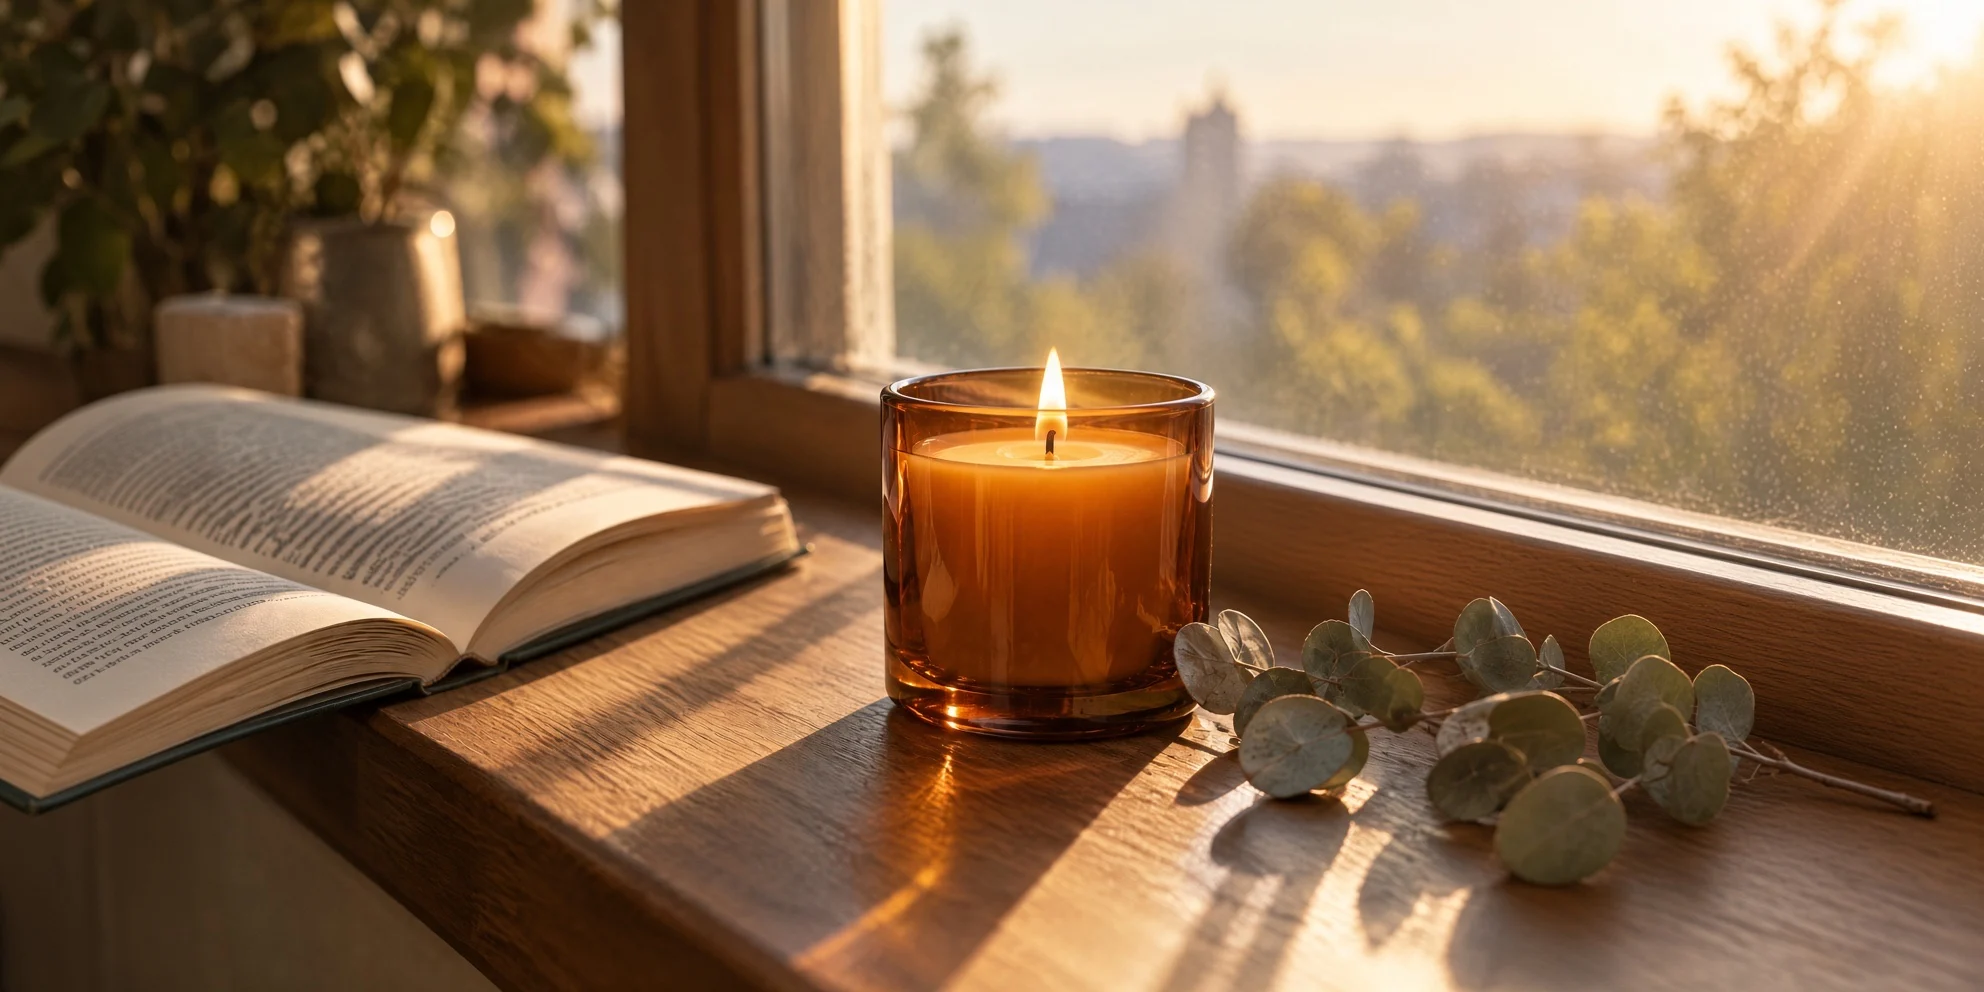
元画像、4:3:
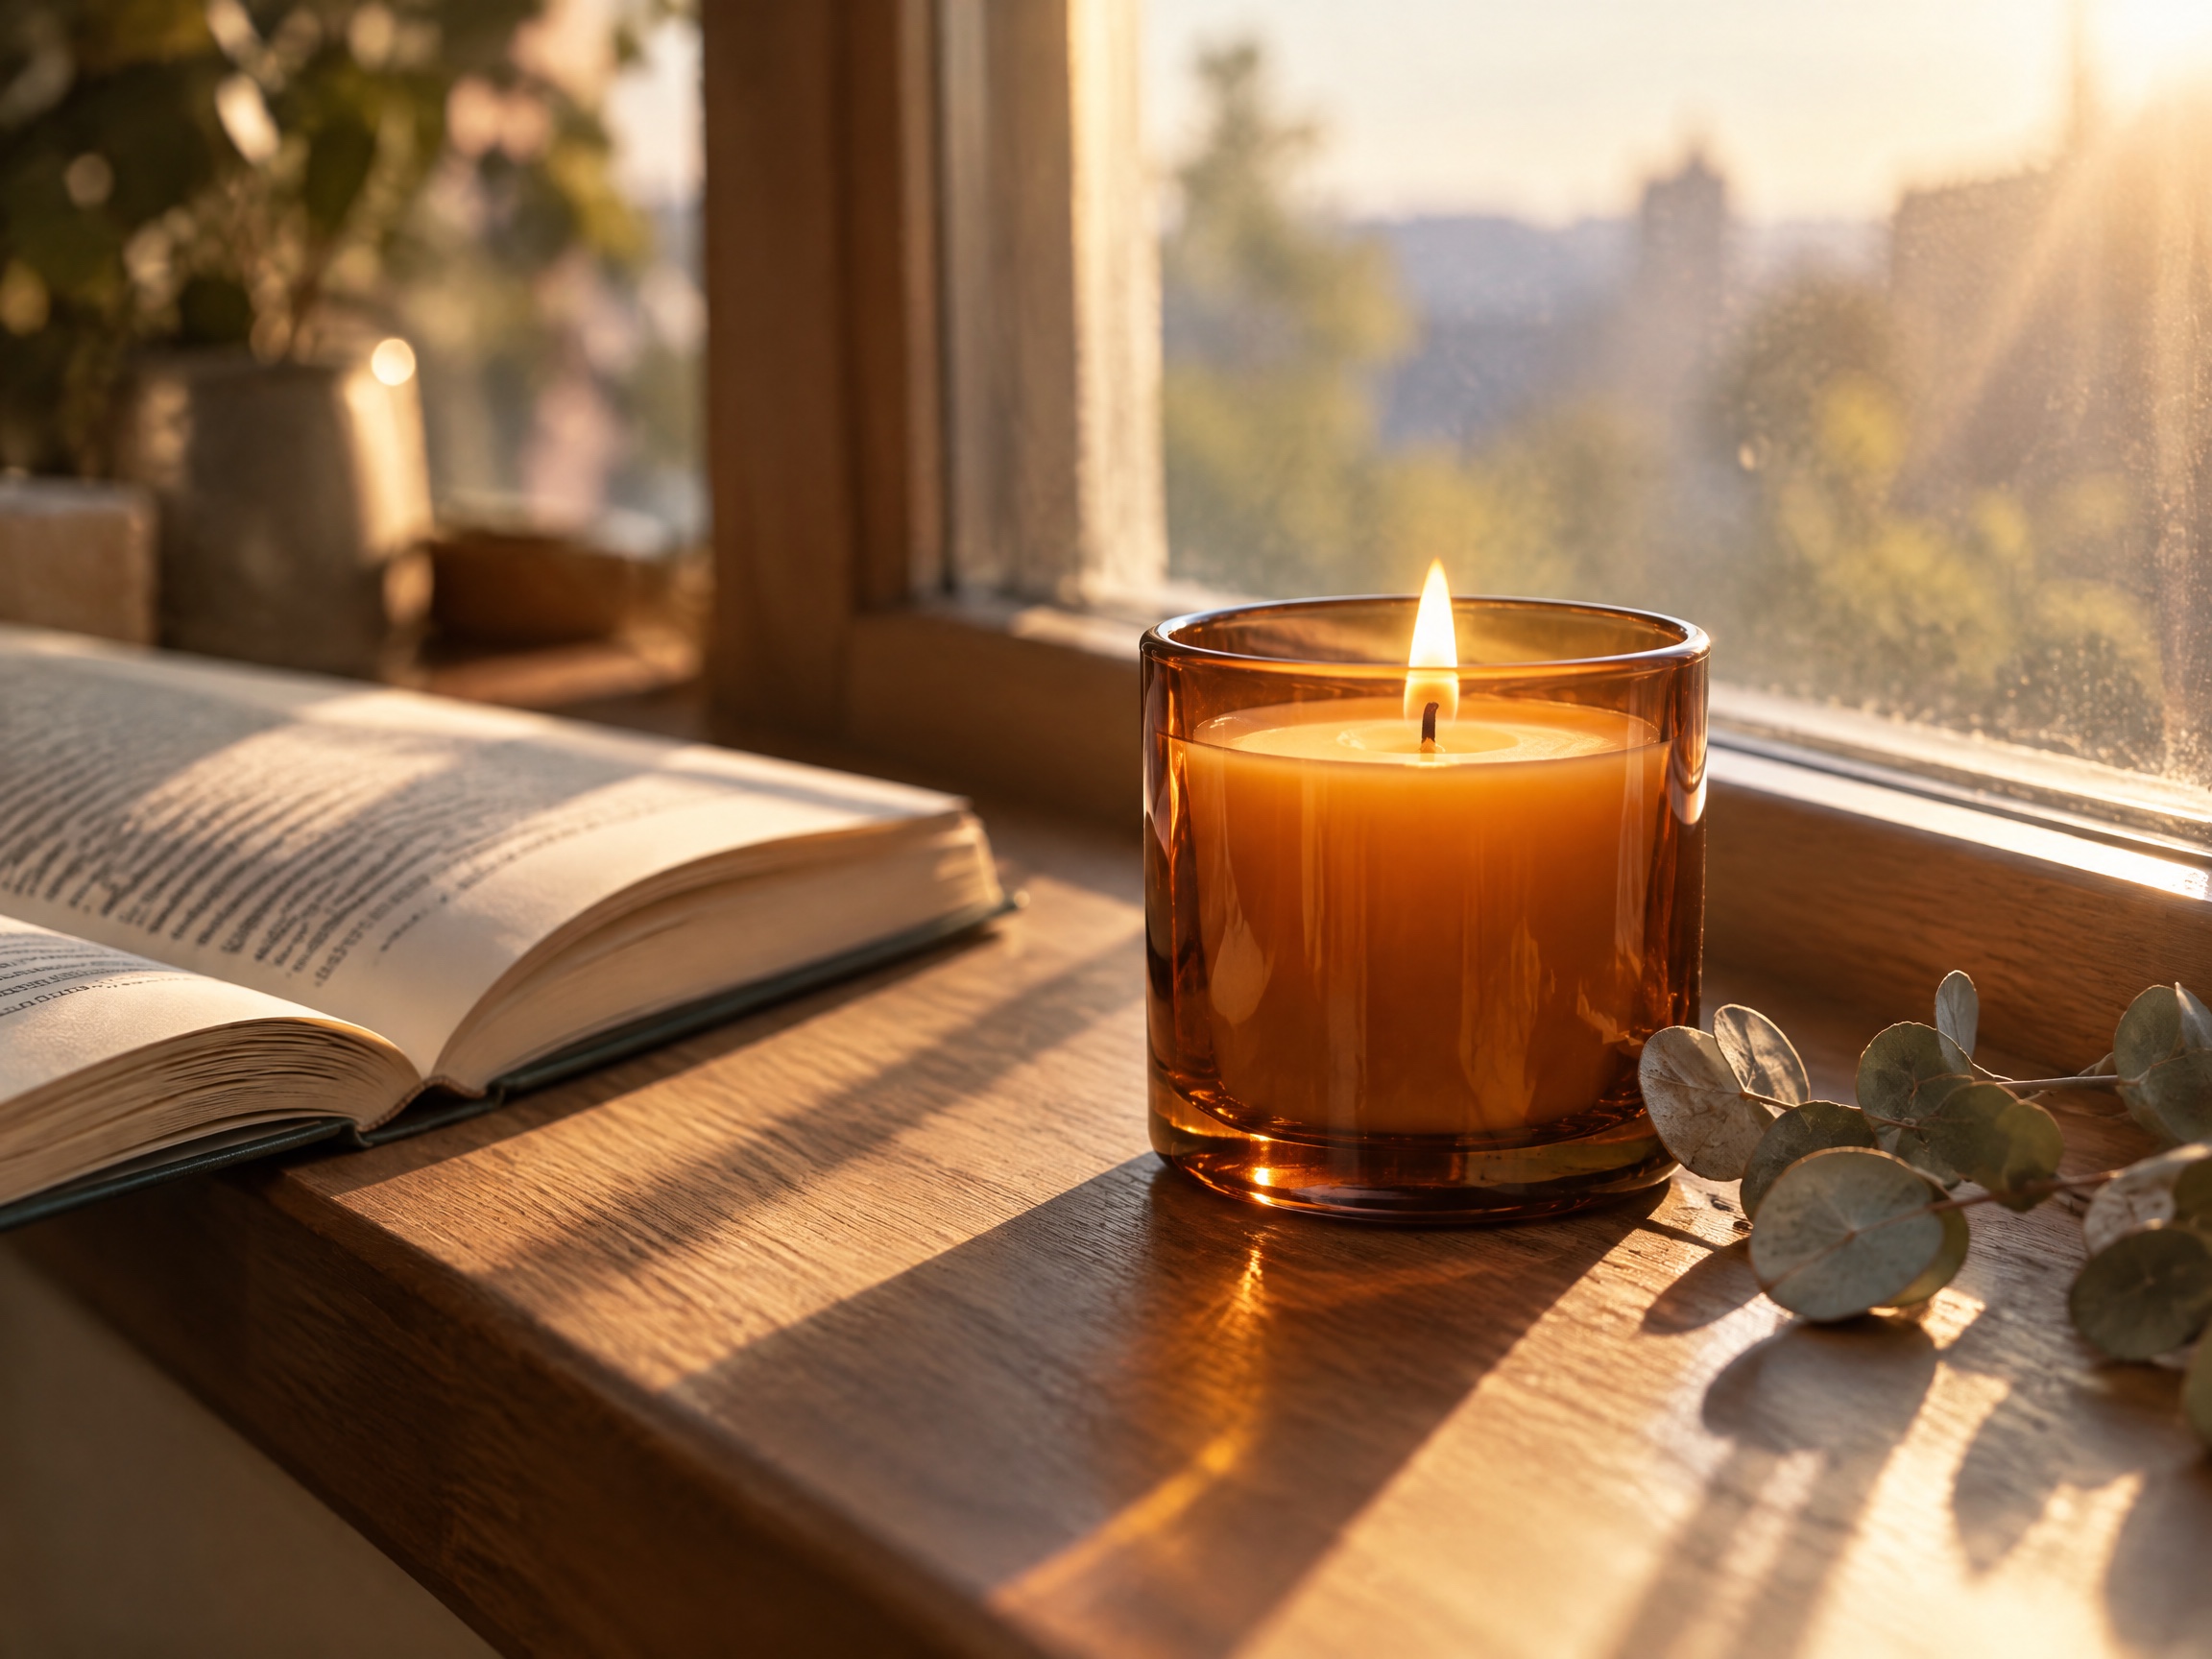
Outpaint this photo to a wide 2:1 panorama. Keep the candle, book and eucalyptus exactly as they are. Continue the wooden windowsill, the window frame and the morning light to the left and right, with the same warm color and shallow depth of field. Add nothing that draws attention away from the candle.
このプロンプトで生成 →(画像をアップロードし、画角は2:1、1Kを選択)
grok-imagine/image-to-image、aspect_ratio: "2:1"、1K、出力1984×992、$0.033。
継続するものを名指しする(窓辺、窓枠、光)ことで、モデルは元のシーンに沿って外側に描き、別の新しいシーンを作り出しません。「キャンドルの目を引くものを加えない」ことで、新しく拡張された部分は静かに保たれます。
5. 室内画像を16:9から9:16に拡張
元画像、16:9:
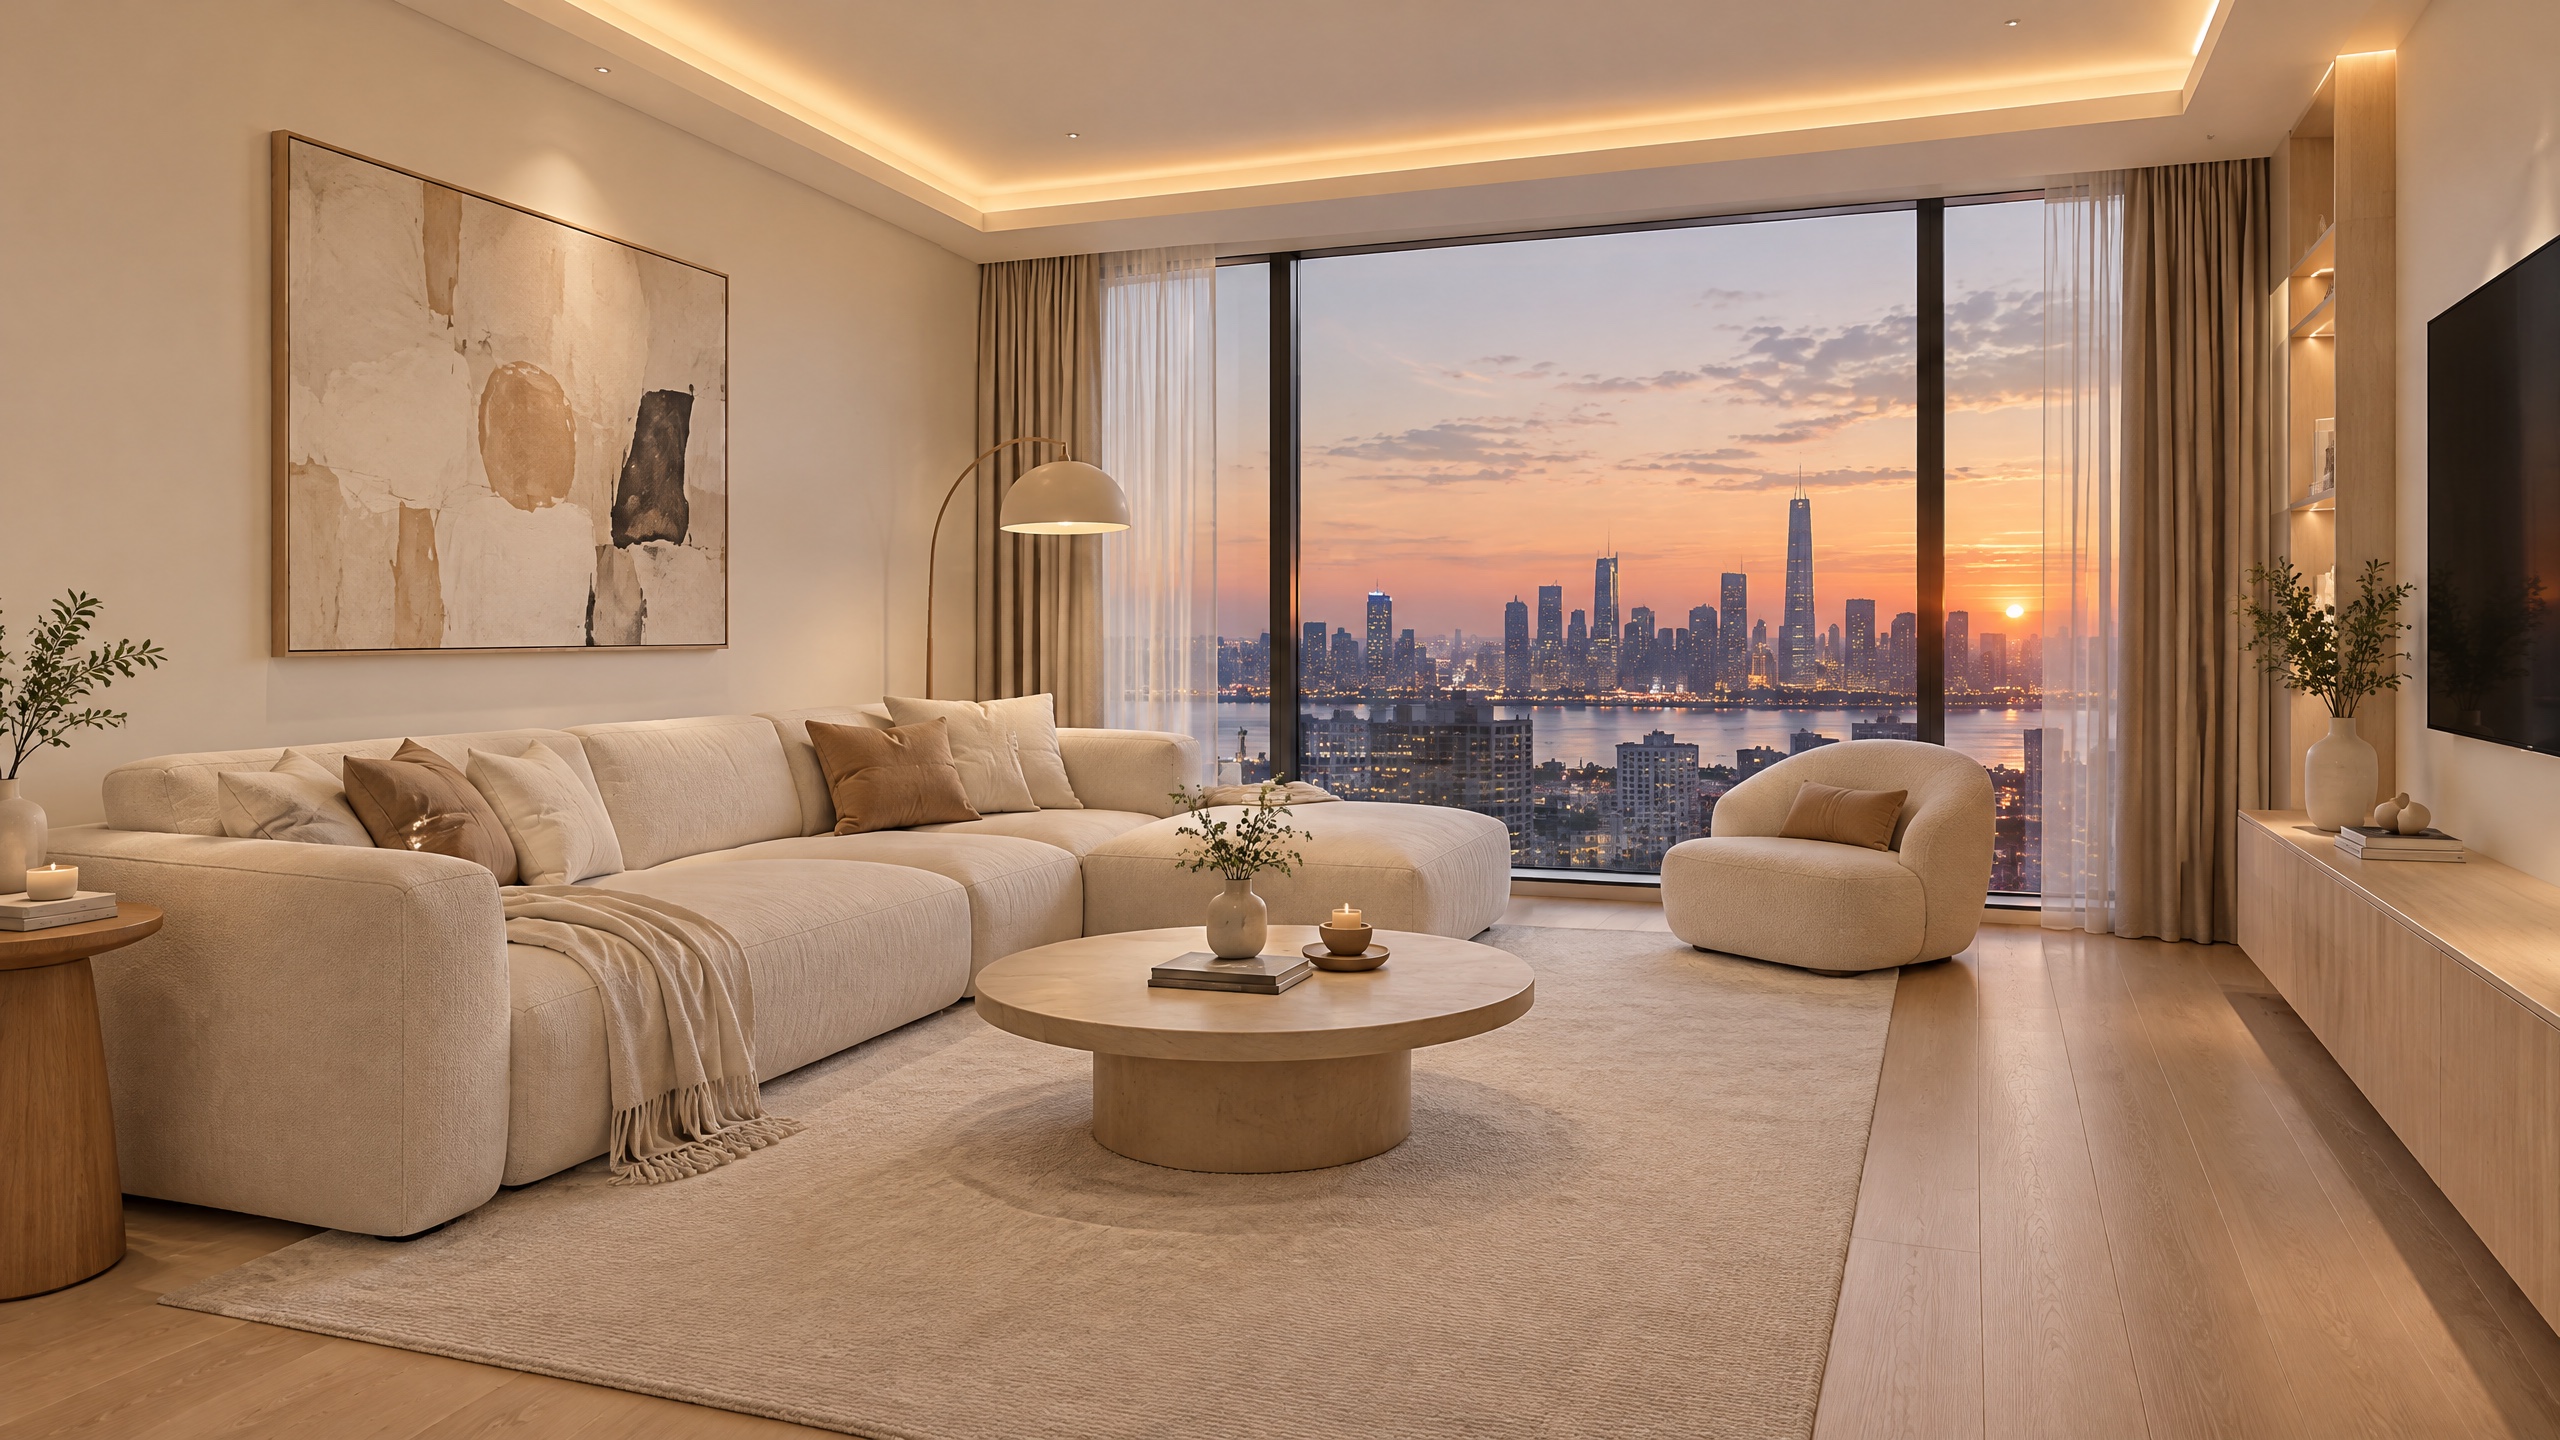
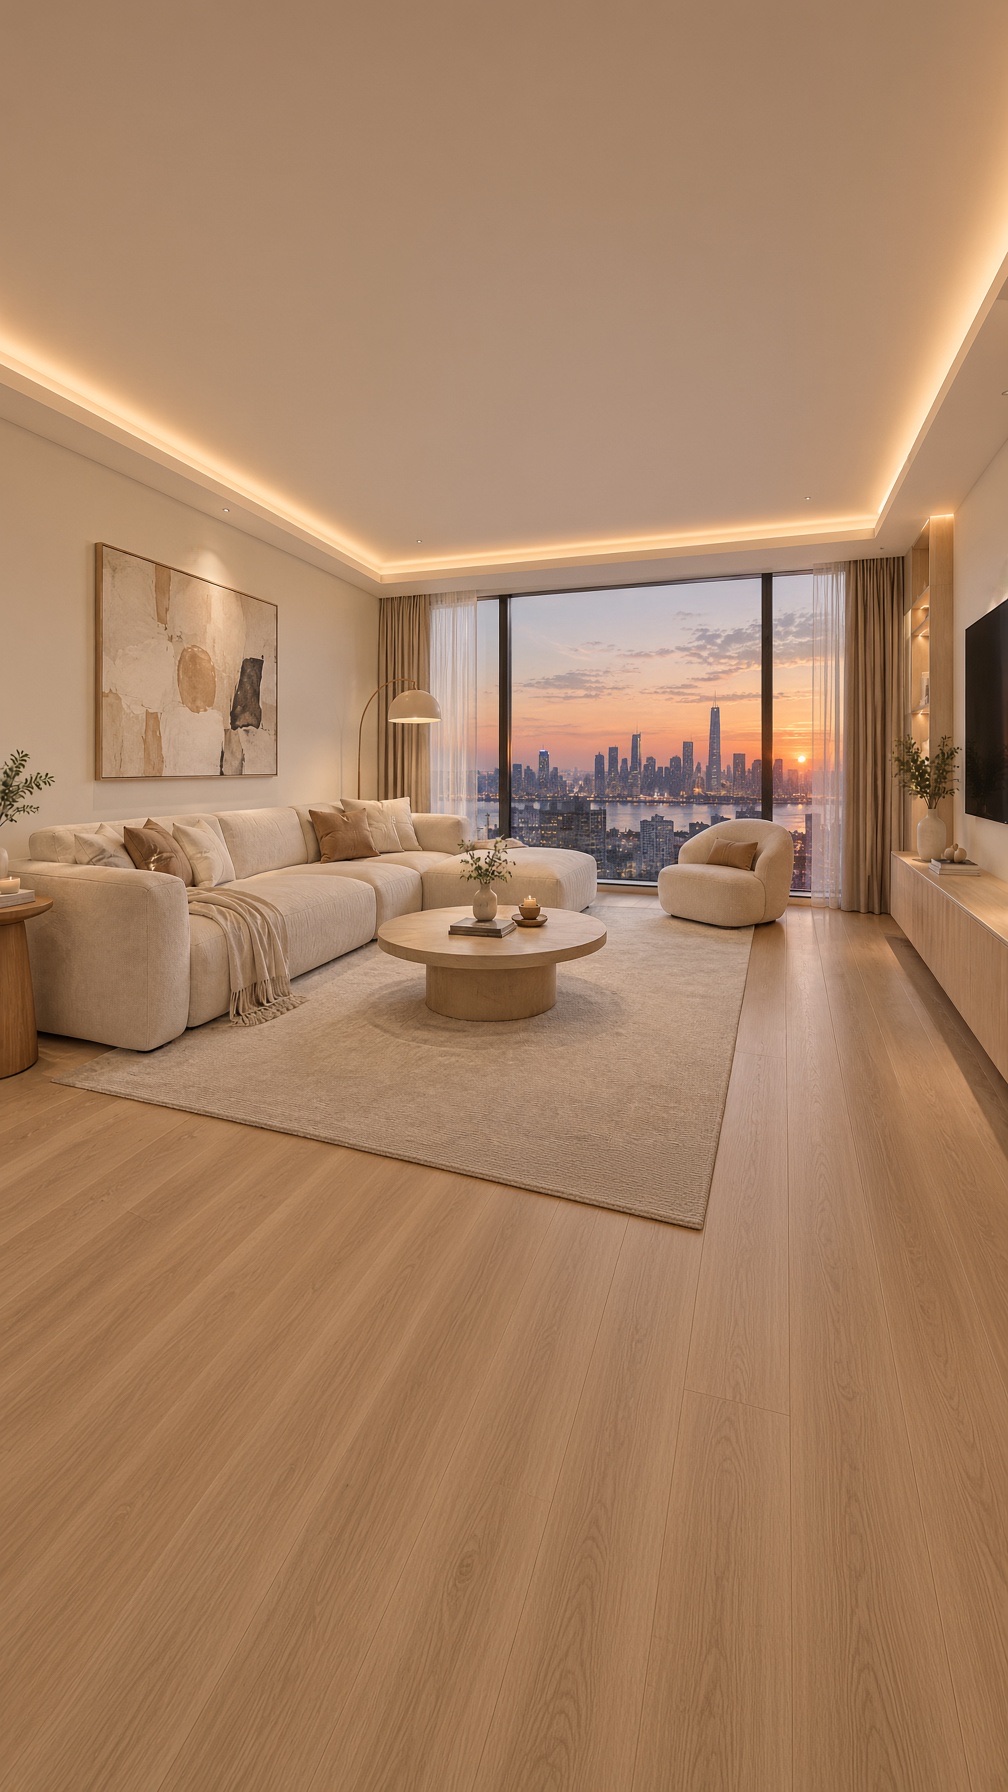
Extend this living room image vertically to a 9:16 frame. Keep the sofa, coffee table, window and skyline unchanged. Add more of the ceiling with the same hidden warm light strip above, and more of the light oak floor below. Same wide-angle eye-level perspective, same soft evening light.
このプロンプトで生成 →(画像をアップロードし、画角は9:16、1Kを選択)
grok-imagine/image-to-image、aspect_ratio: "9:16"、1K、出力1008×1792、$0.033。
横長の室内画像を縦長にするには、上に天井、下に床を加えるのが、左右を切り落とすよりはるかに優れています。さらにパース(広角、目の高さ)を書き添えることで、部屋の構造が崩れません。
アウトペインティングのプロンプト公式
- 目標の画角を明記:「Extend this photo to a 16:9 frame」と書き、同時に
aspect_ratioも同じ値に設定する。 - 被写体を固定:「Keep the [被写体] exactly as it is, same size, shape, color」。
- 埋める内容を明記:どの背景、表面、光をどの方向に続けるか。
- 追加を禁止:「No new objects, no text」。
API 呼び出し
curl -X POST https://api.hiapi.ai/v1/tasks \
  -H "Authorization: Bearer $HIAPI_KEY" \
  -H "Content-Type: application/json" \
  -d '{
    "model": "grok-imagine/image-to-image",
    "input": {
      "prompt": "Extend this product photo to a wider 16:9 frame. Keep the bottle exactly as it is. Fill the new space with the same white background. No new objects, no text.",
      "image_urls": ["https://your-cdn.example.com/product.jpg"],
      "aspect_ratio": "16:9",
      "resolution": "1k"
    }
  }'
aspect_ratioの選択肢:auto(元画像の比率を維持)、2:1、20:9、19.5:9、16:9、4:3、3:2、1:1、2:3、3:4、9:16、9:19.5、9:20、1:2。アウトペインティングするには、元画像と異なる比率に設定する必要があります。resolutionは小文字の1kまたは2k;image_urlsには公開アクセス可能な JPEG、PNG、WebP を1〜3枚渡します。- 価格:1枚あたり$0.03、参照画像1枚ごとに$0.003追加、元画像を1枚渡すと$0.033になります。
GET /v1/tasks/{taskId}で結果を確認し、statusがsuccessのときoutput[0].urlをダウンロードします。これは一時リンクです。
よくある質問
Grok Imagine のアウトペインティングは元画像のピクセルを保持しますか?
いいえ。新しい比率で画像全体を描き直すため、被写体が移動したり細部が変わったりする可能性があります。ピクセル単位で正確なアウトペインティングが必要な場合は、画像編集ソフトで元画像を結果に貼り戻してください。
なぜ被写体が横に広がってしまうのですか?
プロンプトが「画像」を広げるように指示しており、「画面」を広げるようには指示していないからです。「extend the frame/background」と書き、「keep the subject's size and shape」も明記してください。
一方向にだけ拡張できますか?
プロンプトで要求できます(例:「extend only the top」)。ただし最終的な構図はモデルが決めるため、各結果で位置を確認してください。
他に使えるモデルはありますか?
より高い参照忠実度が必要なら、grok-imagine-quality/image-to-image が使えます。パラメータは同じで、1Kは1枚$0.08、参照画像1枚ごとに$0.015追加です。さらに多くの書き方はGrok Imagine 画像生成プロンプトの事例(英語)をご覧ください。
画像を1枚アップロードして、モデルページで最初のプロンプトを試してみてください。