
Tutorial
Tripo H3.1 Practical Application Scenarios: 5 High-Value Use Cases and Implementation Essentials
From text-to-3D to multiview reconstruction: choosing the right mode and parameters by business scenario

On this page
First Understand the Capability Boundaries: Three Input Modes, One Output
Before writing the first line of calling code, it is worth clarifying Tripo H3.1's input-output contract: what it accepts and what one call returns. This determines the implementation path for all the scenarios that follow.
Tripo H3.1 is provided by Tripo, its output type is 3D, and it supports three input modes:
- Text-to-3D (
tripo-h3.1/text-to-3d): the input is a natural-language description, suitable for the stage when you do not yet have any reference image. - Image-to-3D (
tripo-h3.1/image-to-3d): the input isimage_url, which requires an HTTPS image of an object with a clean background. - Multiview-to-3D (
tripo-h3.1/multiview-to-3d): the input isimage_urls, 2–4 images of the same object, in the fixed order front/left/back/right.
Regardless of the mode, the output of one call is consistent: one GLB model file plus one preview image. This is important—it means all three modes can share the same downstream asset pipeline, and you do not need to write different consumption logic for different modes.
At the parameter level, the three modes share the same set of geometry controls: face_limit ranges from 1,000 to 1,500,000 (up to 2,000,000 when detailed geometry is selected), and it can be omitted, in which case the model adapts automatically; geometry_quality defaults to standard (standard geometry), and setting it to detailed enables detailed geometry.
Billing is per call and per model, in USD. The most important rule in the price structure is: the PBR and texture toggles are the biggest price watershed, while the geometry tier adds an extra charge in some combinations. The entry tier for text-to-3D (PBR off, Texture off) is the lowest across the entire lineup; image-to-3D and multiview-to-3D have exactly the same price structure, and both are overall higher than text-to-3D. Texture and PBR determine the order of magnitude, and the geometry tier determines the increment. The full list prices in the current test environment are as follows.
The list prices in the current test environment are as follows, per call and per model, in USD.
Text-to-3D (tripo-h3.1/text-to-3d)
| Specification | Standard Texture | Fine Texture |
|---|---|---|
| PBR off · Texture off | $0.150 | $0.150 |
| PBR off · Texture on | $0.290 | $0.430 |
| PBR on | $0.290 | $0.430 |
Image-to-3D (tripo-h3.1/image-to-3d) and multiview-to-3D (tripo-h3.1/multiview-to-3d) are priced the same
| Specification | Standard Texture | Fine Texture |
|---|---|---|
| PBR off · Texture off | $0.290 | $0.290 |
| PBR off · Texture on | $0.430 | $0.580 |
| PBR on | $0.430 | $0.580 |
For all the tiers above, selecting detailed geometry incurs an additional $0.290.
There is also a very useful behavior: requests with invalid parameters are rejected outright and are not charged. This makes parameter validation a natural billing guardrail, and this point will be used repeatedly later.

Scenario 1: Batch-Converting Product Images into 3D Display Models
The most common situation in e-commerce and catalog businesses is: you already have a large number of white-background product images, and you want to quickly obtain 3D display models that can be rotated and viewed on a web page.
This is exactly where image-to-3D shines. Because the input conditions are the cleanest—a single image, clean background, and a clearly defined object—you can directly use tripo-h3.1/image-to-3d and put the HTTPS address of the image into image_url. See the image-to-3D model page for the full parameters.
There are three key points for implementing batch scenarios:
First, determine whether the downstream needs materials. Web display models usually need material texture, in which case both PBR and texture should be on; but if the model is only used for lightweight previews on list pages, or the downstream renderer has its own material library, turning PBR and texture off can directly push the per-model cost down to the low tier. This is the most effective cost-saving lever in batch scenarios, because it scales linearly with the number of models.
Second, set face_limit according to the display size; do not leave it empty for large batches. For models displayed in mobile card slots, setting the face count to a sufficient level is enough; omitting the parameter and letting the model adapt is convenient, but at a scale of thousands, you will get a bunch of models that exceed actual needs, wasting bandwidth and slowing loading.
Third, put validation on the client side. Since invalid parameter requests are not charged, you can absolutely do a round of local validation before submission (whether the URL is HTTPS, whether the image has a single main subject, whether face_limit is within range), keeping obviously failing requests out and avoiding unnecessary round trips.
Scenario 2: Reconstructing Real Objects That Cannot Be Scanned Using Multiple Views
Some real objects cannot be scanned: too large, reflective surfaces, or simply not at hand. But you may happen to have a few photos of them from different angles.
In this case, use multiview-to-3D (tripo-h3.1/multiview-to-3d). It accepts 2–4 images of the same object, and the order must strictly be front/left/back/right. This order is not an arbitrary convention, but the basis for the model to understand viewpoint relationships—if the order is wrong, the reconstructed result will have incorrect orientation or geometry assembly errors.
Practical recommendations:
- Prefer to gather all four views. When front, left, back, and right are all present, the model's inference of the overall silhouette and back geometry is the most stable; with only two or three images, the missing directions rely on the model's imagination, and detail fidelity will suffer.
- Keep shooting conditions consistent across views. The same lighting, the same focal length, and the same background can significantly reduce ambiguity during the model's fusion.
- Pay attention to the pricing structure. Multiview-to-3D has the same price structure as image-to-3D, and is likewise affected by the PBR/texture toggles and geometry tier. Since multiview input itself carries more information, it is even more worth making trade-offs on texture—if the downstream is only used for greybox comparison, turning texture off can save a considerable amount.
For detailed parameters, see the multiview-to-3D model page.

Scenario 3: Using Text-to-3D for Concept Sketches and Greybox Assets
The most awkward situation in the prototyping stage is: you do not even have a reference image, only a one-sentence requirement—"a low-poly style supply crate with side handles."
This is where text-to-3D comes in (tripo-h3.1/text-to-3d). It is the mode with the lowest entry price in the entire lineup, very suitable for high-frequency trial and error: change the description of the same concept a few ways and quickly produce multiple candidate assets for evaluation.
A few ways to improve the hit rate:
- State the general form first, then the details. "Low-poly supply crate" sets the tone, and "side handles, top latches" fills in the details; if the order is reversed, the model easily loses the overall proportions.
- Specify style words clearly. Realistic, cartoon, low-poly, industrial—style words often have a greater impact on the result than descriptions of geometric details.
- Turn off PBR and texture during the concept sketch stage. At this stage, what you need to judge is the silhouette and massing relationships; material is purely a distraction. Turning it off makes it clearer and keeps the cost at the lowest tier. Once the design is finalized, rerun the selected one with materials.
The logic for greybox assets is the same: a large number of placeholders in level design only need the correct volume and orientation, so generating them in batches with text-to-3D, with materials off and face_limit set low, is the most economical approach. For specific parameters, refer to the text-to-3D model page.
Scenario 4: Batch Asset Prewarming with Predictable Costs
When the requirement changes from "a few dozen" to "hundreds or thousands," cost control shifts from an optimization item to upfront design.
Tripo H3.1 is billed per call and per model, so total cost = per-model cost × quantity × retry rate. All three factors can be reduced:
Reduce per-model cost through tier selection. Remember this priority: the PBR/texture toggles determine the order of magnitude, and the geometry tier determines the increment. First ask "does the downstream really need materials," then ask "does it really need detailed geometry." Selecting detailed geometry incurs an extra charge on top of the base price, so it should be the exception rather than the norm—enable it only for final delivered assets, and always use standard geometry for intermediate drafts.
Reduce quantity through small-batch validation first. Do not submit the full volume right away. Run a small batch first to confirm that the description template, image specifications, and parameter combinations all produce qualified results stably, then scale up. This step avoids the disaster of "finishing the full run and discovering a systematic bias in the descriptions."
Reduce the retry rate by validating parameters upfront. As mentioned earlier, invalid parameter requests are rejected outright and are not charged. Put all checks for the face_limit range, the image_url protocol, and the count and order of image_urls on the client side and block them before submission. This is both a guardrail and ensures that your retry statistics reflect only actual generation failures, not parameter errors.
Combining these three points turns the cost curve of batch prewarming from "unpredictable" into "precisely estimable by tier."
Scenario 5: Embedding into an Existing 3D Asset Pipeline
Once a single call works, the real value lies in connecting it to an existing pipeline.
The good news is that the interface contract is very regular: each output is fixed as a GLB plus one preview image. GLB is a standard format that mainstream engines and renderers can consume directly; the preview image naturally takes on the role of the "review entry point"—reviewers do not need to open a 3D viewer and can do an initial screening just by looking at the thumbnail.
A typical pipeline looks like this:
- Enqueue and validate: the task enters the queue, and the call is initiated only after the parameters pass client-side validation.
- Generate: choose the corresponding mode by scenario (image-to-3D / multiview / text-to-3D) and include the tier parameters.
- Persist: the GLB goes into object storage, and the preview image goes into the CDN or review system.
- Review: the preview image undergoes manual or automatic initial screening; those that fail go back to the queue to rerun with a different description or image.
- Downstream: the passing GLBs enter render baking, LOD generation, archiving, or are put on the shelf directly.
A few engineering details are worth thinking through in advance:
- Treat the mode as a field of the task. Abstract it uniformly inside the pipeline as a "generation task," with the mode being just part of the parameters, avoiding writing three sets of scheduling for the three modes.
- Use the preview image for idempotency checks. The preview image corresponds one-to-one with the GLB and can serve as the output fingerprint of a call, facilitating deduplication and resumable processing.
- Tier parameters travel with the task and are not hardcoded. Let the caller specify the tier according to the asset's purpose instead of hardcoding it uniformly in the pipeline, so that cost attribution stays clear.
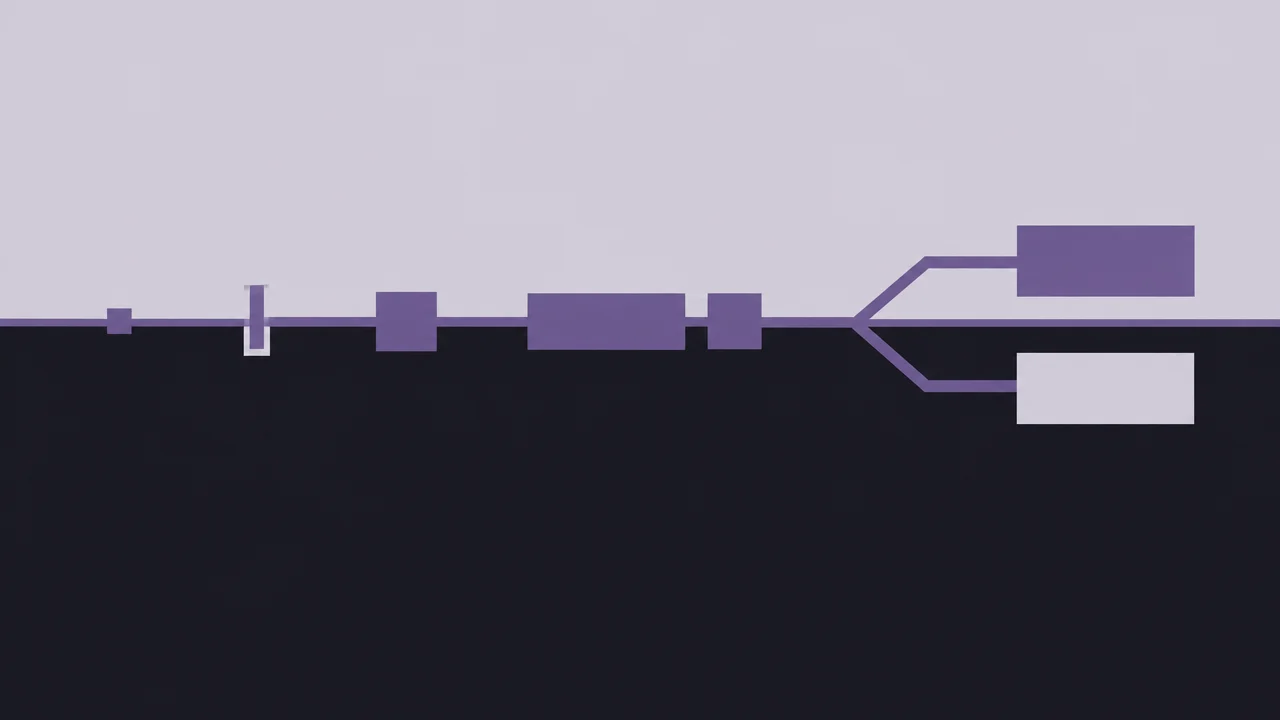
Model Selection and Parameter Quick Reference: Configuring face_limit and Geometry Quality by Scenario
Finally, condense model selection and parameters into a reference table of thought processes—not fixed numbers, but a decision order.
Step 1: Determine the mode by input conditions:
- Have a clean single object image → image-to-3D
- Have 2–4 multi-angle images → multiview-to-3D, strictly arranged front/left/back/right
- Have nothing but a creative description → text-to-3D
Step 2: Determine the material tier by downstream needs:
- Only looking at form, doing initial screening, or greybox → PBR off, Texture off, landing in the lowest tier
- Need to display material texture → PBR on, Texture on
- Only need base color, no lighting response → Texture on, PBR off
Step 3: Determine geometry by target device performance and viewing distance:
- Mobile cards, list page thumbnails, long-distance viewing → keep
geometry_qualityatstandard, setface_limitto the medium-low tier - Interactive models on detail pages, medium viewing distance →
standard, setface_limitto the medium-high tier - Film-grade close-ups, offline rendering, final delivered assets →
detailed+ highface_limit, accept the extra charge
About omitting parameters: face_limit can be left completely unset, in which case the model adapts automatically. This is very convenient for one-off exploration or when the target device is uncertain, but in batch scenarios it makes costs hard to estimate—it is recommended to omit it only during the validation stage, and always specify it explicitly once in production.
Complete parameter descriptions for the three modes are on the model pages for image-to-3D, text-to-3D, and multiview-to-3D respectively; if you want to get your first model running first, you can start with the getting started guide. Choose the right mode, lock down the material tier, and set geometry by viewing distance—with these three steps done correctly, the output quality and cost of most scenarios will be under control.
Related articles
View all articles →-
Tutorial
gemini-4-neon Real-World Use Cases in Practice: 5 High-Value Applications and Integration Essentials
-

Tutorial
seedance-2.5-flash Image-to-Video API Tutorial: curl and Python Requests
A practical integration walkthrough for developers: request shape, first/last frame inputs, async polling, and error triage
14 min read -

Tutorial
How to Call seedance-2.5-flash Text-to-Video via the HiAPI API (curl & Python)
A working request walkthrough for developers: endpoint, parameters, async task handling, and runnable curl and Python examples
10 min read