
Guide
gpt-image-2.5-flare/image-to-image Prompt Recipes: Copy-Paste Prompts for Image Edits
How to phrase reference-image edits, preserve subjects, swap backgrounds, and write negative lists
On this page
What an Image-to-Image Prompt Actually Needs to Specify
Most disappointing edits are not the model's fault. They are under-specified requests. When you send a reference image plus a short instruction like "make it look better" or "new background," the model has to guess what to keep, what to change, and how far it may drift. Every failed edit you have seen is usually one of those three guesses going wrong.
An image-to-image prompt has four jobs:
- Reference role — tell the model what the incoming image is for. Is it the subject to preserve, a style sample, a composition guide, or a rough sketch to refine? The same image produces very different results depending on the role you assign.
- Target change — name exactly one primary change. "Replace the background with a studio wall" is a target. "Improve the photo" is not.
- Fidelity constraints — say what must stay identical: face shape, product label text, pose, color of the jacket, the exact camera angle. Without this, the model re-synthesizes everything.
- Negative list — a short, concrete set of things that must not appear. This is a guardrail, not a wish list.
When a request carries all four layers, the output becomes predictable enough to iterate on. When it carries only one — typically just the target change — the model fills the missing layers with its own defaults, and those defaults rarely match your intent. Before writing a single prompt, decide which layer is currently missing from your last attempt. That is the variable you change next.
The Prompt Skeleton: A Reusable Order for Edit Instructions
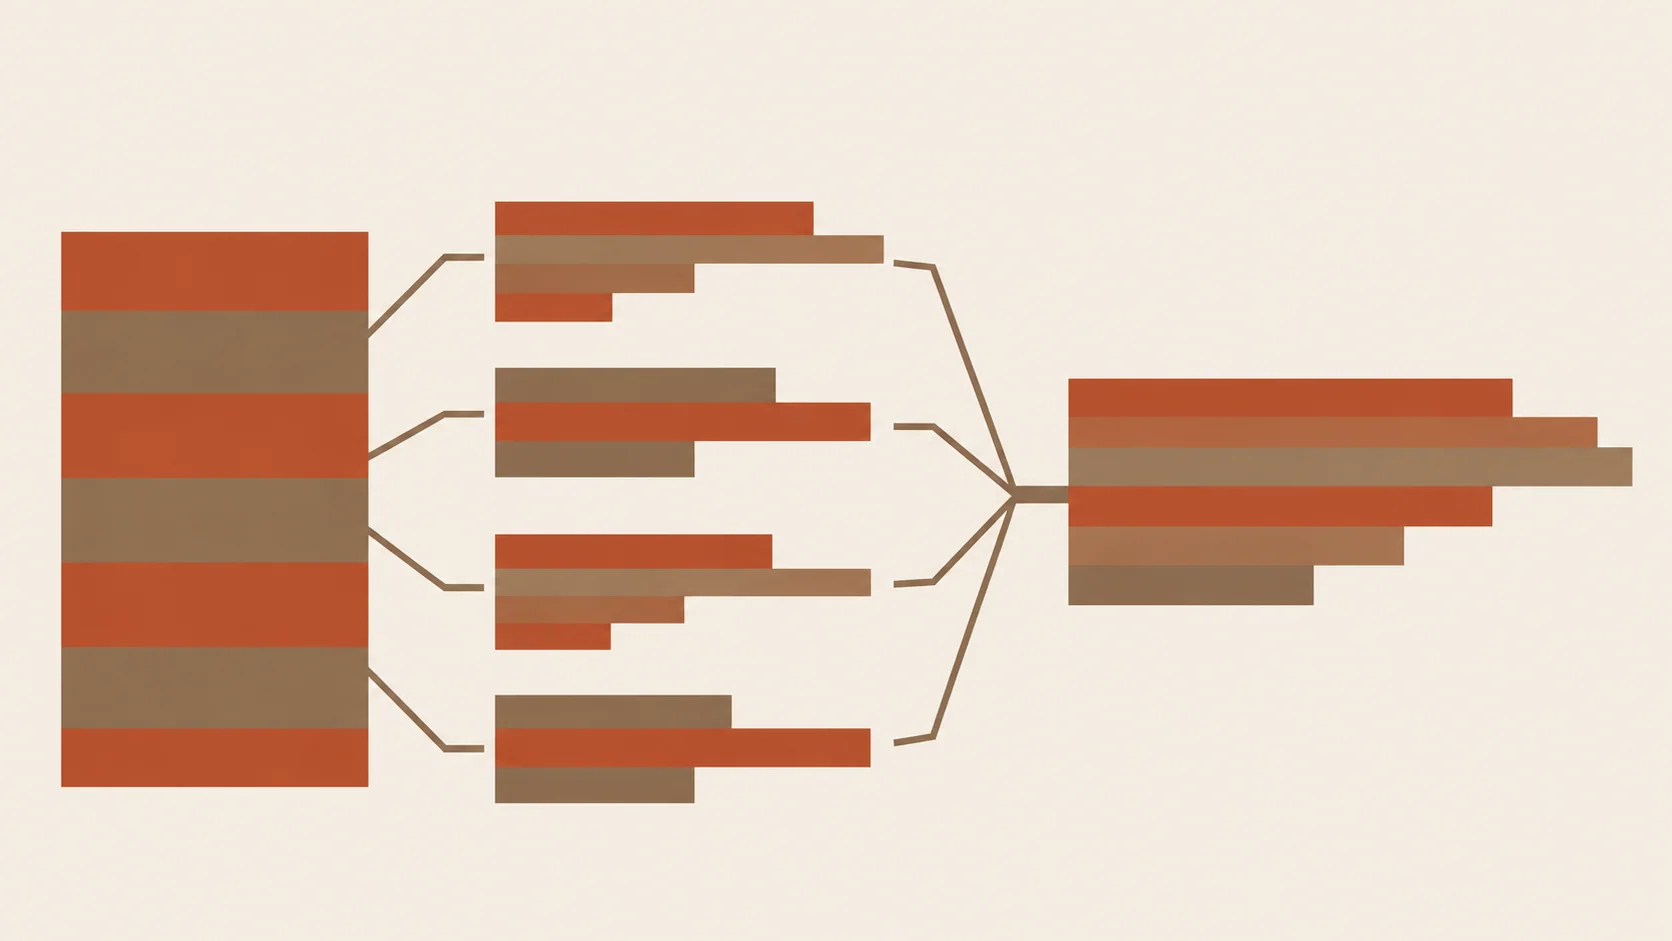
Use one ordered skeleton for every edit so that prompts stay comparable between runs. When the order is fixed, a changed sentence is the only difference between two attempts, which makes debugging possible.
[1] Reference role: "Using the provided image as the {subject / style / layout} reference,"
[2] Target change: "change {one specific element} to {specific result}."
[3] Fidelity constraints: "Keep {identity / pose / product text / colors / framing} unchanged."
[4] Style & rendering: "Match {lighting, lens, palette, grain} consistent with the reference."
[5] Negative list: "Do not add {artifact 1}, {artifact 2}, {artifact 3}."
A filled example:
Using the provided image as the subject reference, change the background
to a plain warm-grey studio wall with soft diagonal light from the upper
left. Keep the person's face, hair, expression, and clothing unchanged,
including the jacket's visible seams. Match the original lighting
direction on the subject so the new background does not look pasted.
Do not add extra fingers, do not alter the printed logo text.
The order matters because earlier slots constrain later ones. The reference role sets the baseline the target change edits against; fidelity constraints limit how far that edit may reach; the negative list only cleans up what is left. If you find yourself stuffing several unrelated changes into slot 2, split them into separate requests — one change per run is the only way to attribute a bad result to a specific sentence.
Recipes for Subject Fidelity: Keeping the Original Intact
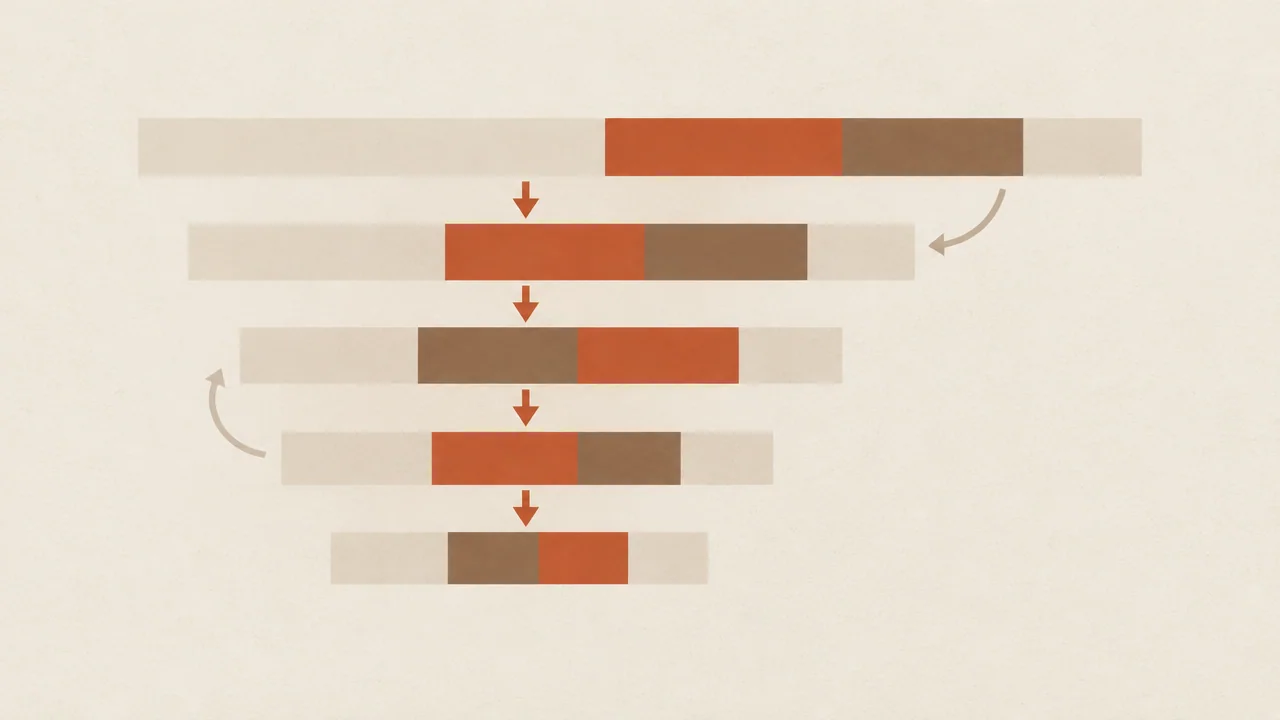
Subject drift — a subtly different face, a warped logo, a shifted pose — comes almost entirely from vague fidelity wording. "Keep it the same" gives the model no anchor. Concrete, named attributes do.
Identity preservation (people):
Preserve the person's facial structure, skin tone, hairstyle, and
expression exactly as in the reference. Change only the background.
Name the attributes you care about. If a client cares about a specific feature, list it: "keep the eyebrow shape and the small scar above the left brow." The more specific the anchor, the tighter the lock.
Product fidelity:
Keep the product's shape, material, label layout, and all printed text
unchanged. You may change the surface it sits on and the lighting on
the surrounding area, but the label must remain fully legible.
Text is the most fragile attribute in any edit. If legibility matters, say so explicitly and add a matching negative ("do not redraw or stylize the label text").
Pose and framing:
Maintain the exact body pose, hand positions, and camera angle from
the reference. Do not recompose, crop, or rotate the subject.
Style transfer without identity loss: when the reference is both subject and style source, separate the two in the prompt:
Using the provided image as both subject and style reference, restyle
the rendering toward a soft painterly look while keeping the subject's
identifiable features, pose, and outfit unchanged.
A practical test: cover the changed region of the output and compare the rest to the reference. If the "unchanged" region drifted, your fidelity slot was too vague — not the model.
Recipes for Background Replacement and Scene Swaps
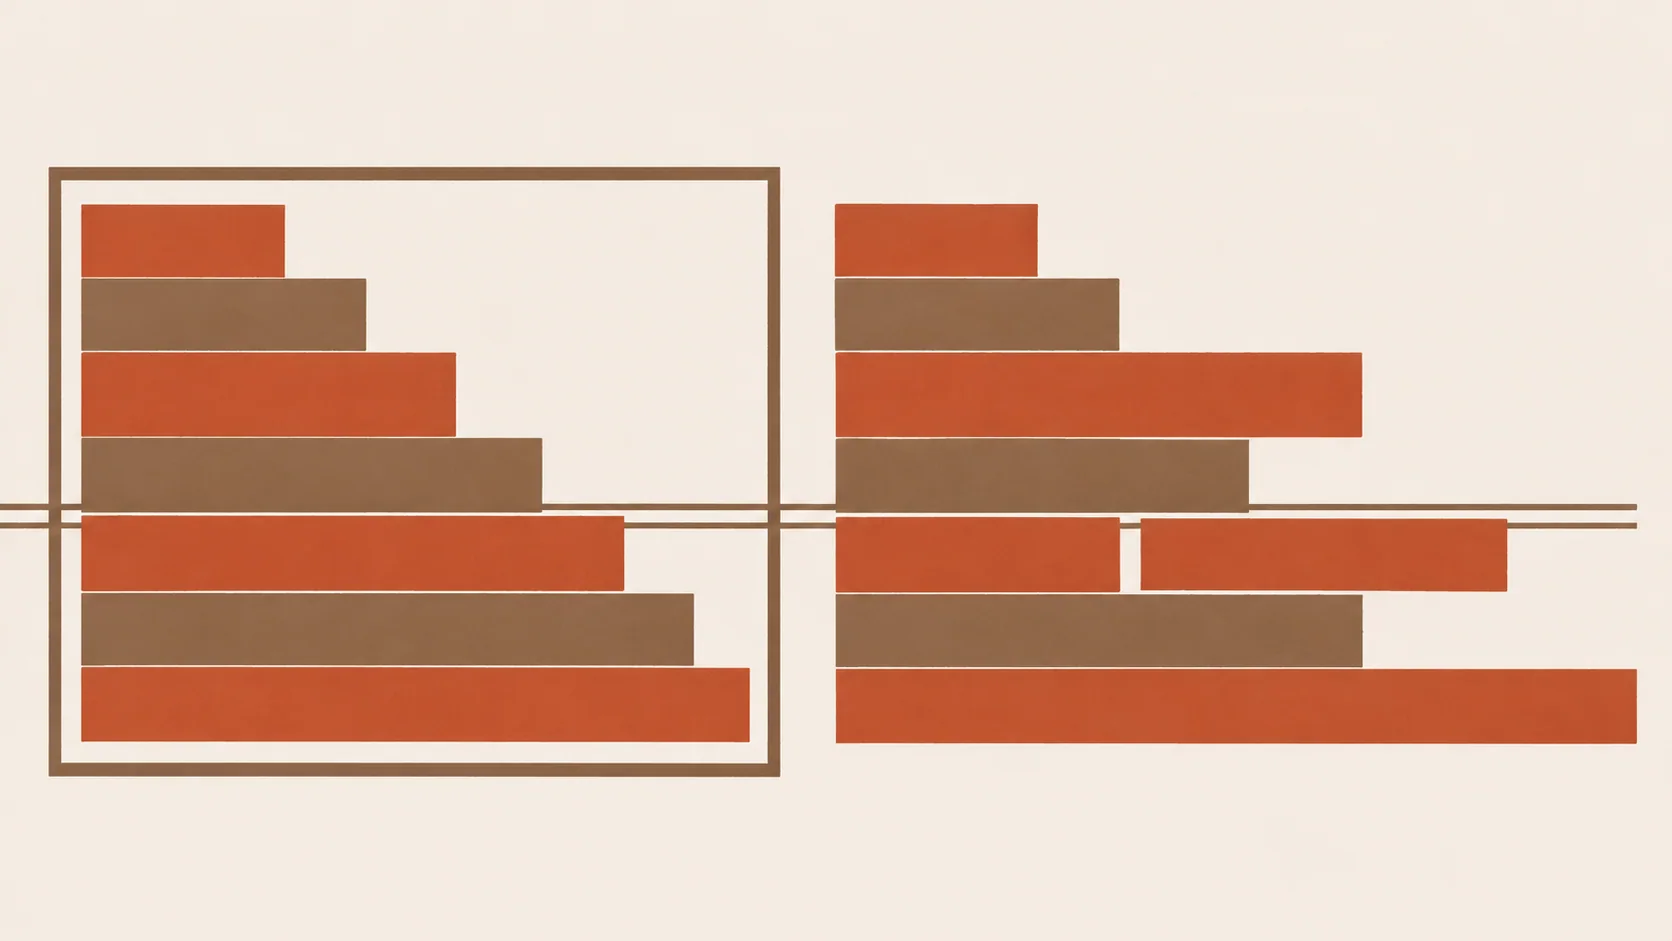
A background prompt of "put it on a beach" leaves the model to invent content, lighting, and blending. Describe three things instead: content, light direction, and edge treatment.
Studio swap:
Replace the background with a seamless warm-grey studio backdrop.
Light the backdrop softly from the upper left with a gentle falloff,
consistent with the existing light on the subject. Blend the subject's
edges naturally into the backdrop; keep fine hair detail intact and
avoid a hard cut-out halo.
Environmental scene:
Replace the background with an outdoor street scene at late afternoon.
Provide warm low-angle sunlight from the right that matches the
subject's existing shadow direction, with a softly blurred mid-ground
and clear foreground separation. Keep the depth of field believable
relative to the reference's subject scale.
Edge treatment deserves its own sentence in every background swap. The two most common failures are a pasted-on look (no light matching) and a halo (over-aggressive edge separation). Address both:
- "Match the background light direction to the subject's existing highlights."
- "Preserve fine edge detail such as hair and fabric fringes; no visible outline."
- "Apply subtle contact shadow under the subject consistent with the new surface."
Finally, state what the background must not contain — clutter, competing subjects, text — in the negative slot. The scene name sets a category; content, lighting, and edges set the result.
Writing Negative Lists That Actually Change the Output
Negative lists fail when they are generic. "Bad quality, low resolution, ugly" gives the model almost nothing to suppress and just adds prompt noise. Effective negatives are specific, observed, and short — usually three to six items, each tied to an artifact you actually saw in a previous output.
Match the phrasing to the artifact category:
- Anatomy drift: "do not add or merge extra fingers; keep hands exactly as in the reference."
- Text corruption: "do not restyle, blur, or redraw any printed text or logo."
- Cut-out halo: "no visible outline or glow around the subject's edges."
- Lighting mismatch: "do not introduce a second light source; match the reference's light direction."
- Composition creep: "do not add new objects, people, or text to the scene."
- Style bleed: "do not turn the photograph into an illustration or cartoon."
Three habits keep negative lists useful:
- Attach each negative to an observation. If you have not seen the artifact, do not list it. Speculative negatives dilute attention.
- Cap the list. When it grows past roughly six items, the prompt is fighting itself; fix the root cause in the fidelity or target slot instead.
- Re-test removals. Remove one negative at a time to confirm it still matters. Some artifacts disappear once your fidelity wording improves.
Negative lists are cleanup, not correction. If a negative keeps doing heavy lifting, your main instruction is under-specified.
Reading Before-and-After Outputs and Iterating
Treat each edit as an experiment with one variable. Compare the output to the reference, classify the mismatch, then change exactly one thing.
A simple three-lane decision:
- Wording mismatch — the change happened but not as asked (wrong light direction, wrong background content). Fix: tighten the target-change sentences.
- Fidelity mismatch — the change landed but the subject drifted (face, pose, label, colors). Fix: add named attributes to the fidelity slot and a matching negative.
- Capability boundary — the edit keeps failing regardless of wording (e.g., very small text, extreme perspective). Fix: change the reference image — a cleaner crop, higher resolution, or a better-lit source — rather than rewriting the prompt further.
Keep a short iteration log per asset: the prompt version, what you changed, and the verdict. Two rules save time:
- One change per run. Changing the background prompt and the fidelity wording together makes the result uninterpretable.
- Hold the reference fixed. Swap reference images only in the capability-boundary lane; elsewhere it resets the comparison.
If a request parameter (like strength or aspect handling) exists, treat it as a fourth lane: change it only after wording and reference have been exhausted, and note it in the log. After a few rounds you will have a small set of recipes that reproduce reliably.
Versioning Prompts and Prompts-in-Code in Production
In production, prompts are assets, not strings typed into a console. Treat them like code: versioned, parameterized, and traceable to their outputs.
Template files with named variables:
# templates/bg_swap_v3.txt
Using the provided image as the subject reference, change the background
to {background_content}. Light it from {light_direction}, consistent with
subject highlights. Preserve {fidelity_attributes}. Do not add {negatives}.
Log the link between version and output. Each output record should carry the template name, version, injected variable values, and the model identifier. When an endpoint changes behavior, you can diff outputs across versions and roll back to the prior template instead of guessing.
Practical production habits:
- Semantic versions. Bump the minor version on wording changes, the major version on role or structure changes.
- A fixed variable vocabulary. Standardize keys like
background_content,light_direction,fidelity_attributes, andnegativesso templates stay comparable. - Review before promotion. A wording tweak that fixes one case can regress another; keep a small reference set of before-and-after pairs as a regression check.
- One interface for calls. Route image-to-image requests through a single endpoint so template versions and model identifiers stay in one audit trail.
With prompts in version control and outputs logged against them, edits stop being one-off experiments and become a reproducible part of your pipeline.
Related articles
View all articles →-

Guide
gpt-6.2-sol Getting Started Guide: Capability Boundaries, API Integration, and Token Pricing Essentials
Integration decisions and practical essentials for engineering teams
-

Guide
gpt-6.2-astra Getting Started Guide: Text Model Capability Boundaries, Integration Essentials, and Cost Control
-

Guide
Tripo H3.1 Getting Started Guide: Choosing Among Three Input Modes, Parameters, and Pricing
A practical guide for developers on 3D generation integration decisions and cost control