
Guide
Image-to-Image Prompt Recipes for gpt-image-2.5-sunburst
On this page
Why image-to-image prompts need a structure
Most image-to-image failures are not model failures. They are specification failures. You hand the model a reference image and a sentence like "make it look better" or "put it on a beach," and the model has to infer what "it" means, which pixels are protected, and how far it is allowed to drift. The result is usually plausible but wrong in a specific way you did not anticipate.
The problem compounds when you treat an edit as a one-off. A prompt that worked for one portrait may fail for the next ten because the free-form wording left too many decisions to the model. You cannot tell whether a regression came from a changed prompt, a changed reference, or a changed model, because nothing in the request was pinned down.
A repeatable structure fixes both issues. It turns an edit into a specification with distinct fields: what role the reference image plays, what single operation is requested, which properties are protected, and which artifacts are forbidden. Each field can be reviewed, diffed, and tested independently.
This matters more for developer workflows than for casual use. If image edits are part of a pipeline — generating product variants, restyling assets, localizing artwork — then prompts are effectively code. They need inputs, expected outputs, and a way to detect drift. The four-block recipe in the next section is the smallest structure that gives you all three without adding tooling overhead.
The four-block prompt recipe
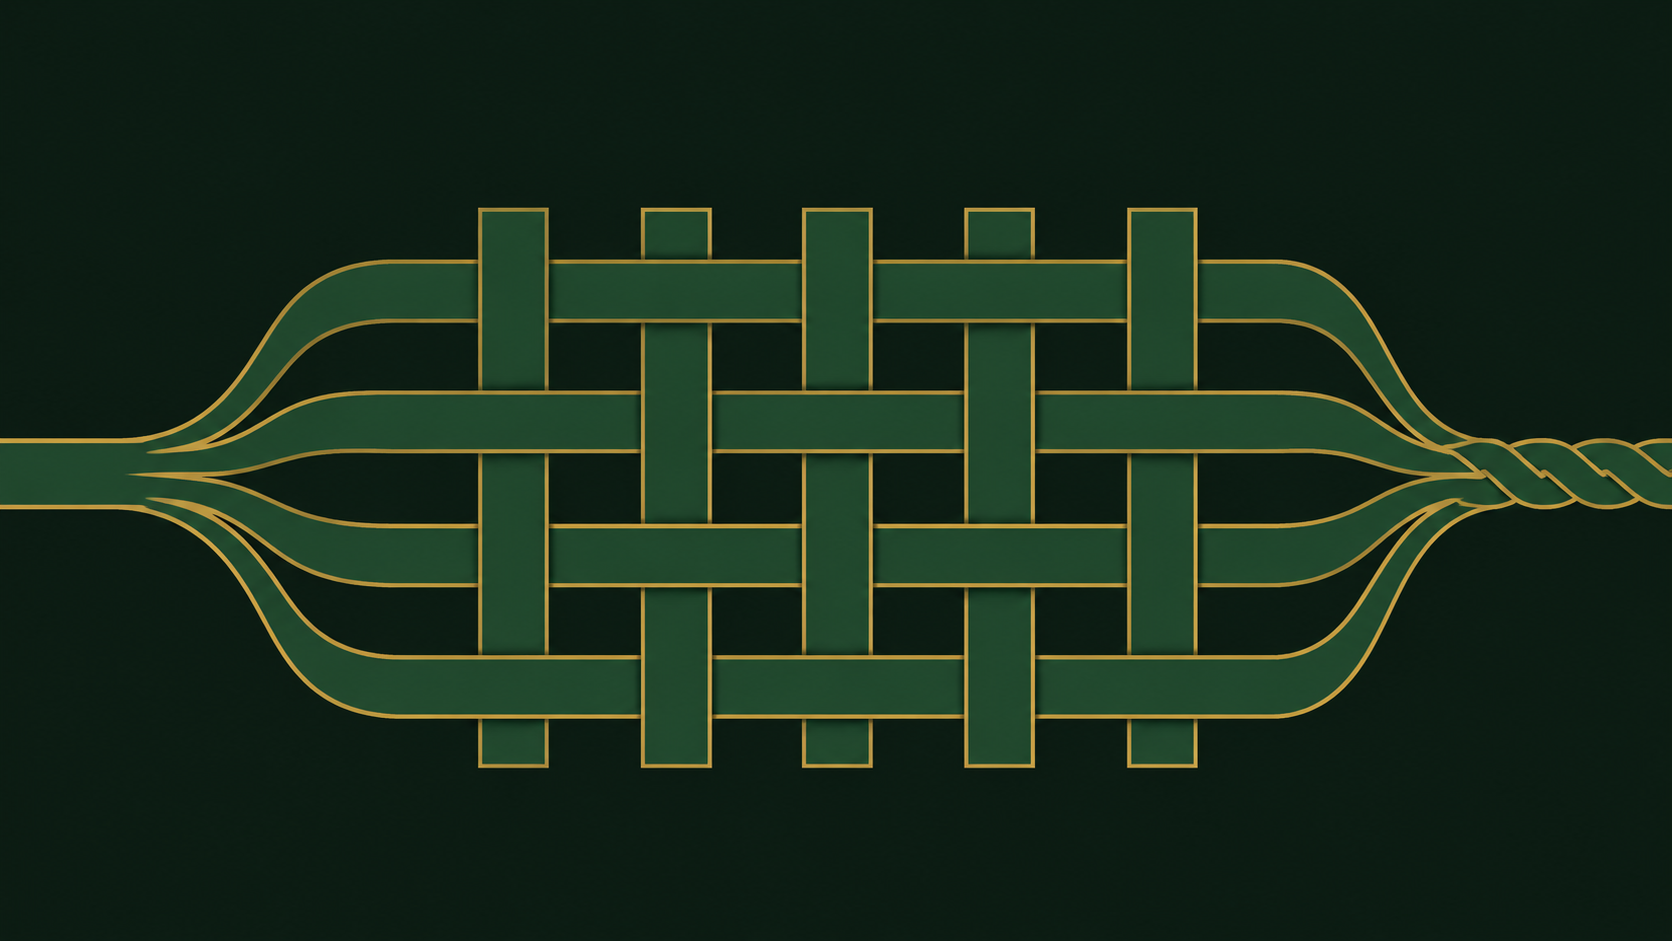
Every edit request in this guide is assembled from the same four blocks, in the same order. Copy the skeleton, then fill in each block for your task.
Block 1: Reference role
The first block tells the model what the input image is for. Do not describe it in detail — the model already sees it. State its function.
REFERENCE: The input image is the product photo. It is the subject and the layout to preserve.
For edits where only part of the image matters:
REFERENCE: The input image is the subject to transfer. Only the person is relevant; ignore the current background.
Block 2: Edit instruction
One primary operation per request, written as an imperative. If you need two operations, run two passes rather than compounding them in one sentence — compounded edits are where unintended changes creep in.
EDIT: Replace the background with a plain light-gray seamless studio backdrop.
Block 3: Fidelity constraints
This block states what must not change and, optionally, what is explicitly allowed to change. Be concrete: name regions, colors, and geometry.
PRESERVE: The product's exact shape, label text, label position, and color. The camera angle and framing.
ALLOWED: Lighting on the product that is consistent with the new background.
Block 4: Negative list
A short list of artifacts to suppress. Keep it specific to the failure modes you have actually observed — a long generic list dilutes the signal.
AVOID: extra objects, warped edges, new text, logo distortion, oversharpening halos, drop shadows that were not in the original.
Assembled
REFERENCE: The input image is the product photo. It is the subject and the layout to preserve.
EDIT: Replace the background with a plain light-gray seamless studio backdrop.
PRESERVE: The product's exact shape, label text, label position, and color. The camera angle and framing.
ALLOWED: Lighting on the product consistent with the new background.
AVOID: extra objects, warped edges, new text, logo distortion, sharpening halos, invented drop shadows.
Four short blocks, roughly a dozen lines, and the request is now testable. You can swap the background phrase without touching the fidelity wording, or tighten the negative list without rethinking the edit.
Controlling fidelity: what stays, what changes
Vague fidelity wording is the single most common cause of unwanted drift. "Keep it similar" and "don't change too much" give the model no anchor. It will preserve what it considers salient, which may not be what you consider salient.
Name the properties, not the vibe
Replace adjectives with nouns and regions:
Weak: "Keep the face looking the same."
Strong: "Preserve facial identity, skin tone, hairline, and the direction of the gaze. Do not change age or expression."
Weak: "Keep the layout."
Strong: "Preserve the position and size of the logo block, the headline baseline, and the margins on all four sides."
Separate preservation from permission
A fidelity block that only says "preserve everything" blocks edits you actually want. Pair it with an explicit allowance:
PRESERVE: garment silhouette, seams, fabric texture, color, and the model's pose.
ALLOWED: relighting to match a soft window light from the left; removal of the original backdrop.
The ALLOWED line is what makes the PRESERVE line safe. Without it, the model may either refuse the requested change or apply it inconsistently.
Protect identity with multiple anchors
When people are in frame, a single "preserve the face" instruction is fragile. Anchor identity with several independent cues — facial features, hair, skin tone, and any distinctive accessories. If the edit involves the head or body, add an explicit constraint against reshaping: "do not slim, widen, or reshape the jawline or body proportions."
Constrain the geometry you care about
If framing matters, say so numerically and relationally: "keep the subject centered with the same headroom above and the same crop at the bottom edge." If it does not matter, say that too — "reframing is allowed" prevents the model from over-preserving a composition you were happy to lose.
Watch for silent style drift
Style changes often arrive uninvited through words like "clean," "premium," or "cinematic." If you want a photorealistic asset to stay photorealistic, state it: "Keep photographic realism; do not add illustration, painterly, or 3D-render styling."
Background replacement wording
Background replacement fails in a predictable way: the subject gets edited along with the background. The fix is to make the background a separate, ordered instruction rather than a clause inside the main edit.
Recipe: swap the background
REFERENCE: The input image is the subject. Only the subject is relevant; the current background will be discarded.
EDIT: First isolate the subject with clean edges, including hair and any thin details. Then place the subject on a new background: a softly blurred outdoor street at midday.
PRESERVE: Subject identity, pose, clothing, and the exact subject scale relative to the frame.
ALLOWED: Subtle rim light on the subject consistent with the new outdoor lighting.
AVOID: halos around hair, chewed edges, duplicated limbs, background bleeding through the subject, invented props.
The word "first" matters. Ordering the isolation before the insertion gives the model a sequence to follow instead of two competing goals.
Recipe: extend the background
Outpainting-style requests need the canvas described explicitly:
REFERENCE: The input image is the central crop. The subject and existing scene are authoritative.
EDIT: Extend the scene outward on the left and right to a wider aspect ratio, continuing the existing floor texture and wall line.
PRESERVE: The original crop exactly as-is. Perspective, horizon height, and lighting direction.
AVOID: a visible seam at the original crop boundary, repeated objects, mirrored duplicates of the subject, changed color temperature.
Recipe: neutralize the background
For assets that will be composited later, do not ask for a specific scene — ask for a neutral one:
REFERENCE: The input image is the subject to extract.
EDIT: Replace the background with a flat, evenly lit neutral gray, no gradient and no shadow cast onto the background.
PRESERVE: Subject edges, translucency in thin materials, and the full extent of the subject within the frame.
AVOID: cropping the subject, adding a floor plane, ambient color spill on the subject, hard cutout edges.
Keep subject and scene constraints separate
A useful habit: put subject constraints in PRESERVE and scene constraints in EDIT or ALLOWED. When a request fails, that separation tells you immediately whether the subject drifted or the scene did, and which block to revise.
Building a reusable negative list
Negative lists are usually written from scratch on every request, which is why the same artifacts keep returning. Treat the list as a maintained artifact per use case.
Start from observed failures
Run your recipe a handful of times on your real reference images and record what actually goes wrong. Do not import a generic list from somewhere else — it will spend attention on problems you do not have.
Group entries by category
Four categories cover most cases:
- Structural artifacts: extra limbs, duplicated objects, warped edges, melted fine detail, seam lines.
- Text and marks: invented text, altered labels, distorted logos, watermark-like marks, changed typography.
- Style shifts: unwanted illustration or painterly rendering, oversmoothing, plastic skin, HDR-style overprocessing, sharpening halos.
- Semantic intrusions: added props, added people, changed expression, changed camera angle.
Keep entries short and concrete
Each entry should be a noun phrase the model can act on — "extra fingers," "duplicated subject," "invented text" — not a prohibition sentence. Ten to fifteen entries is usually enough; beyond that, entries start overlapping and the list becomes noise.
Version the list with the recipe
Store the negative list next to the prompt it belongs to, and bump a version identifier when you change it. When output quality shifts, you can then tell whether the list or the model changed. Keep one list per use case — a product-shot list and a portrait list will overlap but should not be merged, because their failure modes differ.
Test removal, not just addition
Periodically drop a few entries and re-run your reference set. Some constraints stop mattering as prompts improve, and stale entries can push the model toward rigidity — for example, an overzealous "no added shadows" entry can flatten lighting you actually wanted.
Copy-paste recipe library with before and after
Each recipe below is complete as written. Swap the bracketed spans for your own content and keep the block labels intact.
Product photo, background swap
REFERENCE: The input image is the product photo. It is the subject and the layout to preserve.
EDIT: Place the product on a clean light-gray studio backdrop with a soft gradient toward the top.
PRESERVE: Product shape, label text and position, color, camera angle, and framing.
ALLOWED: A soft contact shadow beneath the product; lighting consistent with the new backdrop.
AVOID: warped edges, altered label text, extra reflections, sharpening halos, invented props.
Before: cluttered tabletop, mixed lighting. After: identical product geometry and label, neutral backdrop, consistent lighting, no edge artifacts.
Portrait relight
REFERENCE: The input image is the portrait. The person is the only relevant content.
EDIT: Relight the scene as if lit by soft window light from the left.
PRESERVE: Facial identity, skin tone, hairline, gaze direction, expression, and body proportions.
ALLOWED: New shadows and highlights consistent with left-side lighting; slight background darkening on the right.
AVOID: changed age, reshaped jawline, smoothed skin texture, added makeup, changed clothing.
Before: flat frontal lighting. After: directional light with readable form, identical identity and skin texture.
Style transfer with protected content
REFERENCE: The input image is the source artwork. Only its composition and subject matter are relevant.
EDIT: Restyle the image as a flat vector illustration with a limited palette of muted blues and warm neutrals.
PRESERVE: Composition, object placement, relative sizes, and the identity of every distinct object.
ALLOWED: Simplified shapes, removed fine texture, reduced gradients.
AVOID: added objects, removed objects, changed aspect ratio, text, photorealism, heavy outlines not implied by the style.
Before: photographic scene. After: same layout and objects in flat vector form, no additions or deletions.
Text-safe asset extension
REFERENCE: The input image is the left half of a banner. All existing text is authoritative.
EDIT: Extend the banner to the right to a wider aspect ratio, continuing the background pattern.
PRESERVE: Every glyph, word, and text position exactly. Color, texture, and the original crop.
ALLOWED: Continued background pattern in the new area only.
AVOID: new text, repeated words, stretched letterforms, visible seam, pattern misalignment.
Before: half-width banner. After: extended canvas with the original text untouched and a seamless pattern continuation.
Subject extraction for compositing
REFERENCE: The input image is the subject to extract.
EDIT: Isolate the subject on a flat neutral gray background with no cast shadow.
PRESERVE: Subject edges including hair and thin details, full subject extent within the frame, original color.
ALLOWED: Removal of the original background entirely.
AVOID: cropped edges, halos, ambient color spill, hard polygonal cutouts, invented detail at the silhouette.
Before: subject against a busy interior. After: clean extraction ready for compositing, edges intact.
Testing and versioning your recipes
A prompt that works once is an anecdote. A prompt that works across a fixed reference set, repeatedly, is a component you can ship.
Build a fixed reference set
Pick a small set of inputs that covers your real distribution — different subjects, lighting conditions, and edge cases such as thin hair, transparent materials, and embedded text. Ten to twenty images is usually enough to surface regressions. Freeze this set and reuse it for every change.
Store recipes as data
Keep each recipe as a structured record: an identifier, a version, the four blocks as separate fields, and the negative list version it uses. Splitting the blocks means a change to background wording is a visible one-line diff instead of an opaque rewrite of a paragraph.
Compare outputs, don't just eyeball the latest run
When you change a prompt or a model version, re-run the whole reference set and place the new outputs next to the previous ones, image for image. Regressions in image editing are rarely dramatic — they show up as slightly shifted labels, softened fabric texture, or a new shadow that wasn't there. Side-by-side comparison catches what memory misses.
Track failures by block
When a run fails, record which block is responsible. Over time this tells you where your prompts are weak: if most failures trace to fidelity constraints, invest in more specific PRESERVE wording; if they trace to the negative list, prune and re-target it.
Re-baseline deliberately
Model updates can change behavior in both directions. When a new model version lands, run the reference set first, review the diffs, then decide whether to update baselines. Never accept a new baseline just because the outputs look fine in isolation.
Treating recipes as versioned test cases keeps image editing predictable as your pipeline grows. You can run these recipes through gpt-image-2.5-sunburst on HiAPI.ai's unified image-to-image endpoint and keep the four-block structure as the stable contract around it.
Related articles
View all articles →-
Guide
Ideogram V3 Character Edit for E-commerce Product Images via the hiAPI API
A developer guide to consistent subjects, clean background swaps, and a working hiAPI request
10 min read -

Guide
Using happyhorse-1.1/reference-to-video via the HiAPI API: Prompt Recipes and a Short-Form Video Workflow
A developer's guide to organizing reference images, wording identity-preserving prompts, and pacing short-form clips through HiAPI
10 min read -

Guide
Using qwen-image-2.1-pro for E-commerce Product Images: API Usage and Prompt Recipes
An end-to-end developer guide: transparent PNGs, image editing, text rendering and copy-paste prompts with curl and Python requests
10 min read