
Guide
gpt-image-2.6-sunburst Prompts: Copy-Paste Text-to-Image Recipes for Realistic Output and Text Rendering

On this page
Why a Prompt Recipe Beats Freestyle Prompting
Freestyle prompting feels creative, but it makes iteration nearly impossible. When every prompt is a fresh paragraph of description, you can't tell whether a change in the output came from a new adjective, a reordered clause, or sheer randomness. The result is a loop of scattered attempts where nothing is comparable.
A prompt recipe fixes that. By keeping a stable structure and swapping only one element at a time, you turn image generation into a controlled experiment. You learn which slot drives realism, which slot controls legibility, and which phrases are noise. Over a handful of iterations you build intuition that transfers to the next brief instead of starting from zero.
The recipes in this guide are designed for gpt-image-2.6-sunburst text-to-image, but the discipline applies to any model. Think of the skeleton as a checklist you fill in before you hit generate — not a creative straitjacket. The creativity lives in what you put into each slot, not in the order you happen to type it.

The Prompt Skeleton: Six Slots to Fill Every Time
Every recipe in this guide uses the same six slots, in the same order. Keeping the order fixed makes outputs comparable between iterations and makes debugging far easier.
1. Subject
The main thing in the frame. Be specific about count, material, and state: a single ceramic coffee mug, matte glaze, half-filled. Vague subjects like a nice cup force the model to guess.
2. Scene
Where the subject sits and what surrounds it. Include foreground and background cues: on a weathered oak table, blurred kitchen window behind. Scene sets depth and context.
3. Light
Direction, quality, and color temperature: soft window light from the left, warm late-afternoon tone, gentle falloff. Light is the single biggest lever for photorealism.
4. Camera
Framing and lens language: eye-level, 50mm look, shallow depth of field, subject centered. Camera terms translate into composition and focus behavior.
5. Style
The finish and rendering intent: natural color grading, subtle film grain, editorial product photography. Keep style short — it's a modifier, not a paragraph.
6. Text block
Only when the image needs legible copy. A separate, explicit block: exact wording, placement, and typographic style. Leave it empty for images without text.
A filled skeleton reads as one flowing prompt, but internally you always know which slot to blame when something looks wrong.

Photoreal Recipes You Can Copy
These templates are ready to paste. The realism comes from slots 3 and 4 — light and camera — far more than from stacking words like hyperrealistic or 8K.
Product shot
Subject: a single stainless-steel water bottle, brushed finish, standing upright
Scene: on a pale concrete surface, seamless light-grey backdrop
Light: large softbox from upper left, crisp specular highlight along the bottle edge, soft shadow to the right
Camera: eye-level, 85mm look, shallow depth of field, product centered with breathing room
Style: clean commercial product photography, neutral color grading
Text block: (none)
The specular highlight instruction is what sells the metal. Without it, the bottle reads as plastic.
Portrait
Subject: a woman in her thirties, natural skin texture, calm expression, looking slightly off-camera
Scene: plain muted backdrop, no props
Light: soft directional light from camera left, gentle shadow under the jaw, warm neutral tone
Camera: chest-up framing, 85mm look, shallow depth of field, eyes in sharp focus
Style: editorial portrait, realistic skin detail, subtle grain
Text block: (none)
Realism here depends on natural skin texture and eyes in sharp focus. If skin looks waxy, strengthen the texture phrase rather than adding more style words.
Environment
Subject: a quiet cobblestone street lined with low shopfronts
Scene: early morning, thin mist near the ground, a few closed shutters
Light: low sun from the far end of the street, long soft shadows, cool shadows against warm highlights
Camera: wide establishing view, 35mm look, deep focus
Style: documentary travel photography, natural color
Text block: (none)
For environments, depth of field and shadow direction do the heavy lifting. Keep the scene slot concrete — every unnamed prop is one the model invents.
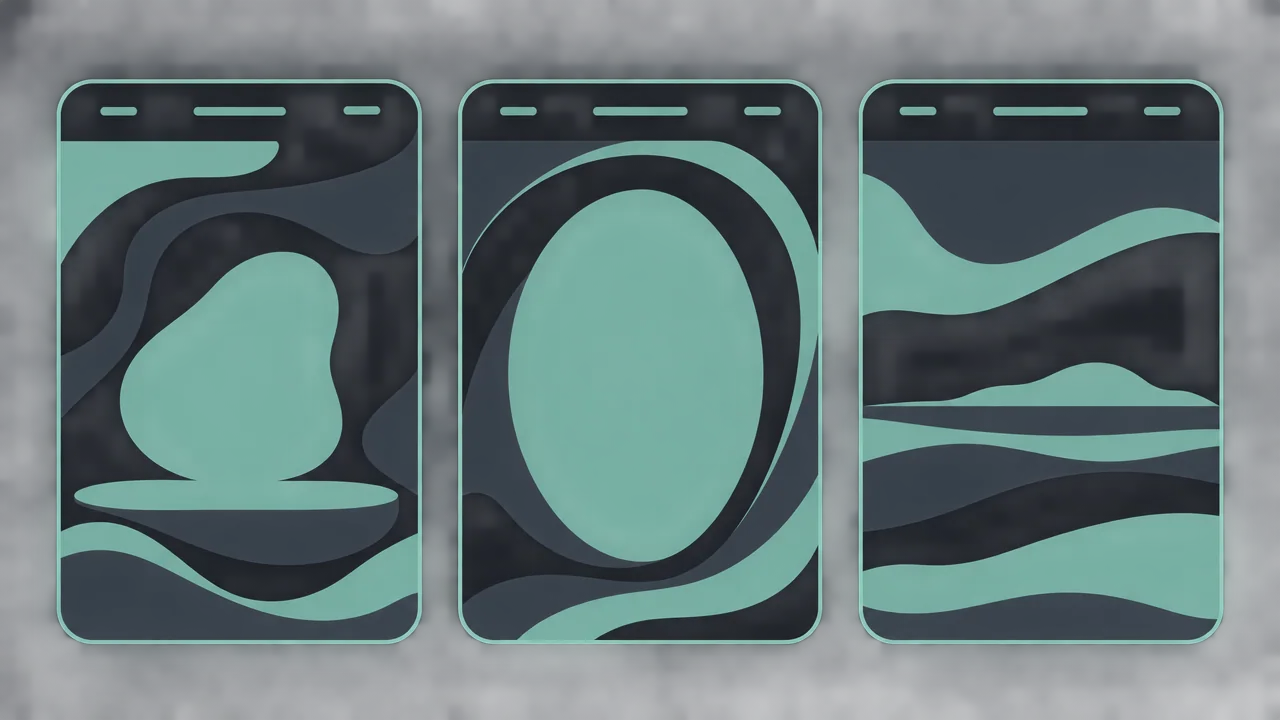
Recipes for In-Image Text and Layout
Text rendering fails when wording, placement, and style are mixed into the visual description. Treat the text block as its own miniature brief: short, explicit, and separated from style instructions.
Poster
Subject: a minimalist concert poster, portrait orientation
Scene: flat design, solid deep-blue field
Light: even, no shadows
Camera: straight-on, full poster in frame, no perspective
Style: bold sans-serif typography, high contrast
Text block: headline reads "NIGHT SIGNALS" in large white uppercase letters, centered in the upper third; below it, smaller line reads "LIVE — FRIDAY" in white; keep all other areas empty
Three details matter: exact wording in quotes, a named position (upper third), and an explicit emptiness instruction. The last one prevents the model from inventing filler copy.
Label
Subject: a matte paper label on a glass jar
Scene: straight-on view, jar centered, plain background
Light: soft even light, minimal glare on the glass
Camera: close framing, label fully legible
Style: clean minimal packaging design
Text block: label shows "BATCH 07" in small black uppercase letters at the top, and "RAW HONEY" in larger black letters beneath it; no other text on the label
UI mockup
Subject: a mobile app screen mockup, single card layout
Scene: screen fills the frame, no device bezel
Light: flat, no shadows
Camera: straight-on, no perspective, no tilt
Style: modern interface design, generous spacing
Text block: title reads "Today" in dark grey, one button below reads "Continue" in white on a solid dark button; no other labels
If text comes out garbled, shorten the copy before changing anything else. Long strings and multiple text zones are the most common causes of failure.
Weighting, Order and Emphasis
Order and emphasis are how you tell the model what matters most. The practical rule: whatever appears earlier and more concretely described tends to dominate. Use that deliberately.
Order as priority
If the subject and the scene compete for attention, put the subject first and describe it in more detail. The scene slot can stay brief. When you notice the model favoring the background, it's usually because the scene slot is longer and more vivid than the subject slot.
Emphasis phrasing
You don't need numeric weights. Simple emphasis phrases work: the main focus is, prominent in the foreground, dominant, versus de-emphasis like small in the frame, secondary, softly out of focus. Place these inside the slot they belong to, not as a separate afterthought.
A rule of thumb
- Emphasize one thing per image. Two competing emphasis phrases usually cancel out.
- If you need to de-emphasize, do it by shortening the slot, not by adding
less. - Change order only when changing content hasn't worked — reordering is a coarse tool.
When two elements fight, fix the slots first: trim the over-described one, then reorder if needed. Emphasis is a steering wheel, not an accelerator.
Negative Instructions That Actually Help
Negative lists are widely misunderstood. They constrain layout, wording, and unwanted props — they do not raise quality. Writing no blurry, no low quality, no bad anatomy rarely changes anything, because those are quality wishes, not constraints the model can act on.
Useful constraints
- Layout:
no text in the lower third,no elements touching the frame edge,no perspective tilt. - Wording:
no logo, no watermark, no extra labels— critical for posters and UI mockups. - Unwanted props:
no people in the background,no reflections on the surface. - Duplication:
a single subject only, no duplicates.
Ineffective wishes
no low quality,no artifacts,no distortion— vague and unactionable.perfect,flawless,professional— positive wishes dressed as negatives.
Keep the list short
Three to five constraints, placed at the end of the prompt, is enough. A long negative list dilutes attention and can conflict with your positive slots. If a negative isn't preventing a specific failure you've actually seen, remove it.
Iteration and Debugging When Output Misses
When an image misses, resist rewriting the whole prompt. Diagnose first, then change one slot.
Step 1: Is the subject wrong?
If the main object is wrong or missing, fix slot 1. Add concrete detail about count, material, and state. This is the most common cause of misses.
Step 2: Is the mood or realism off?
If the subject is right but the image looks flat or synthetic, look at light and camera. Add direction and quality to the light slot; add lens and depth-of-field language to the camera slot. Don't add style adjectives.
Step 3: Is the text garbled or missing?
Shorten the copy. Reduce to one text zone. Move the wording into its own block with exact quotes. If it's still wrong, simplify the visual style — busy backgrounds hurt legibility.
Step 4: Are there extra elements?
If the model invents props or duplicates, add a targeted negative constraint and trim the scene slot. Undescribed space gets filled by the model's imagination.
Step 5: Is it a conflict?
If two slots contradict — for example, shallow depth of field while also requiring a fully legible background label — resolve the conflict. No prompt can satisfy contradictory instructions.
Log each change and its result. After a few rounds you'll have a small library of winning prompts instead of a folder of one-offs.
Putting Recipes Into a Pipeline
A prompt recipe is only valuable if it's stored, versioned, and reused. Treat your prompt library like code.
- Store full skeletons, not fragments. A winning prompt is the whole six-slot block plus its negative list.
- Version by slot change. Note which slot was edited and why, so a regression is traceable.
- Keep a review step. Check text-heavy and photoreal prompts against known failure modes — garbled copy, duplicated subjects, missing shadows — before they go into a product pipeline.
- Separate prompt from call. Keep the prompt in a file or config, and pass it through the API at runtime so you can swap versions without code changes.
For integration details — request shape, parameters, and output handling — see the gpt-image-2.6-sunburst text-to-image model page.
Start with one skeleton, iterate on a single slot at a time, and let your library grow from what actually works.
Related articles
View all articles →-

Guide
gpt-6.2-sol Getting Started Guide: Capability Boundaries, API Integration, and Token Pricing Essentials
Integration decisions and practical essentials for engineering teams
-

Guide
gpt-6.2-astra Getting Started Guide: Text Model Capability Boundaries, Integration Essentials, and Cost Control
-

Guide
Tripo H3.1 Getting Started Guide: Choosing Among Three Input Modes, Parameters, and Pricing
A practical guide for developers on 3D generation integration decisions and cost control