
Guide
gpt-image-2 Image-to-Image Prompt Recipes: Copy-Paste Prompts for Multi-Reference Blending, Subject Fidelity, and 4K Output
A practical recipe guide for developers building image-to-image workflows with gpt-image-2/image-to-image@ext

- Model
- gpt-image-2
On this page
Why Prompt Structure Beats Prompt Length
Most image-to-image failures are not caused by a prompt that is too short. They are caused by a prompt that blends everything into one undifferentiated blob of adjectives. When you ask for a subject, three references, a new background, and a resolution target in one sentence, the model has no signal about which words apply to which part of the job.
The fix is a clause-based skeleton. Every prompt you send to gpt-image-2/image-to-image@ext can be decomposed into five slots:
- Subject — what the output is about, stated once, in concrete nouns.
- Reference roles — what each input image contributes, labeled explicitly.
- Background and scene — the environment, lighting direction, and depth.
- Output constraints — framing, aspect, texture, edge behavior, and detail expectations.
- Negatives — a short, prioritized list of what must not appear.
A reusable skeleton looks like this:
Subject: <one sentence, concrete nouns>
References: <image tag> = <role>; <image tag> = <role>
Scene: <background, light direction, depth>
Output: <framing, texture, edge treatment, detail constraint>
Avoid: <priority 1>, <priority 2>, <priority 3>
Two rules keep this skeleton honest. First, one clause carries one intent — do not pack identity preservation and background replacement into the same clause. Second, order reflects priority: put the thing that must not break first, because later clauses can partially override earlier ones when they conflict.
Longer prompts are not better. A four-clause prompt where each clause has a clear owner will consistently outperform a paragraph of stacked adjectives. The recipes that follow are variations on this same skeleton, so you can lift any of them and swap the content without relearning the shape.
Recipe: Blending Multiple Reference Images
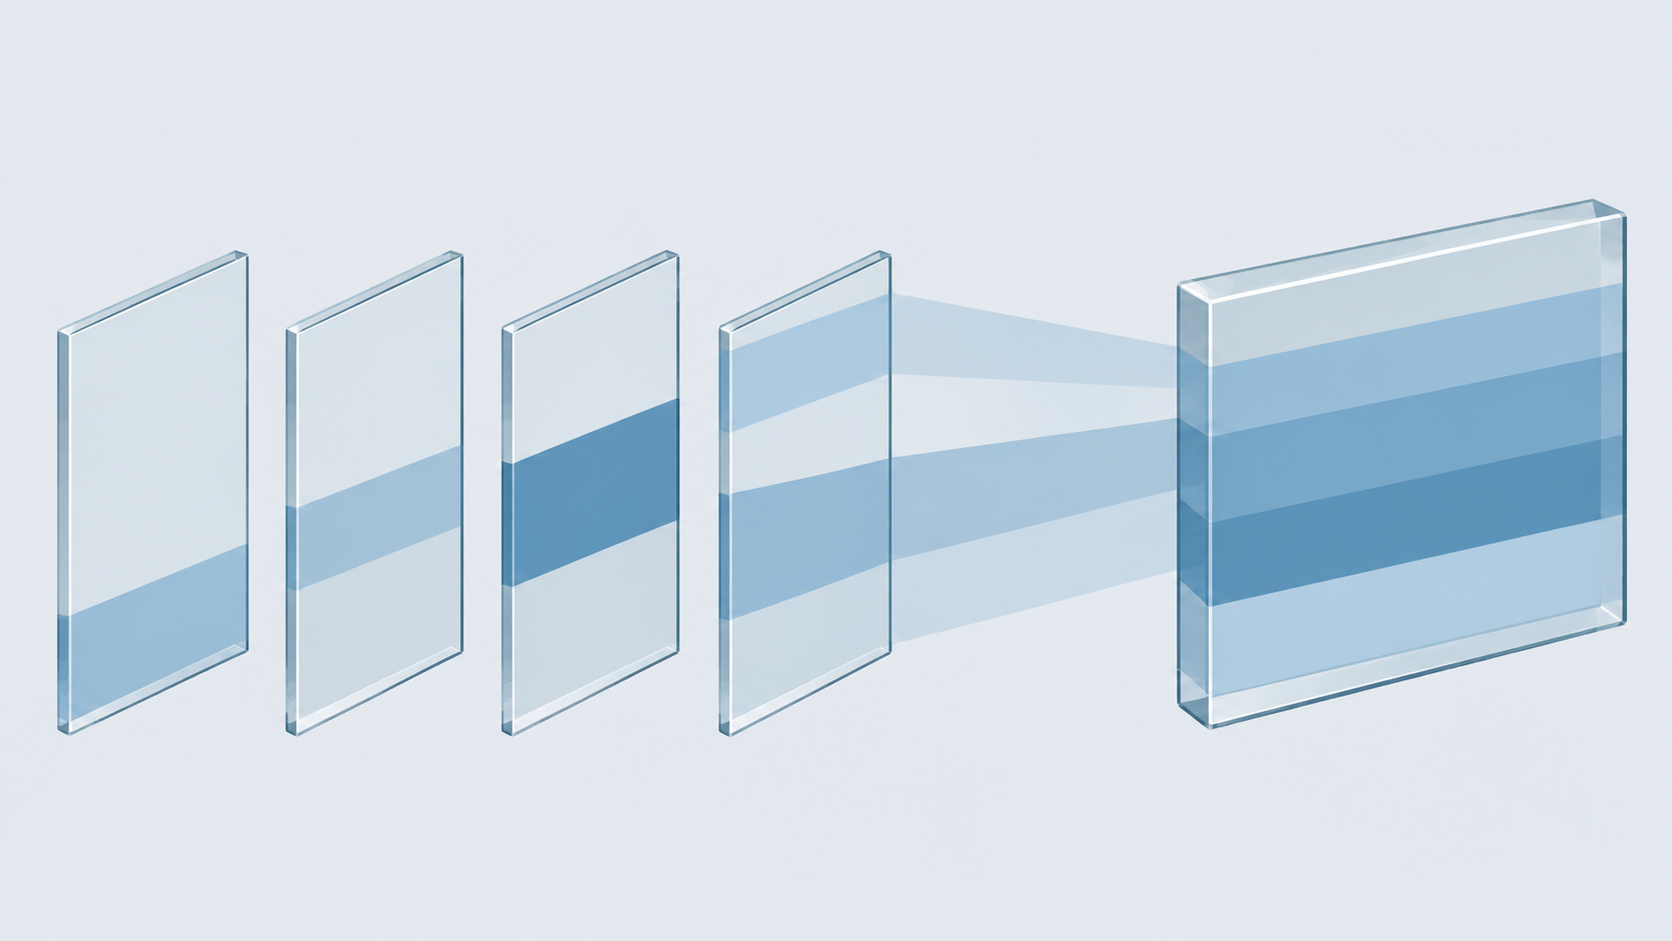
Multi-reference blending fails in a predictable way: with no role labels, the model averages the inputs. You get a face that is nobody's face and a style that is neither style. The cure is to name every input and state exactly what is taken from it.
The copy-paste pattern
Subject: a standing portrait of the person in <reference_1>
References:
  <reference_1> = identity source — face structure, hair, skin tone, body proportions
  <reference_2> = wardrobe source — jacket cut, fabric, color
  <reference_3> = lighting and grade source — key light direction, contrast, color temperature
Scene: neutral studio, soft shadow to camera left, shallow depth
Output: three-quarter framing, natural skin texture, clean edge separation from background
Avoid: blended facial features, plastic skin, mixed lighting directions
Why the role labels matter
Three mechanisms are doing the work here. Role verbs (identity source, wardrobe source, lighting source) tell the model what dimension each image governs, which prevents cross-contamination. Explicit dimensions — face structure, fabric, key light direction — narrow each role to observable attributes rather than vague "style." And the negative blended facial features directly counteracts the most common averaging failure.
Practical constraints
- Keep the number of roles small. Three references with three distinct roles is a solid default; every extra reference adds another averaging surface.
- If two references overlap in role (two wardrobe sources), state a precedence:
prefer <reference_2> for silhouette, <reference_3> for color. - When blending style references, assign style to one image and content to another. Style-plus-style blending tends to produce mush.
- If the blend still looks averaged, the usual culprit is a missing role for one input — an unlabeled image gets absorbed into the average.
Run the same recipe through gpt-image-2/image-to-image@ext and compare against a version without role labels; the difference is usually visible in facial structure first.

Recipe: Preserving Subject Fidelity
Identity drift happens when the transformation you ask for is stronger than the anchors you provide. The pattern is to lock a small set of features explicitly and declare everything else flexible.
The copy-paste pattern
Subject: the person in <reference_1>, preserving identity
Locked: face shape, eye spacing, nose profile, hairline, skin tone
Flexible: pose, head angle, expression, wardrobe, background
Scene: <new scene description>
Output: natural proportions, realistic skin texture, consistent lighting on face
Avoid: changed facial proportions, smoothed features, mismatched skin tone
Why this works
The prompt draws a boundary. Locked names the features the model must carry through; Flexible gives explicit permission to change everything else, which prevents the model from over-preserving the original scene. Without the Flexible clause, models often keep the source pose and background along with the face — technically faithful, but not the transformation you asked for.
Wording that helps
- Prefer observable geometry over abstract identity words.
eye spacingandnose profileare checkable;same personis not. - State the transformation as a change of scene, not a change of subject:
the same person, now in <scene>reads more reliably thantransform this person. - When the pose changes substantially, repeat the locks. Long prompts drift; a short restatement of the three most important anchors near the end is cheap insurance.
- For full-body work, add proportion anchors:
head-to-body ratio unchanged.
What to avoid
Do not stack many style adjectives on a fidelity prompt — heavy stylization reads as a request to alter the face. If you need a stylized output, keep the identity clause identical and move the style description into the Output clause so the two intents stay separated.
Recipe: Replacing Backgrounds Without Damaging the Subject
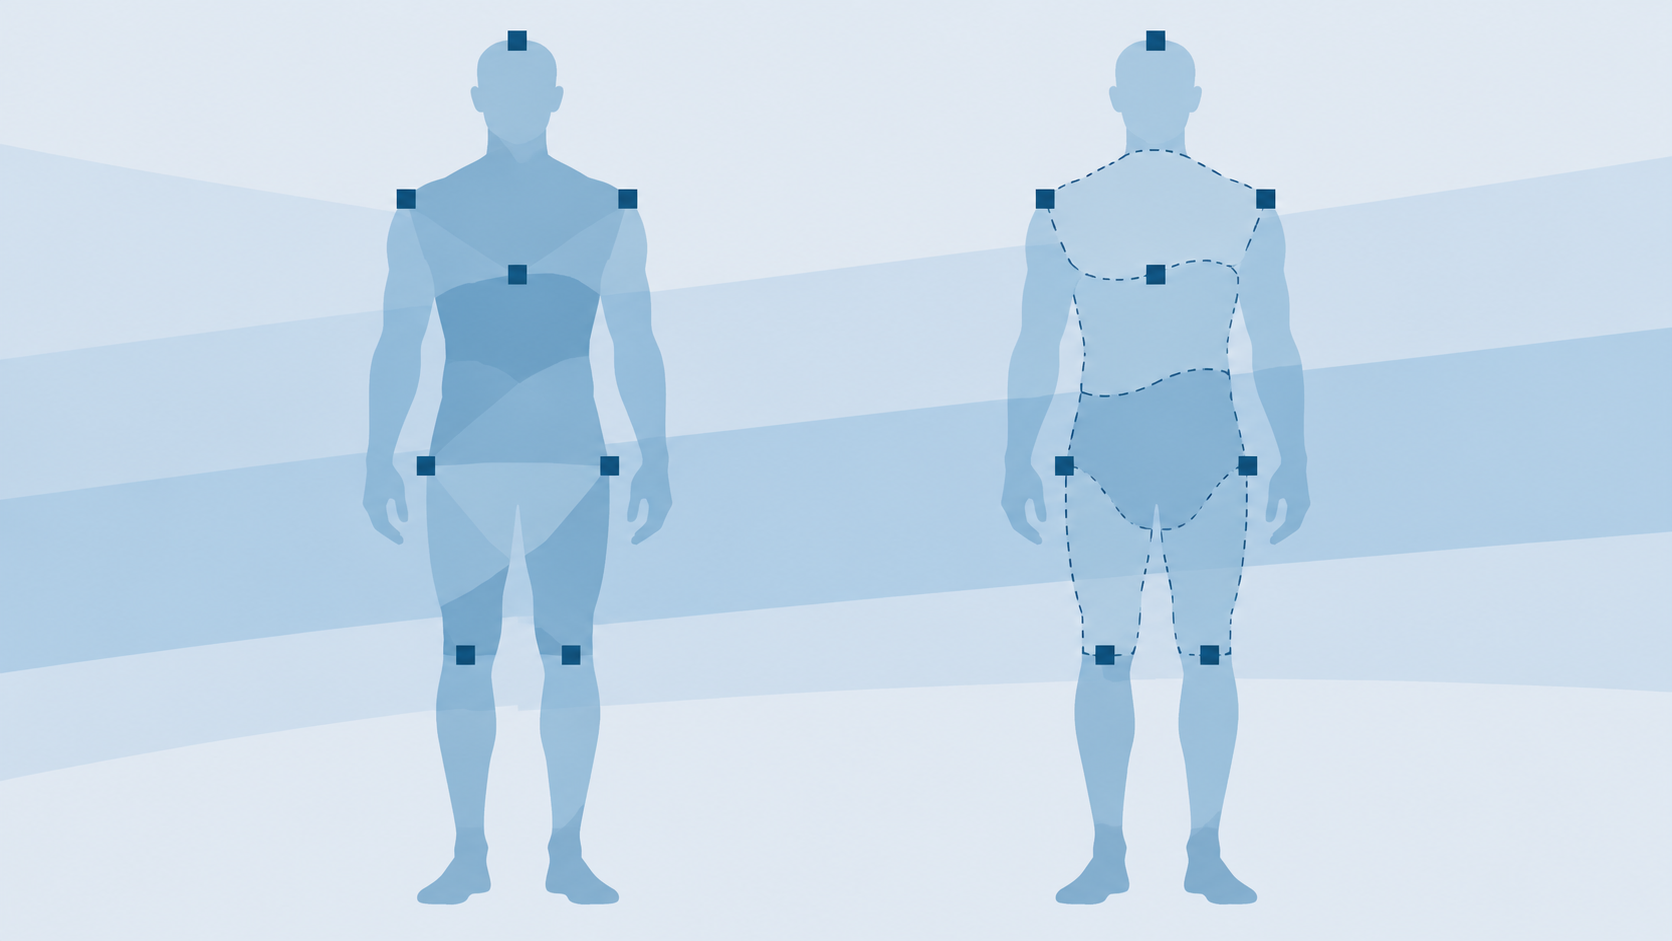
Background swaps go wrong at the boundary: halos, cut-out edges, and lighting that does not match the new scene. The fix is to isolate the change in its own clause and state edge and lighting treatment explicitly.
The copy-paste pattern
Subject: the person in <reference_1>, unchanged
Background: replace entirely with <new scene description>
Lighting match: match key light direction and color temperature of the new background onto the subject
Edge treatment: clean separation, no halo, preserve fine hair detail at the boundary
Output: consistent depth of field between subject and background
Avoid: original background remnants, visible cut-out edge, mismatched light direction
The three clauses that do the work
replace entirely closes the loophole where the model keeps fragments of the original scene. Lighting match is what makes the composite look real — a perfectly cut subject under the wrong key light still reads as pasted. Edge treatment addresses halos directly, and naming fine hair detail prevents the model from solving the edge problem by erasing it.
Adjustments by scenario
- Outdoor to indoor: add
shadow direction consistent with the new light sourceso the subject does not keep an outdoor shadow. - Studio to environment: add
depth of field separationso the subject does not appear to float at the same focal plane as the background. - Dark background: add
rim light consistent with background glowto avoid a flat silhouette.
Debugging the boundary
If you see a halo, the edge clause is usually too vague. Replace clean edges with the concrete pair: no halo, preserve fine hair detail at the boundary. If the subject looks pasted, the lighting clause is missing a direction — add key light direction explicitly rather than relying on match lighting.
Recipe: Controlling Detail at 4K Output
High-resolution output does not automatically mean high-quality detail. Resolution keywords alone often produce over-sharpened edges and synthetic texture. What controls quality is how you describe texture, edge sharpness, and expected noise.
The copy-paste pattern
Output: high-resolution render
Texture: natural skin pores, fabric weave visible, no synthetic smoothing
Edges: crisp where focus is sharp, soft falloff in out-of-focus regions
Noise: fine natural grain, no banding in gradients
Avoid: over-sharpened edges, plastic texture, halos around high-contrast edges
Why texture words outperform resolution words
A resolution keyword tells the model how big the canvas is. A texture clause tells it what should fill that canvas. At high resolution, every under-specified region becomes visible — smooth gradients show banding, and sharpening artifacts become obvious. Naming natural grain and no banding in gradients pre-empts those failures.
Edge and noise controls
- Edge sharpness should be tied to focus:
crisp where focus is sharpgives the model permission to soften elsewhere, which avoids the uniformly crunchy look. - Noise expectations are worth stating because models sometimes over-clean.
Fine natural grainkeeps high-resolution output from looking rendered. - Gradient banding is the most common high-resolution artifact on large flat areas. A single negative entry catches most of it.
- Do not double down on sharpening words.
Ultra sharp, hyper detailed, 8Kstacked together usually leads to halos; pick one sharpness statement and let texture wording carry the rest.
Test the same content at standard and high resolution with identical clauses. If the high-resolution version looks worse, the texture clause is missing a noise or gradient constraint.
Writing a Negative List That Actually Works
Negatives are a priority list, not a wish list. A long negative list that contradicts the positive prompt is worse than no negatives at all — the model receives conflicting instructions and resolves them unpredictably.
The prioritized pattern
Avoid: <the one failure that ruins the output>, <second-most-likely failure>, <artifact class>
Three to five entries is a practical ceiling for most recipes. Order them by how badly each would damage the result.
How to avoid self-contradiction
Every negative should be the inverse of a stated positive. If the positive says natural skin texture, the matching negative is synthetic smoothing — not smooth skin, which would contradict the positive. The test is simple: for each negative, ask which positive clause it protects. If there is no answer, cut it.
Common categories worth covering
- Identity failures:
changed facial proportions,blended features. - Boundary failures:
halo,cut-out edge,original background remnants. - Texture failures:
plastic texture,over-sharpened edges,banding in gradients. - Scene failures:
mismatched light direction,floating subject.
What to leave out
Avoid generic quality negatives like bad quality or ugly — they carry no actionable information and consume attention that should go to specific failures. Avoid listing every artifact you can imagine; the model treats an undifferentiated list as noise.
When a new failure appears in output, add it as a negative only if you can name the positive clause it protects. Otherwise fix the positive prompt instead.
Troubleshooting Common Prompt Failures
Most failures map to one clause in the skeleton. Use the symptom to find the clause, then adjust that clause rather than rewriting the whole prompt.
Identity drift
Symptom: the face changes between outputs, or the subject reads as a similar-looking stranger.
Clause to adjust: the Locked list in the fidelity recipe. Add two or three observable geometry anchors (eye spacing, nose profile, head-to-body ratio). If drift persists, check whether a style clause is competing with the identity clause and move style into Output.
Muddy blends
Symptom: blended outputs look averaged — a face that belongs to nobody. Clause to adjust: reference roles. Every input needs an explicit role label. If roles overlap, add an ordering statement so one reference wins on silhouette and another on color.
Halos and cut-out edges
Symptom: a visible ring or hard boundary between subject and background.
Clause to adjust: the edge treatment clause. Replace generic clean edges with no halo, preserve fine hair detail at the boundary, and add the halo entry to negatives.
Pasted-on subject
Symptom: the subject looks composited rather than photographed in the scene.
Clause to adjust: lighting match. State key light direction and color temperature explicitly, and add shadow direction consistent with the new light source.
Flat or plastic texture
Symptom: surfaces look rendered, skin looks smoothed, gradients show steps.
Clause to adjust: the texture clause. Add natural grain, no synthetic smoothing, and no banding in gradients to negatives.
Over-sharpened high-resolution output
Symptom: every edge is crisp and haloed at high resolution.
Clause to adjust: edge sharpness. Tie sharpness to focus (crisp where focus is sharp) and remove stacked sharpening adjectives.
When two symptoms appear together, fix the higher-priority clause first — usually identity — because downstream fixes will not hold if the subject is unstable.
Putting the Recipes Into a Workflow
These recipes are designed to compose. A practical pipeline sequences them so each step has one job and one prompt to debug.
Suggested sequence
- Identity first. Run the fidelity recipe alone and lock the subject before adding any scene change. Unstable identity will invalidate every later comparison.
- Add references. Introduce wardrobe and lighting references one at a time with explicit role labels, so you can attribute any change to a specific input.
- Change the scene. Apply the background recipe with lighting match and edge treatment clauses, once the subject is stable.
- Tune detail last. Add texture, edge, and noise constraints only after the content is correct — detail clauses are cheap to iterate and easy to over-apply.
- Finalize negatives. Build the negative list from actual failures observed across steps 1–4, not from a generic template.
Versioning prompts
Treat prompts as source code. Keep each recipe variant as a named, committed text block alongside the parameters you used, including the reference image set. When output quality shifts after a change, a versioned prompt lets you diff clauses instead of guessing. Two habits pay off: keep the skeleton structure identical across versions so diffs stay readable, and record which clause you changed and why in the commit message.
A note on repeatability
Image-to-image output varies even with identical prompts. Compare variants with the same reference set and the same content, and judge on the failure class rather than a single sample — one run that happens to look good tells you less than three runs that consistently avoid halos.
Start from the skeleton, pick the recipe that matches your current step, and iterate one clause at a time through gpt-image-2/image-to-image@ext.
Related articles
View all articles →-
Guide
Seedance 2.5 Flash Reference-to-Video: Reference Images, Audio and How the Bill Is Counted
9 min read -

Guide
Seedance 2.5 Flash Image-to-Video: First Frame, Last Frame and Per-Second Billing
Making a still image move: parameters, price and the usual failure modes
7 min read -

Guide
Seedance 2.5 Flash Text-to-Video: Parameters, Per-Second Billing and Production Practice
From the first request to a stable pipeline: how to set parameters and how the bill adds up
8 min read