
Guide
Ideogram V3 Character Edit Integration Guide: How to Prepare Source Images, Masks, and Character Reference Images
The three types of image input each have their own role: submit local edits according to the contract fields and self-check character consistency and boundaries item by item

On this page
What each of the three image inputs is for
Before integrating ideogram-v3-character/edit, first separate the responsibilities of the three image fields; every preparation step that follows will then become clear.
- Source image
image_url: determines "what picture to change." It provides the original composition, background, and subject position, and is the foundation of the entire editing operation. - Mask
mask_url: determines "where to change." It only delineates the area that needs to be redrawn; content outside that area should be preserved. - Character reference image
reference_image_urls: determines "what the character looks like." It provides the character's appearance features so that the redrawn result aligns with the reference character.
Do not confuse the boundaries of the three: the source image is not the character reference image, and the character reference image cannot replace the source image; the mask is a spatial constraint, not a content description. Handing character features to the reference image, writing the picture content into prompt, and handing the modification scope to the mask is the split that minimizes errors. Once they are mixed up (for example, uploading only a character image without enabling the mask, or using the mask to "hint" at the character's appearance), you lose the basis for judgment when troubleshooting.
At the contract level, the source image and mask are string URL fields, while the character reference image is an array field; the different types also hint at different uses: the first two are a one-to-one spatial pairing, while the latter is an independent source of character description.
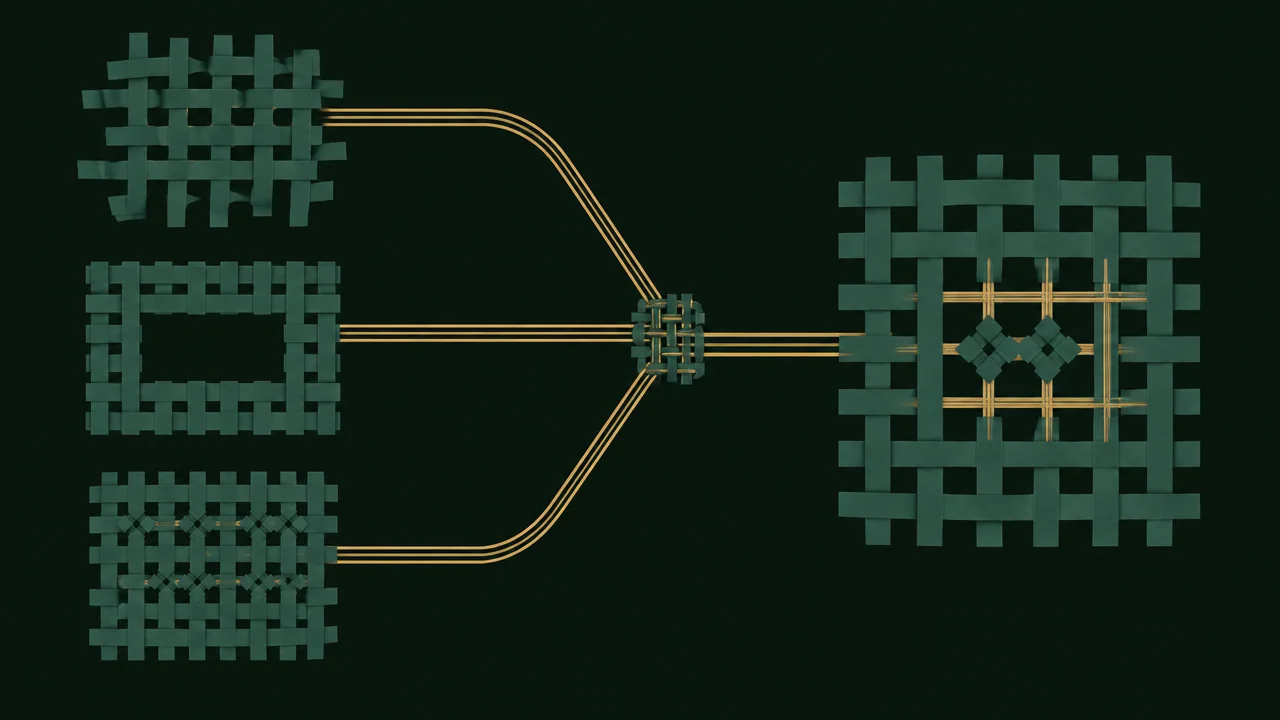
Preparation points for the source image and mask
Both image_url and mask_url are required fields, in URI format, and must start with http:// or https:// (contract pattern ^https?://), with a minimum length of 1.
Aspect ratios must match
The only hard geometric constraint the contract imposes on the two is: the mask must maintain the same aspect ratio as the source image. This is a precondition, not a suggestion; the safest approach when preparing assets is to first output the mask at the source image's dimensions locally, then upload them together, rather than expecting the server to align them for you.
Mask semantics: only delineate the redraw area
The mask marks the locations where redrawing is "allowed." Therefore:
- Do not let parts that need to be preserved fall inside the mask area;
- The subject that needs to change (e.g., changing outfit or pose) should fall completely inside the mask, avoiding cut-off edges;
- Do not make the mask too fragmented; scattered small patches make it difficult for the model to understand the editing intent.
URL availability
Both fields are remote URLs; before submitting, be sure to confirm that the link can be accessed anonymously, has no broken redirects, and requires no login authentication. For the mask, it is recommended to use an image with a transparent channel or clear black-and-white contrast, to avoid boundary ambiguity caused by semi-transparent gradients.
Specifications and limits of the character reference image
reference_image_urls is a required array field, and the contract gives explicit constraints: minItems: 1, maxItems: 1, i.e., exactly one image is required. Passing two or zero will both be judged as invalid input; this runs counter to the intuition of many "multi-image reference" setups and is an easy pitfall during integration.
Format and size
- Supported formats: JPEG, PNG, WebP;
- Maximum 10 MB per image.
Image selection advice
The role of the character reference image is to provide stable character features, so:
- Choose a clear, frontal or near-frontal image with an unobstructed face;
- Avoid strong backlighting, heavy filters, and group photos (the model cannot determine whom to align with);
- Full-body and half-body each have trade-offs: use half-body or closer when clothing details are needed, and full-body when the overall look is needed;
- Do not use an image that already has a complex background to "hint" at the scene — leave the scene to the
promptdescription.
Although the array form holds only one element, it must still be submitted as an array, e.g., wrapping a single URL as one item rather than placing a string directly.
How to combine required and optional fields
There are four required fields in total: prompt, image_url, mask_url, reference_image_urls. Optional adjustment fields include expand_prompt, style, seed, rendering_speed.
prompt describes the new scene, not an editing instruction
The contract's definition of prompt is key: "describe the scene in which the reference character is located, i.e., the picture content to be generated by this edit," with a length of 1–5000 characters. That is, do not write operation instructions like "change her clothes to a red coat," but write picture descriptions like "she stands on a street after the rain, wearing a red coat, with neon lights reflected on the wet ground." The editing scope is handled by the mask, while prompt handles the picture content itself.
expand_prompt is enabled by default
expand_prompt is a boolean switch, defaulting to true; when enabled, MagicPrompt automatically expands the prompt. This means the short description you submit will be processed once more by the model. During the troubleshooting stage, it is recommended to keep the default first, and decide whether to turn it off only after clarifying the difference between the long description and the expanded result.
style and seed
- The
styleenum isAUTO,REALISTIC,FICTION, defaulting toAUTO. UseREALISTICfor realistic characters,FICTIONfor stylized illustrations, and stay atAUTOwhen unsure. seedis an integer ranging from 0 to 2147483647, used to reproduce the generation results of the same prompt. When comparing "same input, different parameters," fixing the seed eliminates randomness interference.
Choosing the rendering_speed level
rendering_speed is a string enum, defaulting to BALANCED, with three levels:
- TURBO: fastest output, suitable for quickly validating mask scope and whether the character matches during the draft stage;
- BALANCED: default level, a compromise between speed and detail, the starting point for daily integration;
- QUALITY: richest detail, suitable for the finalization round before the final output.
The selection approach is to switch by stage rather than fix it once and for all: first use TURBO to confirm that the geometry and character direction are fine, then use BALANCED or QUALITY to converge on details. This way, repeated debugging will not consume time on high-quality rendering.
It should be emphasized: the three levels differ in billing basis (billed by output level); for specific prices, please refer to the site's pricing panel, and this article does not go into numbers. When troubleshooting image input issues, fixing to the default level first can reduce one variable.
Pre-submission self-check list
Checking item by item against the contract can block most failures before submission:
-
promptis non-empty and no more than 5000 characters, and the content is a scene description rather than an editing instruction; -
image_urlis an anonymously accessible link starting withhttp://orhttps://; -
mask_urlis similarly accessible and has the same aspect ratio as the source image; -
reference_image_urlsis an array with a length of exactly 1; - The reference image format is JPEG/PNG/WebP and the size does not exceed 10 MB;
- Optional field spellings and enum values are correct (
styleandrendering_speeduse the uppercase values listed in the contract); - If
seedis set, confirm it is an integer from 0–2147483647; - If
expand_promptis disabled, confirm that thepromptitself is sufficiently complete.
This list is also the first stop for troubleshooting: if any item is not satisfied, fix the input first rather than repeatedly adjusting the description.
Troubleshooting character deviation and boundary issues
When the generated result is not as expected, first categorize the problem, then make targeted adjustments; this is more effective than resubmitting the entire image.
Type 1: character does not look alike
This manifests as facial features, hairstyle, and body shape deviating from the reference image. Adjustment directions:
- Replace the reference image: a clearer frontal image, better lighting, a single subject;
- Check whether the reference image is cropped or over-compressed;
- Add character descriptions (clothing, posture, age temperament) in
promptso that text and image corroborate each other; - Reduce scene complexity to prevent background elements from competing with character details.
Type 2: boundaries are blurred
This manifests as content outside the mask being unexpectedly changed, or seams and ghosting appearing at the mask edges. Adjustment directions:
- First confirm that the aspect ratios of the source image and mask are strictly identical;
- Check whether the mask also encloses parts that need to be preserved;
- Make the subject fall completely inside the mask to avoid cutting edges;
- Switch to cleaner mask edges to reduce semi-transparent transitions.
Do not adjust the two types of problems together: change the reference image and description for character issues, and change the mask and geometry for boundary issues. Change only one variable at a time to determine which one takes effect.
From example to integration
Putting the contract requirements above into a process gives four steps: prepare a source image and mask with the same aspect ratio, choose a compliant character reference image, describe the new picture with a scene-based prompt, and check the fields against the list before submitting.
The integration entry point is on the model page; field definitions and enum values are subject to the page, and you can compare them item by item against the list in this article: Ideogram V3 Character Edit model page. Only when the assets are prepared correctly does subsequent tuning make sense.
Related articles
View all articles →-

Guide
gpt-6.2-sol Getting Started Guide: Capability Boundaries, API Integration, and Token Pricing Essentials
Integration decisions and practical essentials for engineering teams
-
Guide
gpt-6.2-astra Getting Started Guide: Text Model Capability Boundaries, Integration Essentials, and Cost Control
-

Guide
Tripo H3.1 Getting Started Guide: Choosing Among Three Input Modes, Parameters, and Pricing
A practical guide for developers on 3D generation integration decisions and cost control