
Guide
recraft/crisp-upscale Getting Started: Image Upscaling API Integration and Pricing
From capability boundaries to per-image billing—how developers can reliably integrate image upscaling into production
- Model
- recraft-crisp-upscale
On this page
What crisp-upscale Solves
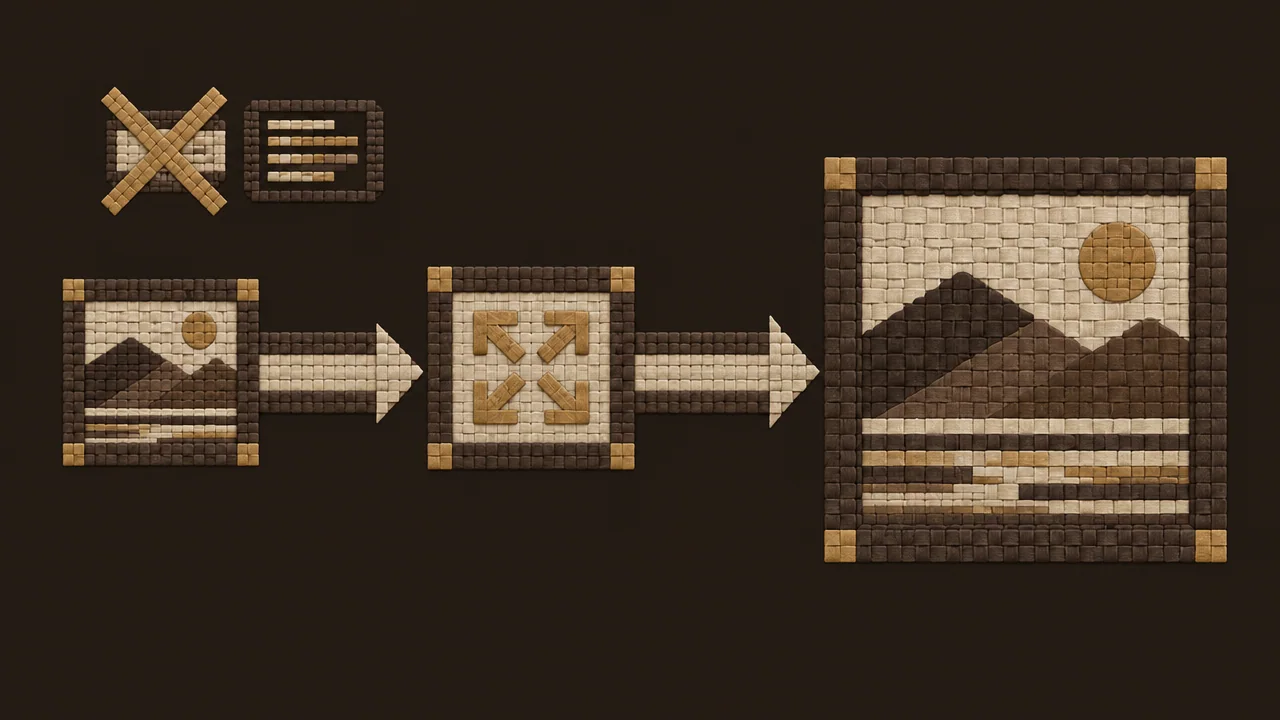
Take an existing image whose resolution is not high enough and turn it into a larger, sharper version—that is the job of recraft/crisp-upscale. It belongs to the image-to-image category: you give it an image, and it returns an upscaled image. There is no place for a text prompt on the input side, and the output type is always an image.
This type of model addresses a very specific set of problems:
- Inconsistent asset sizes. Images uploaded by users, pulled from legacy content libraries, or supplied by third-party partners come in wildly different resolutions, yet the frontend layout demands fixed display dimensions.
- Repurposing old content. Illustrations, screenshots, and thumbnails from years ago turn blurry the moment you place them inside a larger container.
- Finishing the generation pipeline. At the tail end of any image generation or editing chain, an upscaling step is often needed to deliver the final output size.
If your need is "generate an image from a sentence," this model is not for you. If your need is "I have an image and I want it bigger and sharper," then it fits. The litmus test is simple: do you already have a concrete image file in hand before the call? If yes, this is the right tool. If no, solve the generation problem elsewhere first.
For developers, this single-responsibility design is actually a good thing: the API semantics are simple, the input-output structure is stable, and failure causes are easier to isolate. Upscaling is an independently testable, independently rollback-able step that does not get tangled up with prompt engineering.
Capability Boundaries: What It Can and Cannot Do
Treat crisp-upscale as a dedicated upscaler, and your expectations will stay aligned with reality.
What It Can Do
- Accept an existing image and output an upscaled version—a standard image-to-image transformation.
- Improve perceived sharpness while enlarging, which is the direction the name "crisp" points toward.
- Serve as an independent, callable step within a pipeline: input and output are both images, with no additional text state introduced.
- Suitable for batch-processing homogeneous assets, such as bringing an entire batch of product images up to a target size.
What It Does Not (or Cannot) Do
- Does not accept text prompts to generate images. This is not a text-to-image model; there is no prompt role in the input.
- Does not understand image content. It will not redraw, restyle, change backgrounds, or fill in missing subjects for you. Those tasks belong to generation or editing models.
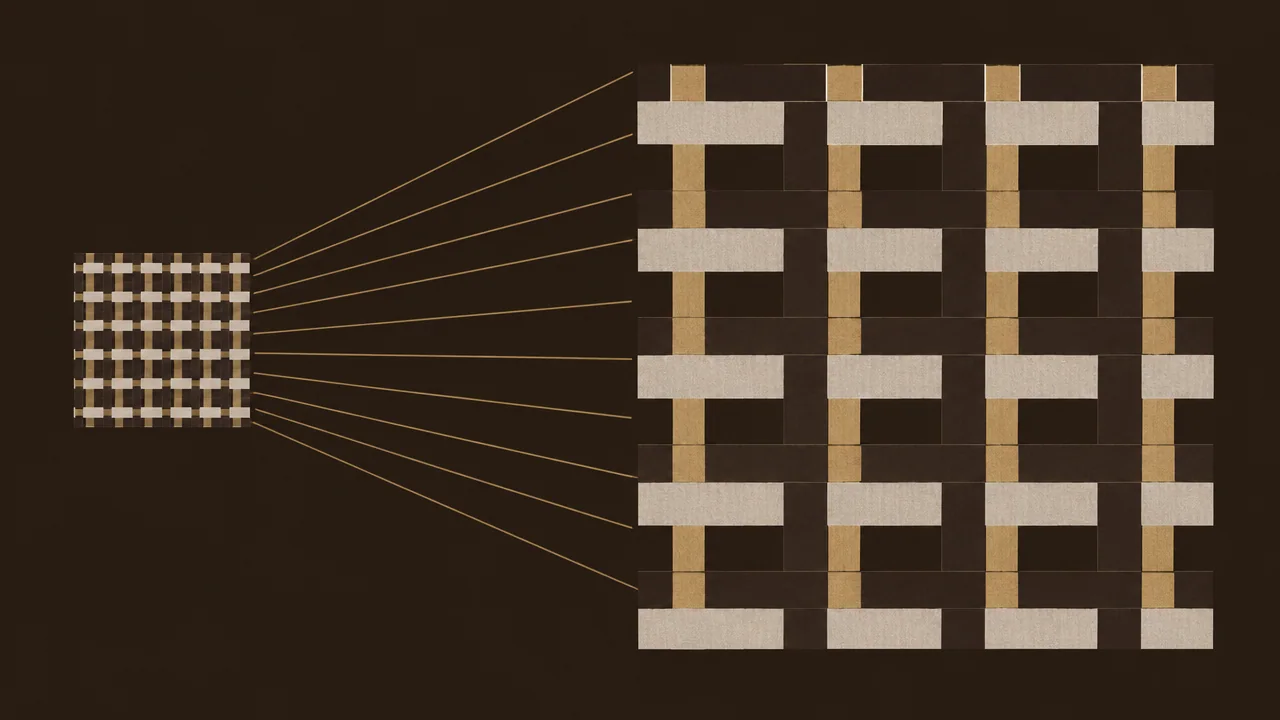
- Cannot create detail out of thin air. Upscaling is fundamentally inference based on existing pixels. If the source image is severely blurry, riddled with compression artifacts, or lacks sufficient subject information, the upscaled result will be limited. Input quality sets the ceiling for output.
- Cannot specify a scale factor or target resolution. The only public parameter right now is the required image public URL
image_url. Supported formats are JPEG, PNG, and WEBP, with a single-file limit of 10MB. There is no text prompt and no scale-factor or output-size parameter.
A pragmatic rule of thumb: test with the worst assets in your actual pipeline first, not a carefully selected reference image. If the worst inputs produce unacceptable results, the problem usually lies on the input side, not the call side.
Input and Output Specifications to Confirm Before Calling
When integrating through the HiAPI.ai unified interface, run through this checklist before writing business logic. It will save you most of the rework.
Input Side
- Can the file be decoded successfully? Validate format and integrity locally first. Don't send corrupted files—that wastes your call quota.
- Does the file meet input constraints? The public constraints are JPEG, PNG, or WEBP format, with a single-file limit of 10MB. If the source is too small, the upscaling benefit is limited; if too large, confirm the file size is within limits first.
- Color and alpha channels. The public formats are JPEG, PNG, and WEBP. For sources with alpha channels or formats outside this list, verify with samples that the output meets expectations.
- File size. Upload timeouts for large files must be matched to your timeout settings—don't use a short default timeout against a large image.
Output Side
- Output dimensions. You cannot specify a target resolution in the request. During integration, test with several source images of different sizes to build your own "source size → output size" lookup table. Do not assume output falls into some undocumented named tier.
- Output format and size. Upscaled files are typically larger. Estimate downstream storage and bandwidth needs in advance.
- Subjective sharpness acceptance criteria. Define what "sharp enough" means before you start, otherwise you will never know whether the result passes.
Parameter Side
The only public parameter right now is the required image_url. Do not add your own scale factors, target resolutions, prompts, or other undocumented parameters. Get the minimal request working with just this one field first.
A minimal validation sequence: single small image → a typical image from your pipeline → the worst-quality image → the largest image. Once all four pass, then consider batching.
Per-Image Billing: How Pricing Works
crisp-upscale uses per-image billing—one successful call equals one image, equals one billing event. There is only one price tier: $0.004/image.
How to Estimate Usage
Monthly cost ≈ monthly image count × $0.004. The only variable you really need to manage is monthly image count, which is the product of three factors:
- Average daily number of business objects processed;
- Average number of images per object that need upscaling;
- An additional coefficient for retries and rework.
The third factor is the most commonly overlooked. Failed retries, re-runs due to unsatisfactory quality, and the same image being processed by different workflows will all push the actual count above business expectations. Instrument each of these three factors separately, and your costs become traceable and manageable by call volume.
A Few Ways to Control Call Volume
- Deduplication. Upscale the same image (identified by content hash) only once, storing the result for reuse. In scenarios where the same asset is referenced in multiple places within a content library, this alone often saves a substantial percentage.
- Gate before calling. If the source image already meets display size requirements, skip the upscaling step. A simple dimension check can intercept unnecessary calls.
- Batching and async. For non-real-time scenarios, use a queue to decouple upscaling from the user request path. This lets you merge retries and avoid duplicate submissions caused by timeouts.
- Tiered strategy. Use upscaling for high-value placements like covers and hero images; use original images directly for list thumbnails. Concentrate budget where the difference is visible.
- Budget guardrails. Set daily or weekly call caps with alerts to prevent a looping bug from burning through quota—accidents like this have a very direct cost with per-image billing models.
Run a full-sample audit first, then decide what to upscale and how much. That is far more reliable than guessing at a scale factor.
Typical Use Cases and Pipeline Combinations
Upscaling rarely exists in isolation. It is usually one link in a larger pipeline. Here are a few scenarios where it fits well.
Asset Post-Processing
Images uploaded by users or operations teams go through a uniform upscaling pass before entering the library, establishing a consistent size baseline across the content library. The frontend no longer needs per-image size adaptation, and design specs can be authored at fixed dimensions.
Repair Pipeline for Legacy and Low-Quality Images
Screenshots and over-compressed images in historical content go through basic cleanup first (cropping, format normalization), then into crisp-upscale for enlargement, and finally cropping to target dimensions for delivery. Mind the order: fix first, then upscale. Resolve fixable problems before the upscaling step.
Finishing Touch After Generation
Any image generation or editing chain can hang an upscaling step at the tail end to bump intermediate results up to delivery size. The benefit of this approach is decoupling: whether you swap out the generation model or not, the upscaling step stays untouched.
Pipeline Architecture
Upload → Validate (format, dimensions, hash-based dedup) → Call upscaling → Spot-check quality → Store → Serve via CDN. The quality spot-check can be manual sampling or automated metric monitoring on headline assets only. Either way, always keep a "reject and send back" path for results that don't pass.
Two engineering reminders: the upscaling step must be idempotent (same input yields same output, results are cacheable); failures must be independently retryable—don't rerun the entire pipeline for one failed upscale.
Common Pitfalls and a Pre-Launch Checklist
Here are the issues that come up repeatedly during integration. Most can be avoided once, before going live.
Common Pitfalls
- Treating it as a generation model. Expecting it to fill in missing content or alter the scene will inevitably lead to disappointment. Align on capability boundaries first.
- Validating with polished reference images. A demo image looks great; real-world low-quality assets from production cause a crash on launch day. Your validation samples must come from your actual production distribution.
- Timeout set too short. Large images take longer to process. A default timeout easily leads to duplicate billing where the call actually succeeded but the client gave up.
- No deduplication. The same asset gets upscaled repeatedly, and the bill grows out of proportion to business growth.
- Assuming undocumented output tiers. You cannot specify output dimensions in the request. If you lay out downstream components against a named resolution that doesn't exist, you may have to redo everything.
- Unbounded retry loops. Fail → retry with no cap, and a single outage can burn through an entire day's budget.
Pre-Launch Verification Checklist
- Run the full pipeline with a small sample drawn from your actual production distribution (including the worst-quality images).
- Record and confirm the actual input specifications and output dimension behavior.
- Verify the one-call-to-one-billing correspondence; confirm there are no hidden duplicate calls.
- Validate dedup cache hit rate.
- Validate timeout, retry, and circuit-breaker strategies.
- Set up daily budget alerts and a call-volume dashboard.
- Run a small-percentage canary, compare subjective quality and downstream metrics before and after upscaling, then switch to full traffic.
The gains from upscaling are gradual, and so are the risks: get the small-sample comparison right, and the large-scale rollout that follows is mostly operational work.
Start by getting a single image through. Lock down the specs, billing, and deduplication. Once those three are solid, crisp-upscale settles in as that silent workhorse in your image pipeline—always running, never in the spotlight.
Related articles
View all articles →-

Guide
gpt-6.2-sol Getting Started Guide: Capability Boundaries, API Integration, and Token Pricing Essentials
Integration decisions and practical essentials for engineering teams
-

Guide
gpt-6.2-astra Getting Started Guide: Text Model Capability Boundaries, Integration Essentials, and Cost Control
-

Guide
Tripo H3.1 Getting Started Guide: Choosing Among Three Input Modes, Parameters, and Pricing
A practical guide for developers on 3D generation integration decisions and cost control