
Tutorial
seedream-5.0-flash in Practice: 5 High-Value Image Generation Scenarios and Integration Tips
From image-to-image to text-to-image: planning your image capability around $0.025/image

On this page
Why use seedream-5.0-flash for scenario experiments
There are many image generation models out there. When picking one for scenario experiments, the criteria are straightforward: broad enough capability coverage, clear billing, and a unified integration path. seedream-5.0-flash checks all three: it supports both text-to-image and image-to-image, with image output; it bills per image, currently one tier at $0.025/image; and a single endpoint covers everything from creative drafts to secondary asset processing.
The parameter names, values, and pricing on the model page reflect the current endpoint; what we care about below is a different question—what can it actually do once you put it into your business, and how to do it reliably. We'll break down 5 use cases and cover integration and budgeting essentials for each. Every scenario will land at the engineering level, not stop at "the results look pretty good."

Capability boundaries and pricing: first, calculate what one image actually costs
Capability boundaries
Text-to-image is for going straight from a prompt to an image. Image-to-image is for changing style, replacing backgrounds, or creating variants constrained by a reference image. prompt is required, length 1–5000; for image-to-image, pass the reference image via image (single URL, Base64, or up to 10 input images). size defaults to 2K; you can also use 1K, 1.5K, 2K, or "WxH". Each call returns 1 image—you can't get multiple images in one request.
Pricing and budgeting
Per-image billing means your budget is a straightforward multiplication: $0.025/image × number of calls = phase cost. Each call returns 1 image and is billed as 1 image.
In practice, we recommend three steps:
- Determine how many usable images one business action requires. If one product image variant set needs 4 candidates to pick 1, that's 4 calls, not 1 call producing 4 images.
- Add selection waste. Not all generated results will be usable—budget based on actual calls, not final picks.
- Multiply by expected business volume to get the phase budget, then check alignment with what the business can afford per unit.
Start by converting "$0.025/image" into "how many calls does one business action take, and what's the total cost," then convert that into "how much per month." Many teams blow their budget not because the unit price is high, but because they never calculated how many calls sit behind a single business action.

Use case 1: Product image variants and multi-style generation
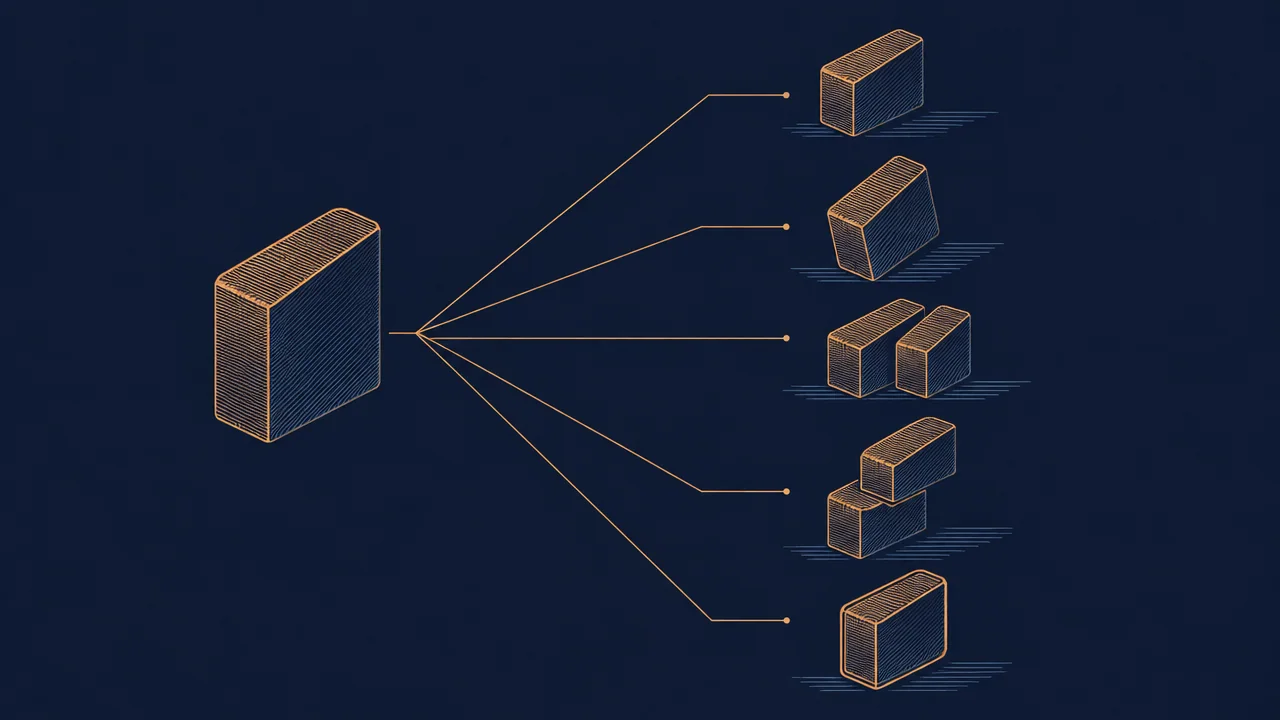
The most common need for e-commerce and marketing teams: generating multi-style variants from a single source image. The main product image needs to adapt to different channels, campaign themes, and audience aesthetics. The traditional approach—designers editing one by one—has long turnaround times and high costs.
The image-to-image workflow looks roughly like this:
- Prepare a high-quality source image with a clear subject, clean background, and sufficient resolution.
- Write a prompt for each target style, describing lighting, color tone, composition, and scene atmosphere.
- Make multiple calls per style—1 candidate per call—then manually screen, flag as usable or not, and build feedback data.
Engineering considerations
- Input image quality sets the ceiling. A blurry source image, occluded subject, or cluttered background will usually carry those problems into the output. We recommend adding a validation step at the entry point: reject or prompt re-upload for images below a resolution threshold or where a clear subject can't be detected, to avoid wasted calls.
- Variant control needs boundaries. Prompts should describe both "what to change into" and "what must stay the same." Things like product color, logo placement, and key structural elements—if you don't explicitly lock them down in constraints, the model may take creative liberties, making the output unusable for product display.
- Design the screening pipeline upfront. Generation is only the middle step; what really consumes human effort is screening. We recommend tagging every output with its origin (which source image, which style, which call number) to track usability rates by style over time. Styles with low usability either need prompt fixes or should be retired.
Use case 2: Text-to-image for creative drafts and concept previews
Before committing to a photo shoot or design plan, using text-to-image to quickly explore directions beats jumping straight into full production. The goal here isn't a final deliverable—it's seeing multiple visual paths in a short time at low per-call cost.
Where the efficiency gain is
It turns plan discussions from "verbal descriptions" into "visible drafts." For the same topic, try several prompt variations, make separate calls, compare composition and atmosphere, then decide which direction is worth pursuing further.
Things to watch
Agree upfront that "drafts set direction, not details"—otherwise teams tend to get stuck nitpicking draft imperfections. Also, when dealing with specific brand elements, identifiable people, or copyrighted content, set usage boundaries ahead of time to avoid compliance issues creeping in at the draft stage.
Use case 3: Batch asset expansion and image gap-filling
Content platforms and operations teams frequently need to add hero images, illustrations, or series visuals to existing copy. This scenario benefits from stable prompt templates, consistent size values, and uniform output formats, so that imagery is predictable in layout.
Two approaches to filling image gaps
- Text-to-image: generate directly from titles and summaries—suited for sections without reference images.
- Image-to-image: extend from brand reference images or existing key visuals—suited for content that needs series consistency.
Controlling style consistency
Lock down style, composition, and aspect ratio in the template; only change the variables tied to that specific piece of content. Don't use different output specs for every article, or your layout stability will break down.
Controlling call volume
Tier usage by purpose. Hero images and campaign key visuals can use multiple calls and then pick one; small inline illustrations only need one call to get a usable result. The principle is to spend call volume where users will notice it.
Use case 4: Image-to-image for style transfer and visual unification
The idea
Convert existing photos, line art, or design drafts into a unified style for series posters, campaign visuals, or product illustrations. The prompt handles describing the target style; the reference image handles preserving the core subject structure.
Input image quality is the make-or-break factor
- Resolution: low-resolution source images will still lack detail after transfer and may introduce artifacts.
- Subject proportion: if the subject is too small or cropped, results are more likely to drift.
- Background noise: cluttered backgrounds can introduce unwanted elements—normalize at the intake stage when possible.
Result management
Archive source images, prompts, output images, and acceptance decisions together. This makes it easy to review which input types succeed more often and provides a foundation for future template iteration.
Use case 5: Plugging generation results into existing services
For the previous four use cases to land in a product, the key isn't the prompt—it's how you call the model. Image tasks often take longer than typical API calls, and synchronous blocking designs are more likely to fail under real traffic.
Integration engineering essentials: async, retries, and result management
Async task model
Don't put generation calls on the critical path of user requests. Recommended architecture: the business request only creates a task and immediately returns a task ID; a background worker calls the model; results are written to object storage and the task status is updated to complete or failed.
Retries and timeouts
Set timeouts explicitly—don't rely on defaults. Image task latency is uneven; timeouts set too short create a flood of false failures. Retries must have an upper limit and idempotency keys to prevent duplicate submissions from causing duplicate calls.
Result storage and cleanup
Generated images are binary files—don't stuff them directly into your business database. Store them in object storage; the database only holds metadata: task ID, input parameter hash, output file URL, status, timestamp, usage attribution.
Define a cleanup strategy upfront: draft-type results can have a short retention period; official assets need longer retention; intermediate artifacts from failed tasks should be purged periodically. Many teams discover three months after launch that their storage costs are growing faster than their generation costs—the problem always traces back to this step.
An easily overlooked detail
Add a unified model-calling wrapper at the integration layer, centralizing model name, timeout, and retry policy configuration. This way, if you swap or add models later, business-side code doesn't need changes—only the config does. Parameters should follow the current seedream-5.0-flash endpoint spec and not be scattered across individual business modules.
From experiment to production: small traffic first, then scale
After reading through these scenarios, the most common wrong decision is "let's just pipe it straight into full production." The safer path: first validate business value with a small traffic slice, then scale based on data.
How to design the experiment
- Pick one scenario, not five at once. Typically start with the one that has fewer calls and lower failure impact—like creative drafts or image gap-filling.
- Fix your input samples. Prepare a batch of representative business assets and run the same prompt set across two or three rounds to observe result stability.
- Control call volume. In the experiment phase, run just enough to reach a conclusion—don't aim for full category coverage. When you need to preview results, use
size=1K.
Which metrics to watch
- Usability rate: the proportion of generated results that a human judge deems directly usable. This is the most critical business metric.
- Cost per usable image: not just $0.025/image, but the actual cost after factoring in calls spent on screening and retries. The lower the usability rate, the higher this number climbs.
- Time to usable result: the average time from task creation to getting a usable result, including human screening time.
- Failure distribution: whether failures cluster around timeouts, parameter issues, or content rejection—each points to a different improvement action.
When to scale up
A pragmatic threshold: when cost per usable image drops below your current manual or outsourced cost, and the usability rate is stable with failure types under control, you can consider expanding. Conversely, if the usability rate keeps hovering at a low level, go back and check input image quality and prompt templates first—don't rush to switch models.
One final reminder: the parameters and capability descriptions on the model page reflect a snapshot in time—don't treat them as a long-term guarantee. Using verifiable small-traffic experiments instead of gut-feel model selection is the right way to land image capabilities reliably in your product.
Related articles
View all articles →-

Tutorial
gpt-6.2-sol in Practice: 5 High-Value Uses of a Text Model in Business
-

Tutorial
gpt-6.2-astra Practical Guide: Integration and Implementation Key Points for 5 High-Value Text Scenarios
A Developer's Checklist from Scenario Selection to Engineering Implementation
-

Tutorial
Tripo H3.1 Practical Application Scenarios: 5 High-Value Use Cases and Implementation Essentials
From text-to-3D to multiview reconstruction: choosing the right mode and parameters by business scenario