
Guide
Using topaz-upscale/video via the HiAPI API: A Short-Form Video Upscaling Workflow
Frame interpolation, enhancement settings, and a working HiAPI request for vertical video

On this page
Why short-form video needs its own upscaling plan
Vertical short-form clips — the kind that live on a phone screen for fifteen to sixty seconds — fail in ways that long-form video does not. A landscape documentary can hide softness in motion blur and background detail. A vertical clip is watched at full attention, cropped to a narrow frame, and often re-compressed by whatever platform hosts it. Any weakness in the source gets magnified rather than forgiven.
That changes the upscaling problem. With long-form footage you might upscale one master and be done. With short-form you are usually working from a source that was already encoded once (or twice) for mobile, then delivered to a platform that will encode it again. The goal is not just a higher resolution number; it is a file that survives the next round of compression with clean edges, stable motion, and consistent detail across the whole frame.
So treat this as a pipeline, not a single call:
- Normalize the source — trim to the exact cut, lock the aspect ratio, and settle the frame rate before you upscale.
- Upscale and enhance with
topaz-upscale/video, setting frame interpolation and enhancement deliberately. - Verify the output against the source before publishing, because upscaling can smooth away texture just as easily as it sharpens it.
Each step has its own failure mode. A mis-trimmed clip wastes runtime. Careless interpolation creates fake-looking motion. Skipping verification ships artifacts straight to your audience. The rest of this guide walks through each decision in order, then shows a working HiAPI request you can adapt to your own footage.
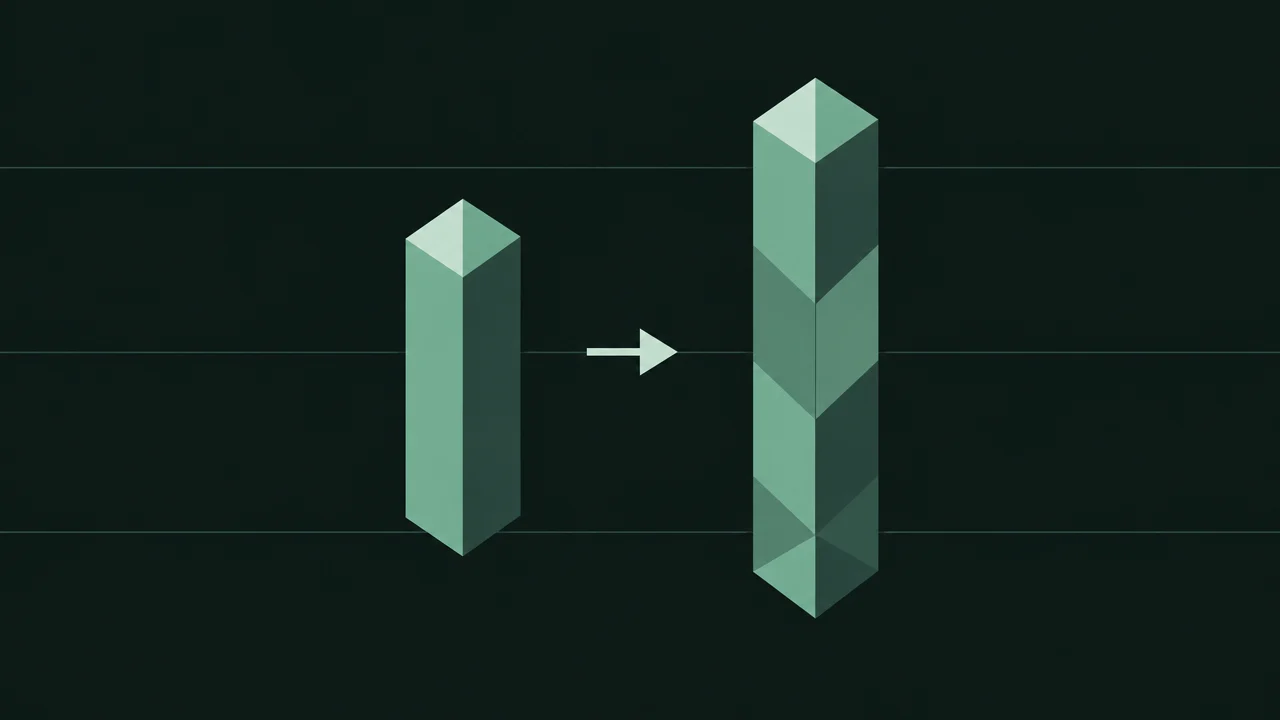
What topaz-upscale/video does on HiAPI
topaz-upscale/video is a video upscaling endpoint in the HiAPI model catalog. You send it a video asset plus your settings, and it returns an upscaled video. That is the whole contract — everything else is configuration.
Position it in your chain like this:
- Input: a video the API can fetch, typically a URL to your source file. You already normalize the aspect ratio and cut before this step; the model upscales what you give it.
- Processing: the service runs your clip through the upscaling and enhancement settings you specify, including frame interpolation if you enable it.
- Output: an upscaled video asset referenced in the job result, which you download and hand to your publishing step.
A few practical points for developers:
- It is a job, not a synchronous response. Video processing takes time proportional to duration and settings, so the API returns a job you poll or await rather than a finished file on the first response.
- Runtime scales with the clip. A longer clip or heavier settings cost more processing time. Short-form clips are an advantage here — they are cheap to iterate on.
- Parameters belong to the live docs. The exact parameter names, accepted values, and defaults for
topaz-upscale/videoare defined by HiAPI's current model documentation. Do not assume a parameter exists because a desktop tool or another vendor uses a similar name. Check the model page before you build.
The model sits at exactly one point in your pipeline: after normalization, before verification and publishing. Keep that boundary clean and the rest of the workflow stays simple.

Planning frame interpolation for short-form pacing
Frame interpolation synthesizes intermediate frames to raise the effective frame rate — for example, turning a 24 or 30 fps source into a smoother 60 fps output. On short-form video it is tempting to enable it everywhere, because smooth motion reads as premium. That instinct is usually wrong.
When interpolation helps
- Fast camera movement or whip pans. Vertical clips often use quick moves that judder at low frame rates. Interpolation smooths the sweep.
- Slow-motion or ramp sequences. If you shoot at a low frame rate and slow it down, interpolation fills gaps and reduces stutter.
- Source already near the target rate. Going from 30 to 60 fps is a modest, predictable lift.
When it adds cost without visible benefit
- Static talking-head shots. If the frame barely changes, interpolated frames are nearly identical to the ones around them. You pay runtime for nothing.
- Already-high-frame-rate sources. Interpolating 60 fps to 120 fps may not survive platform re-encoding anyway.
- Heavy motion blur or very low-quality sources. Interpolation guesses at motion it cannot see clearly, and the guesses show up as warping or ghosting around edges.
A deliberate default
For most short-form work, start with interpolation off, upscale at the source frame rate, and inspect the result. If motion judders, enable interpolation at the lowest target rate that fixes it. Change one lever at a time so you know what caused the improvement — or the artifact.
Also remember that interpolation interacts with runtime. Every interpolated frame is extra work. On a fifteen-second clip the difference is small; on a batch of hundreds it compounds. Measure on one representative clip before you apply a setting across a queue.
Choosing enhancement settings without guesswork
Enhancement settings control how aggressively the model sharpens, denoises, and restores detail. There is no universal "best" configuration, because the right amount depends on your source quality and where the clip will be published.
Start from the source, not the target
Ask two questions about the input before you touch a setting:
- How clean is the source? A crisp camera original tolerates light enhancement. A heavily re-compressed or low-bitrate source needs more restraint, because enhancement amplifies compression artifacts along with real detail.
- What will the platform do to it? Every major short-form platform re-encodes uploads. Aggressive sharpening that looks good on your monitor can turn into ringing and halos after that second encode.
A practical decision framework
- High-quality original, moderate upscale: use conservative enhancement. Let the upscaler do the work and keep sharpening minimal so texture survives platform compression.
- Soft or compressed source: lean on denoising first, then modest sharpening. Over-sharpening a noisy source produces crunchy edges that look worse than the original softness.
- Text, faces, and product detail: short-form clips usually hinge on legible captions and clear faces. Verify these regions specifically — enhancement that helps a landscape can smear fine text.
- Motion-heavy clips: pair conservative enhancement with your interpolation decision. Heavy sharpening plus interpolation is the most common source of shimmering artifacts.
Confirm the actual options
The exact enhancement parameters, their accepted ranges, and any presets are defined in HiAPI's live model documentation for topaz-upscale/video. Parameter names and defaults can change, and they do not necessarily match any other tool you have used. Read the model page, set values explicitly in your request, and avoid relying on remembered defaults. When in doubt, run two settings on the same short clip and compare — that is cheaper than guessing across a batch.
A working HiAPI request for topaz-upscale/video
Before writing the request, set two environment variables so your key never lands in source control:
export HIAPI_API_KEY="your_api_key_here"
export SOURCE_VIDEO="https://your-bucket.example.com/clips/cut_vertical.mp4"
Now submit a job. The shape below is the pattern: point the request at the model, pass the source video URL, and include your upscaling and interpolation settings explicitly. Check HiAPI's model documentation for the exact parameter names and accepted values for topaz-upscale/video, then adjust the payload to match.
curl -X POST "https://api.hiapi.ai/v1/models/topaz-upscale/video/jobs" \
  -H "Authorization: Bearer $HIAPI_API_KEY" \
  -H "Content-Type: application/json" \
  -d '{
    "input": {
      "video_url": "'"$SOURCE_VIDEO"'"
    },
    "settings": {
      "upscale": {
        "target_resolution": "1080p"
      },
      "frame_interpolation": {
        "enabled": false
      },
      "enhancement": {
        "strength": "conservative"
      }
    }
  }'
What to expect and how to handle it:
- The response contains a job identifier and status. Store the job ID — you need it to fetch the result.
- Poll or await. A short clip finishes quickly, but always write your client to handle a pending state rather than assuming completion on the first read.
- Retrieve the output asset from the completed job and download it to your own storage before adding it to a publishing queue.
- Re-submit rather than patch. If you want to test interpolation on, send a new job with the flag changed. Keeping one variable per job makes comparison honest.
The first request is also your fastest validation: run it against your own clip, with your real aspect ratio and duration, before you build any automation around it.

Verifying results and fitting upscaling into your pipeline
An upscaled file is not automatically a better file. Verification is the step that turns the model call into a reliable workflow.
What to check
- Edges and fine detail. Zoom into text, faces, and hard edges. Look for halos, ringing, or smeared texture that the source did not have.
- Motion consistency. Watch a fast-moving segment at full speed. Interpolation artifacts show up as warping or ghosting on a single frame — pause and step through it.
- Color and exposure. Confirm the output has not shifted in tone or brightness; enhancement can subtly change contrast.
- Audio and duration. Make sure the clip is the same length and the audio track is intact, to the millisecond. A re-encoded audio track that drifts breaks sync on captions.
- After platform compression. Upload a test copy privately and check the re-encoded version, since that is what viewers actually see.
Where to place it in the pipeline
A clean short-form pipeline looks like this:
- Edit and export the final cut at native resolution and a stable frame rate.
- Upload the source to storage the API can reach.
- Submit the upscale job with explicit settings and log the job ID alongside the clip.
- Download and verify the output, using the checks above.
- Publish — either directly or to a queue that schedules posts across platforms.
Two operational notes. Keep the original source file; never overwrite it with the upscaled version, because you will want to re-run with different settings. And log settings per clip so that when one output looks wrong, you can trace exactly which configuration produced it. That traceability is what lets you tune settings over time instead of re-guessing every batch.
Cost, limits, and what to confirm before scaling
Before you route production traffic through topaz-upscale/video, confirm the operational details in HiAPI's current model documentation rather than assuming them from other tools.
- Pricing basis. Understand how the model is billed — for example by output duration or resolution tier — and check the live pricing panel for current figures. Pricing is subject to change and is the one thing you should never hard-code from a memory or a forum post.
- Duration and file size limits. There is a maximum input duration and size; short-form clips usually sit comfortably inside it, but batch jobs with longer sources may not. Confirm the ceiling before you submit.
- Throughput and concurrency. How many jobs you can run in parallel, and whether there are rate limits, determines the shape of your queue. Design your client to back off and retry on rate-limit responses.
- Timeout behavior. Video jobs can take longer than a typical HTTP request. Confirm the recommended polling interval and job retention window.
- Parameter stability. Treat the model's settings as part of a live contract. Read the docs at integration time and re-check when behavior surprises you.
A good scaling pattern: validate one representative clip, measure actual runtime and cost on it, then extrapolate conservatively and add a buffer. Keep pricing and limits in configuration, not in code, so updates require a config change rather than a deploy.
Start with a single clip on topaz-upscale/video, verify it, then expand — that is the fastest path to a short-form upscaling pipeline you can trust.
Related articles
View all articles →-

Guide
Tripo H3.1 Getting Started Guide: Choosing Among Three Input Modes, Parameters, and Pricing
A practical guide for developers on 3D generation integration decisions and cost control
-

Guide
Using qwen-image-2.1-turbo for E-commerce Product Images via the HiAPI API
A developer-first workflow for fast catalog visuals, transparent PNG output, and a working API request
9 min read -

Guide
Using gpt-image-2.5-sunburst/image-to-image for E-commerce Product Images via the HiAPI API
Reference images, background swaps, lifestyle scenes, and a working HiAPI request
13 min read