
Guide
Short-Form Video with vidu-q3-mix reference-to-video on the HiAPI API
A developer workflow for character-consistent clips, voice-referenced narration, and post-production pacing

On this page
What the vidu-q3-mix reference-to-video task gives you
The vidu-q3-mix/reference-to-video task on HiAPI is a generation step, not a finished-video step. You send it reference material — images that define how a character or scene should look, plus prompt text that describes the action — and you get back a clip. In a short-form video pipeline it sits in the middle: upstream is your reference preparation and prompt design, downstream is review, trimming, and assembly.
A useful mental model is a three-lane input flowing into one output:
What goes in
- Reference images. One or more stills that anchor appearance: face, hair, wardrobe, palette, environment.
- A prompt. Natural-language description of what should happen in the shot — subject, action, camera feel, mood.
- Optional voice reference. An audio sample used when you want narration to carry a specific voice character.
What comes out
A single generated clip. Treat it as raw footage. The model is not a timeline editor: it will not cut your video to a beat, layer captions, or guarantee that shot 4 matches shot 1 pixel-for-pixel. Those are your job in post.
Where it fits
A short-form video is typically built from several clips generated separately and then sequenced. The reference-to-video task is the repeatable unit of that build: one call, one shot, many calls per finished piece. Planning around that unit is what keeps a project manageable — and keeps your expectations calibrated. Don't ask one generation pass to produce an entire narrated, captioned, paced video. Ask it to produce a good shot, then assemble shots.
Because generation is per-clip, cost scales with how many shots you produce and how long each one runs, so budget in shots and output duration rather than in finished-video minutes. Check the platform's price panel for current rates before you size a batch.

Planning short-form shots around reference images
Short-form video lives or dies on the first two seconds, so your shot plan should be written before you touch the API. Break the piece into shots first, on paper, then decide which references each shot needs.
Write a shot list
Each entry should answer four things: what the audience sees, what the subject is doing, how long the moment needs to read, and whether narration plays over it. A 30-second piece might be five to eight shots. Fewer, longer shots are easier to keep consistent; more, shorter shots give you more pacing control but more chances for visual drift.
Choose references per shot, not per project
A common mistake is assuming one reference set covers everything. In practice, references should be curated against the shot:
- The subject is in frame and recognizable — pass a clear, front-facing image of the character, plus one or two supporting angles or expressions if the shot involves movement or a turn.
- The subject is off-camera or small in frame — the environment matters more than the face; reference the location, wardrobe, or props instead.
- A new character enters — decide whether they get their own reference set and stay consistent from their first appearance onward.
Keep references clean and consistent
Use images where the subject is unobstructed, well lit, and not stylistically at odds with the other references for the same character. Mixed lighting or conflicting art styles between references push the output toward visual noise. If a character appears in both a bright exterior and a dim interior, prefer the same reference set and let the prompt describe lighting, rather than swapping in references that look like different people.
Version your references
Store references in a predictable structure — character name, angle, variant — and keep a note of which reference set produced which accepted shot. When a shot drifts, you want to know exactly what changed between the run that worked and the run that didn't. This small discipline saves whole afternoons.
Keeping characters consistent across multiple shots
Consistency across separately generated clips is the hardest part of a reference-driven workflow, and it is mostly a discipline problem rather than a prompting trick.
Reuse the same references across the sequence
Once a character's reference set is locked, use that exact set for every shot in which the character appears. Don't re-derive references per shot, don't crop new ones mid-project unless you deliberately re-baseline the whole sequence, and don't mix in a reference from a different character's set. The strongest consistency signal you have is identity of input.
Standardize your prompt conventions
Write prompts with a fixed structure so the model sees the same kind of description each time: subject description, then action, then camera, then mood. Keep the subject description verbatim across shots — same words for the same character, same terms for the same wardrobe. Variation belongs in the action and camera fields, not in how you describe who the character is.
Generate in matched batches
Generate related shots close together in the same working session, and review them side by side rather than one at a time. Small differences that are invisible when you watch a single clip become obvious when two shots sit next to each other. Judge each clip against its neighbors, not against the prompt in isolation.
Accept imperfection deliberately
Perfect frame-to-frame identity across independent generations is not a realistic expectation. Plan for this:
- Hide seams with structure. Cut on motion, on a change of angle, or on a narration beat so the eye doesn't compare two faces directly.
- Use fewer appearances. A character who appears in three shots is easier to keep coherent than one who appears in eight.
- Quarantine problem shots. If one clip keeps drifting, change its framing (wider, over-the-shoulder, partially obscured) rather than regenerating endlessly.
Regenerate with a purpose
When a clip is wrong, identify which variable you're changing before you re-run: reference, prompt wording, or framing. Changing several at once makes every result unreproducible and quietly resets your consistency baseline.

Using a voice reference for narration
A voice reference shapes the character of the narration — its timbre, delivery, and overall feel. It does not give you a finished audio mix, and it does not know how long your shot lasts.
Keep the sample focused
Supply a clean sample of the voice you want, without background music, heavy reverb, or competing speakers. Short, clear, single-speaker audio gives the model the most compact signal about the voice you're after. Save the chosen sample as part of the project's locked references, alongside the image set.
Write for spoken duration
Narration timing is a text problem you solve before generation. Read your script aloud at the pace you want and time it. Short-form narration is usually tight: a handful of words per shot is normal. If a line can't be spoken in the duration you planned for the shot, cut the line — don't ask the clip to run longer just to fit it.
Plan where the voice sits relative to the shot
Decide per shot whether narration runs over the whole clip, lands on a single beat, or is absent. A useful short-form pattern alternates: hook line over the opening shot, silence while the action reads visually, a closing line over the final beat. Writing that rhythm down as a column in your shot list turns narration from an afterthought into a pacing tool.
Do audio work outside the model call
Voice shaping is one input; the mix is yours. Expect to handle leveling, noise reduction, fades, music beds, and ducking in your editing tool. Keep narration as a separate audio track that you can slide against the picture rather than baked into any single clip, so you can re-time a line when a shot is trimmed. If a line comes back with an artifact or an odd read, regenerate that line alone rather than redoing the whole sequence.
Treat voice reference as a consistency tool for the character of narration, not as a timing or mixing service.
Assembling pacing and post-production
Once clips exist, the work shifts to a timeline. This is where generated footage becomes short-form video, and it is where most of the perceived quality is won.
Trim aggressively
Generated clips usually contain a usable core surrounded by slack at either end. Cut to the moment that reads: the action that starts, the beat that lands. Most first-cut assemblies are too long by a noticeable margin, and tightening is almost always the right move for short-form pacing. Aim for no dead frames — the viewer should feel the piece moving from the first second.
Sequence for rhythm
Lay shots out and watch the cut with the sound off first. If the visual sequence doesn't hold attention silently, narration won't save it. Then vary shot lengths deliberately: quicker cuts build momentum, one longer shot resets attention. Align major cuts with narration beats where you can, so that the ear and eye change together.
Handle captions as a first-class element
Short-form video is often watched muted, so captions carry the narration. Place them after picture lock, keep them on screen long enough to read comfortably, and break lines at natural phrase boundaries rather than mid-thought. If captions fight with the composition, reframe or reposition rather than shrinking the text into illegibility.
Align and mix audio
Drop narration onto its own track, slide each line to its beat, and check that no line gets clipped by a cut. Add any music bed low enough that speech stays intelligible. Watch the final sequence start to finish with headphones — this catches timing problems that a timeline view hides.
Review against the plan
Re-read your shot list and confirm each shot delivers what it was planned to deliver. If a shot doesn't earn its place, cut it; a tight edit with six shots beats a loose one with nine. When you're satisfied, lock the timeline, then export.
Keep the project reproducible
The project's references, prompt conventions, and accepted clips are your source of truth. Archive them with the final edit so a later revision — new hook, new ending, different length — can be produced without rebuilding the whole pipeline from scratch.
For the full parameter surface of the task, the platform's guide is the place to confirm request fields before you wire up a batch.
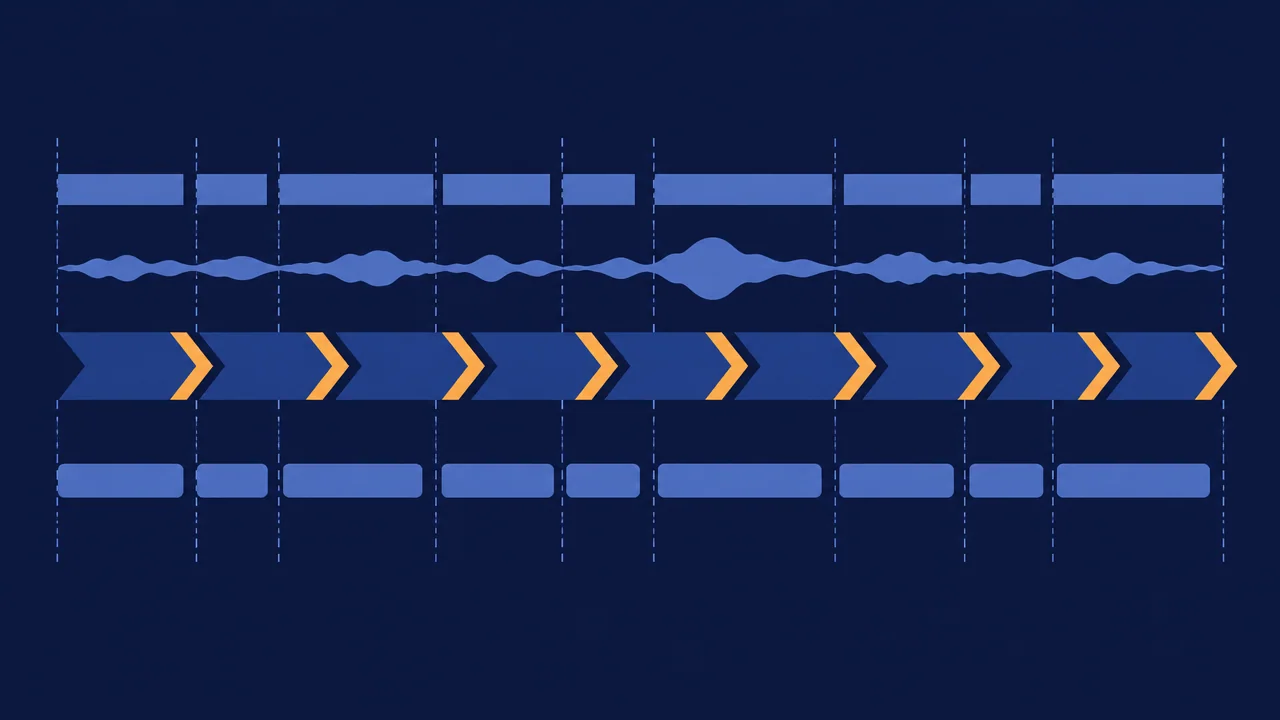
A repeatable workflow checklist
Here is the end-to-end sequence as a checklist you can reuse for each new short-form video.
Plan
- Write the piece as a shot list: subject, action, duration, narration beat per shot.
- Time the narration aloud and trim script lines to fit the planned durations.
- Decide the pacing pattern — hook shot, action beats, closing line.
Prepare references
- Curate a locked image reference set per character; save with clear naming.
- Choose one clean, single-speaker voice reference for narration.
- Record which references belong to which project version.
Generate
- Call
vidu-q3-mix/reference-to-videoonce per shot. - Use the same reference set and identical subject wording across every shot featuring that character.
- Vary action and camera language, not identity language.
- Generate related shots in the same session for side-by-side review.
Review
- Compare clips as a set, not individually.
- Regenerate with one variable changed at a time, and log which variable.
- Re-frame a persistently drifting shot instead of looping on regeneration.
Assemble
- Trim each clip to its usable core; remove dead frames.
- Sequence for silent-viewing rhythm first, then align narration beats.
- Add captions after picture lock; verify readability.
- Mix narration as a separate track, then add music; check with headphones.
Archive
- Store references, prompt conventions, accepted clips, and the final timeline together.
- Note any shot-level exceptions for future revisions.
The checklist is short on purpose. Most failures in reference-driven short-form video come from skipping a step rather than from the generation call itself — lock the inputs, keep the plan tight, and let post-production do the pacing.
Related articles
View all articles →-

Guide
gpt-6.2-sol Getting Started Guide: Capability Boundaries, API Integration, and Token Pricing Essentials
Integration decisions and practical essentials for engineering teams
-

Guide
gpt-6.2-astra Getting Started Guide: Text Model Capability Boundaries, Integration Essentials, and Cost Control
-

Guide
Tripo H3.1 Getting Started Guide: Choosing Among Three Input Modes, Parameters, and Pricing
A practical guide for developers on 3D generation integration decisions and cost control