
Guide
gpt-image-2.6-sunburst Image-to-Image Prompts You Can Copy and Paste
A practical recipe book for reference-image edits: instruction phrasing, subject fidelity, background swaps, and negative lists

On this page
What an Image-to-Image Prompt Actually Controls
In image-to-image generation, the reference image does most of the heavy lifting. The prompt is not a from-scratch description; it is a set of edit instructions layered on top of the source. Understanding this division is the difference between prompts that produce predictable revisions and prompts that trigger wholesale reinterpretation.
The reference image supplies the subject's pose, geometry, texture, and lighting baseline. The prompt supplies the delta: what should change, what must stay the same, and what should never appear. When you write a prompt as if the model is generating from nothing, you compete with the reference and get muddy results. When you write it as an edit contract, the model applies your changes locally and preserves the rest.
A useful mental model splits the prompt into four functions:
- Reference anchor — a short clause that tells the model which part of the image is the subject and what it is.
- Edit instruction — the concrete change you want, phrased as an action.
- Preservation rules — explicit statements about identity, color, shape, and layout that must survive the edit.
- Negative list — the failure modes you want suppressed.
Only the edit instruction is truly mandatory, but the other three are what make results repeatable. A prompt that says "make it a studio shot" leaves the model to guess the subject boundary, lighting continuity, and edge treatment. A prompt that says "keep the sneaker as the only subject, change the background to a seamless studio backdrop, preserve the shoe's color and stitching, no extra objects" pins those decisions down.
This is also why parameters alone cannot fix fidelity. If your prompt does not state what the subject is or what must not move, no amount of tuning will stabilize the output. Fidelity is a wording problem first.
The Four-Part Recipe Template
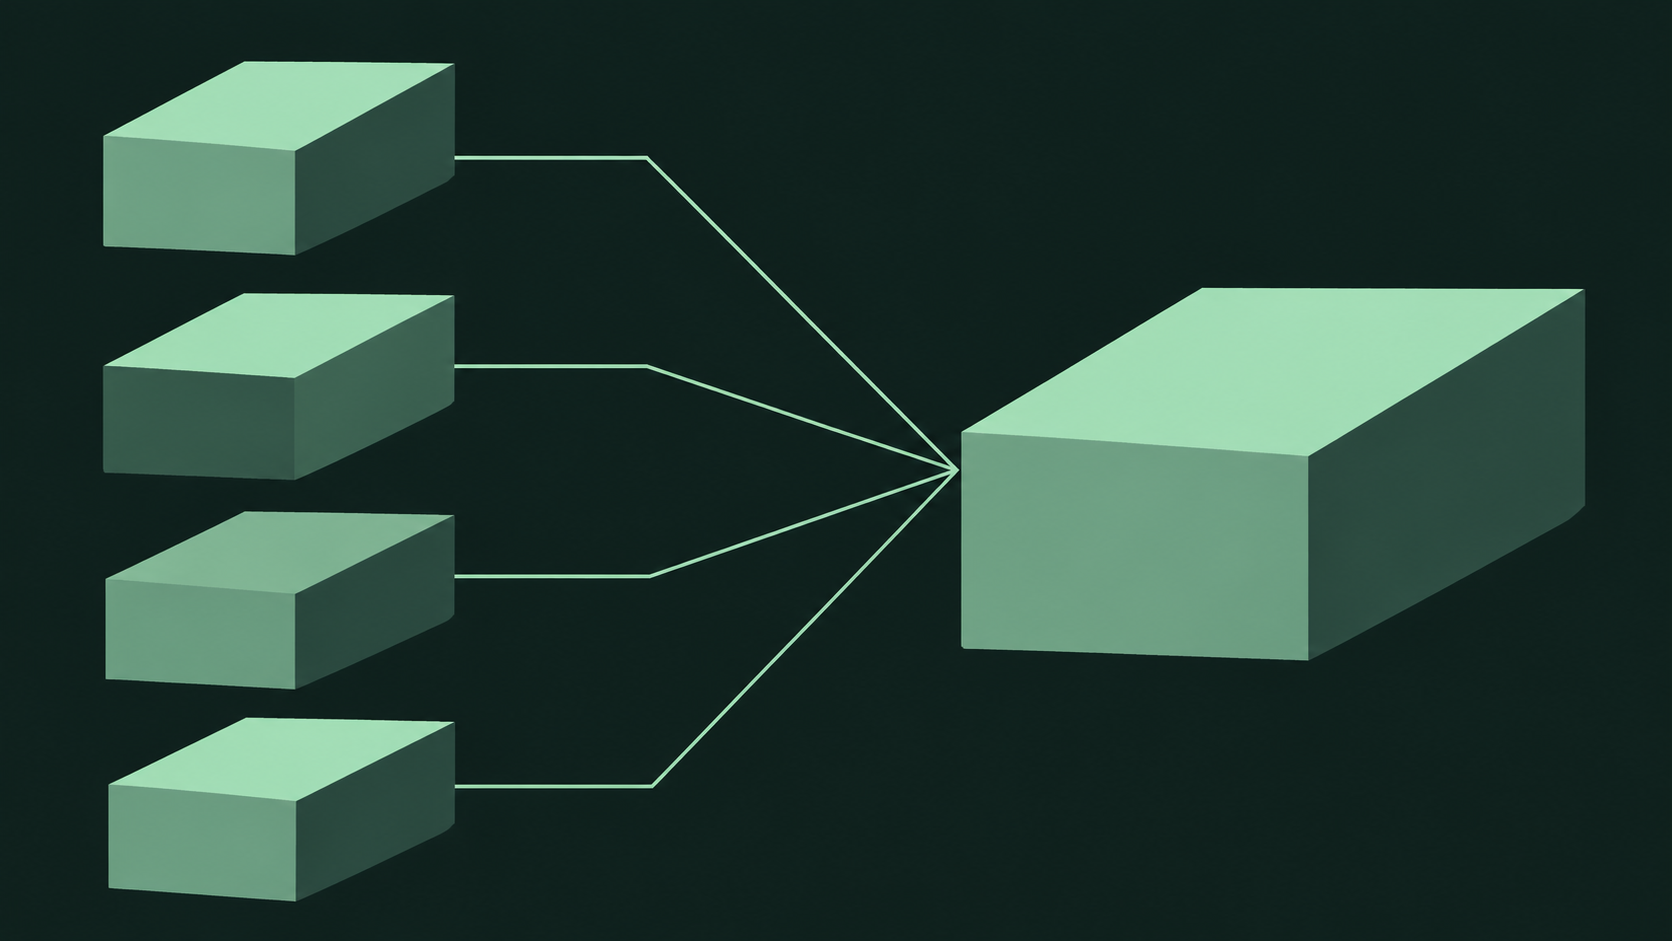
Here is a skeleton you can reuse for almost any reference-image edit. Each block targets a different aspect of the output, and you can scale each block up or down depending on how risky the edit is.
[reference anchor]: The reference image shows <subject> in <context>.
[edit instruction]: Change <target> to <desired state> by <method>.
[preservation rules]: Keep <identity cues>, <color>, <shape>, <layout> unchanged.
[negative list]: No <failure mode 1>, <failure mode 2>.
A filled-in example for a product photo:
[reference anchor]: The reference image shows a single ceramic mug on a wooden table.
[edit instruction]: Replace the table with a clean white studio surface and add a soft directional shadow to the right.
[preservation rules]: Keep the mug's shape, glaze color, handle position, and any visible texture exactly as in the reference.
[negative list]: No additional objects, no text, no harsh reflections, no cropped edges.
How each block maps to the output
The reference anchor is not decoration. It tells the model what to treat as figure and what to treat as ground, which directly affects segmentation and edge behavior. The edit instruction is the only block that should contain verbs of change. The preservation rules are declarative and explicit, and they are the block most people skip. The negative list is short, targeted, and reserved for failure modes you have actually observed.
When to compress the template
For low-risk edits like color shifts on a flat background, you can collapse the anchor and preservation rules into one sentence. For high-risk edits like adding a new object next to a human subject, expand the preservation rules and keep the negative list tight. The template is a checklist, not a fixed format.
Treat each filled-in template as a versioned asset. Small wording changes produce measurable output changes, so keep your recipes in a file or a small database and diff them against real outputs instead of rewriting from memory.

Editing Instructions That Land
The edit instruction is where most prompts go wrong. A vague instruction forces the model to reinterpret the whole scene, while a precise instruction constrains the change to the region and property you care about.
Name the target, the property, and the result
An instruction that lands has three parts: what to target, which property of it to change, and what the result should look like. "Make it brighter" fails because "it" is ambiguous and "brighter" is relative. "Increase the exposure on the subject's face so the skin tone reads as warm mid-tone, leaving the background exposure unchanged" targets a region, a property, and a measurable outcome.
Use verbs of edit, not verbs of creation
Words like "generate," "create," and "imagine" push the model toward re-synthesis. Words like "replace," "adjust," "remove," "extend," and "recolor" keep the model in edit mode. If you want a local change, use a local verb.
One instruction, one axis
Stacking multiple changes into a single clause makes it hard to tell which part of the sentence the model acted on. Split compound edits into ordered sentences: first change the background, then adjust the lighting, then clean up the edges. The model processes the prompt as a sequence of constraints, and ordered sentences give it a clearer job queue.
Quantify where you can
Relative language is weak. "Slightly larger" gives the model no anchor. "Scale the subject so it occupies the center third of the frame" is specific and checkable. You do not always need numbers, but when you have a measurable target, write it down.
Example of a weak versus strong instruction
Weak: "Make the jacket look better."
Strong: "Change the jacket's color to a deep navy while keeping the original fabric texture, seams, and button placement visible."
The strong version names the target (the jacket), the property (color), the result (deep navy), and the invariants (texture, seams, buttons). That is the level of specificity the model can act on.
Keeping the Subject Faithful
Subject fidelity is the most common complaint about image-to-image edits, and it is almost always a prompt problem. The model preserves what you explicitly ask it to preserve. If you only describe the change, the model is free to drift on everything else.
Write a preservation clause for every edit
A preservation clause is a sentence that lists the attributes that must not change. For a product, that means shape, proportions, material, color, logo placement, and any distinctive texture. For a person, that means facial features, skin tone, hair, and expression. Write this list before you write the edit instruction, so you know what you are protecting.
Preserve the subject's exact silhouette, surface texture, and color values. Do not smooth, stylize, or repaint the subject.
Separate identity from context
Identity attributes belong to the subject. Context attributes belong to the scene. When you swap a background, you are changing context; the prompt should make that boundary explicit. "Change the background to a gradient studio backdrop while keeping the subject's lighting and color unchanged" tells the model which side of the boundary the edit lives on.
Use negative reinforcement sparingly
Saying "do not change the face" is sometimes less effective than saying "keep the face exactly as in the reference." Positive preservation language tends to work better than negation because it gives the model something to aim at rather than something to avoid. Reserve negation for failure modes you have actually seen.
Fidelity is a wording problem first
Before you reach for parameter tuning, check whether your prompt names the subject, lists the invariants, and uses edit verbs. In most cases, a missing preservation clause is the real cause of a drifted subject. Add the clause, rerun, and compare before you change anything else.
Swapping Backgrounds Cleanly
Background replacement is a composite operation, and it fails in predictable ways: halos around the subject, mismatched lighting, floating objects, and lost shadows. Each failure maps to a missing clause in the prompt.
Specify the new scene in concrete terms
"A nice background" gives the model nothing. "A seamless light-gray studio backdrop with a soft gradient falling from upper left to lower right" gives it a surface, a color, and a light direction. Name the material, the color, and the light behavior in separate clauses so each can be evaluated independently.
State the lighting direction
The subject's lighting comes from the reference. The new background's lighting must match it, or the composite will look pasted. If the reference has a key light from the left, say so: "Light the new background from the same direction as the subject's key light, with a soft falloff toward the right edge."
Handle edges explicitly
Edge behavior is where clean composites are won or lost. Add a clause that describes what should happen at the subject boundary: "Keep the subject's edges crisp with no halo, and add a subtle contact shadow where the subject meets the new surface." Without this, the model may blend the subject into the background or leave a bright fringe.
Put it together
Replace the existing background with a seamless warm-gray studio backdrop. Light the backdrop from the upper left to match the subject's key light, with a soft gradient toward the lower right. Keep the subject's edges crisp, preserve its original color and texture, and add a subtle contact shadow beneath it. No halo, no floating, no additional props.
That single block specifies the scene, the lighting, the edge behavior, and the failure modes. Run it, compare against the reference, and adjust one clause at a time.
Building a Working Negative List
A negative list is a short set of failure modes you want suppressed. It is not a second prompt, and it is not a place to dump every aesthetic preference. The goal is targeted suppression, not broad constraint.
What belongs in a negative list
Include defects you have actually observed in your own outputs. Typical entries: extra objects, text or watermarks, harsh reflections, cropped subject edges, duplicated limbs, distorted proportions, unwanted stylization, and visible seams. Each entry should name a specific failure, not a vague quality.
What does not belong
Do not include broad taste words like "ugly" or "bad." Do not negate things that are not plausibly in the scene. Do not stack twenty items hoping one of them fixes the problem. A long negative list flattens the output because the model spends capacity avoiding everything at once.
Keep it short and ordered
A working negative list is usually three to six items, ordered by how often you see the failure. Put the most damaging defect first. If you find yourself adding a seventh item, that is a signal to fix the prompt's positive clauses instead.
No text, no watermark, no extra objects, no halo around the subject, no cropped edges.
Compare the two extremes
An over-stuffed list might say "no text, no watermark, no logo, no extra people, no animals, no cars, no harsh light, no soft light, no blur, no grain, no stylization, no cartoon, no distortion, no cropping, no seams, no halo, no shadow, no reflection." Several of those contradict each other, and the model has no way to satisfy all of them. A focused list names the four or five defects you actually see and leaves the rest to the positive clauses. The focused list constrains less and produces cleaner results.
Before-and-After Recipe Walkthroughs
These walkthroughs use the four-part template end to end. Each recipe is copy-paste ready; adjust the nouns to match your reference.
Recipe 1: Product colorway change
[anchor] The reference image shows a single running shoe on a neutral surface.
[edit] Change the shoe's upper color to a muted olive green while keeping the sole and laces their original colors.
[preserve] Keep the shoe's silhouette, panel seams, stitching, and material texture exactly as in the reference.
[negative] No extra shoes, no text, no harsh highlights, no cropped edges.
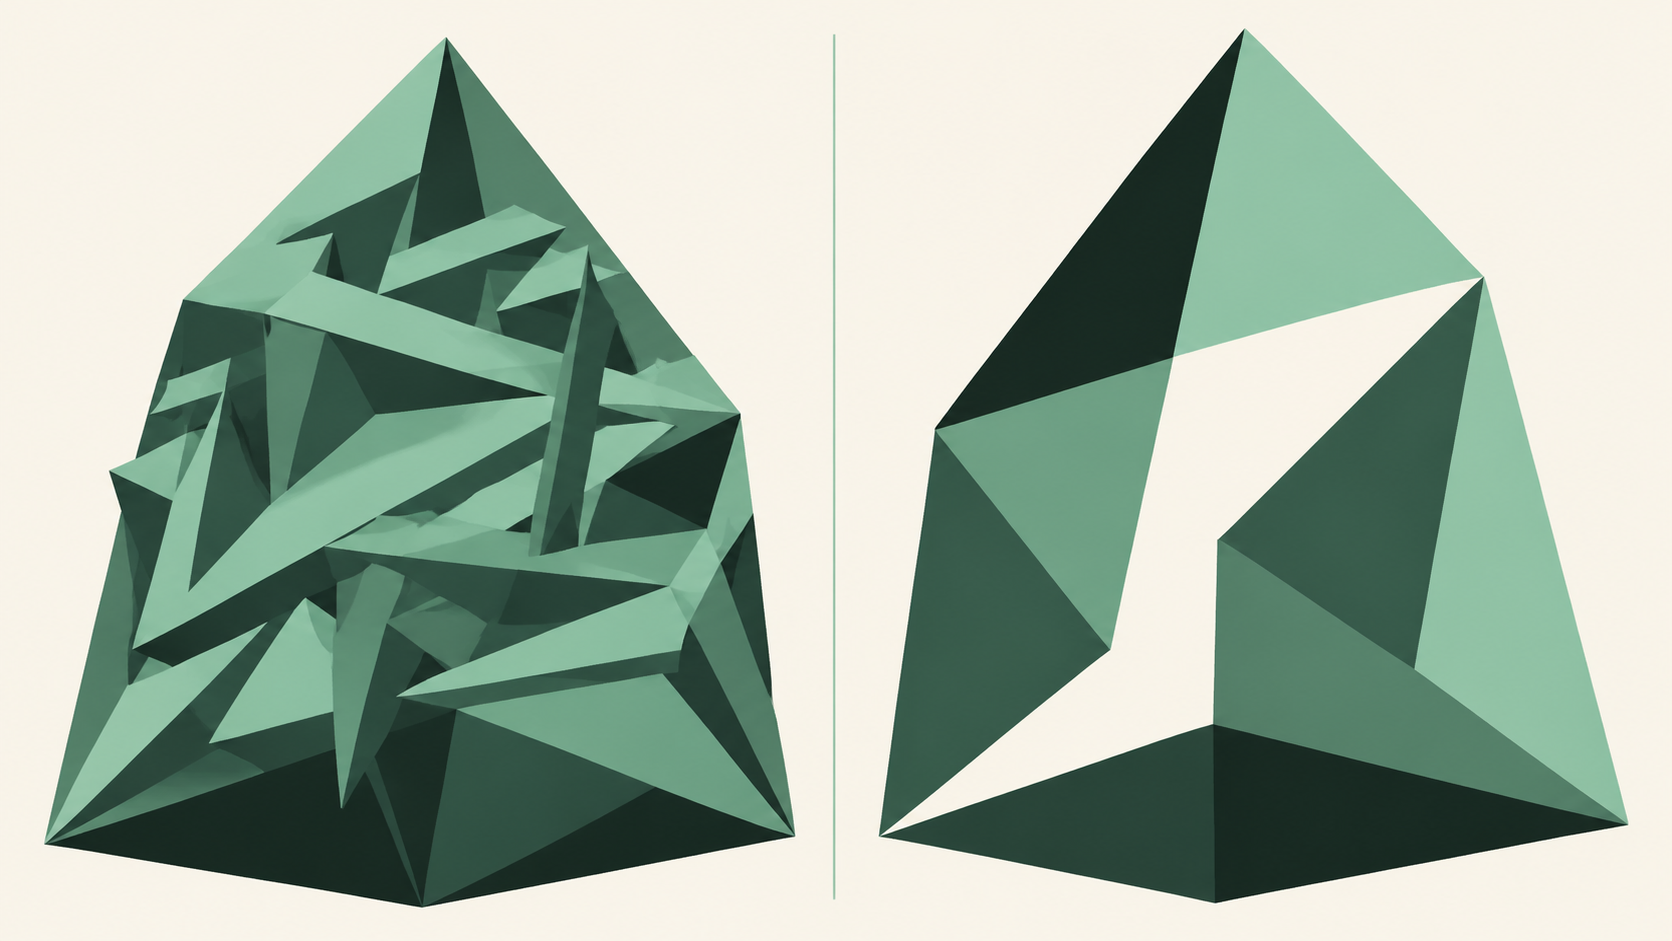
Before: the reference shoe in its original colorway. After: the same shoe with a recolored upper, with seams and stitching still visible and the sole and laces unchanged. The typical failure without the preservation clause is a repainted shoe that loses panel detail; the preservation clause keeps the structure intact.
Recipe 2: Studio background swap
[anchor] The reference image shows a ceramic mug on a wooden table.
[edit] Replace the table and background with a seamless white studio surface, lit softly from the upper left.
[preserve] Keep the mug's shape, glaze color, handle position, and any reflections on its surface unchanged.
[negative] No additional objects, no text, no halo, no floating shadow.
Before: the mug on a warm wooden surface. After: the same mug on a clean studio backdrop with a matching light direction and a soft contact shadow. Without the edge clause, the mug tends to pick up a bright fringe; adding "no halo" to the negative list and keeping the preservation clause tight resolves it.
Recipe 3: Human portrait relight
[anchor] The reference image shows a person in a dim indoor scene.
[edit] Increase the exposure on the subject's face so the skin reads as warm mid-tone, and add a soft fill light from the front-right.
[preserve] Keep the subject's facial features, skin tone, hair, and expression exactly as in the reference. Leave the background exposure unchanged.
[negative] No stylization, no smoothing, no changed eye color, no extra people.
Before: an underexposed portrait. After: the same face at a readable exposure with the background still dim. The most common failure is over-smoothing; the explicit "no smoothing" entry and the preservation clause keep skin texture intact.
Recipe 4: Object removal
[anchor] The reference image shows a desk with a laptop and a coffee cup.
[edit] Remove the coffee cup and reconstruct the desk surface where it stood.
[preserve] Keep the laptop's position, the desk's wood grain, and the overall lighting unchanged.
[negative] No ghost outline, no smudged texture, no new objects.
Before: desk with a cup. After: the same desk with the cup gone and the grain continuing naturally. The failure mode here is a blurry patch where the cup was; the "no smudged texture" entry pushes the model to reconstruct rather than blur.
Run each recipe as a versioned asset. Keep the prompt text alongside the output so you can compare changes over time.
Running These Recipes Through the API
All of the recipes above translate directly into an API call through the HiAPI unified interface. The prompt goes in as a single string; the reference image goes in as the source input. The model page for gpt-image-2.6-sunburst image-to-image documents the input fields and parameters, so check it for the exact field names before wiring up a request.
Practical notes
- Prompt as a single string. Keep the four blocks in order and use plain sentences. The template's block labels are for your own readability; you can keep them or drop them in the final payload.
- Reference image quality matters. The model preserves what it can see. A sharp, well-lit reference with clear subject boundaries produces cleaner edits than a low-contrast or heavily compressed one.
- Iterate one clause at a time. When an output misses, change one block and rerun. Changing the edit instruction and the negative list together makes it impossible to attribute the difference.
- Version your recipes. Store the prompt text, the reference image identifier, and the output alongside each other. A small recipe library with diffs beats a long prompt you keep rewriting.
- Billing follows the operation. Image-to-image requests are metered per generation on the API side; check the pricing panel on the site for current rates rather than hardcoding assumptions.
If you are working with the earlier generation of the same model family, the gpt-image-2 image-to-image page carries the equivalent parameter reference. The prompt structure does not change between the two; only the model capabilities differ.
Start with one recipe from your own workflow, run it end to end through the API, and compare the output against the reference before you add more blocks. The template is a starting point; your own failure modes are what make the negative list useful.
Related articles
View all articles →-
Guide
Seedance 2.5 Flash Reference-to-Video: Reference Images, Audio and How the Bill Is Counted
9 min read -

Guide
Seedance 2.5 Flash Image-to-Video: First Frame, Last Frame and Per-Second Billing
Making a still image move: parameters, price and the usual failure modes
7 min read -

Guide
Seedance 2.5 Flash Text-to-Video: Parameters, Per-Second Billing and Production Practice
From the first request to a stable pipeline: how to set parameters and how the bill adds up
8 min read